How to Can Mandarin Oranges
This post may contain affiliate links. We may earn a commission if you purchase via our links. See the disclosure page for more info.

Can mandarin oranges so that you can have them on the shelf all year long! These easy instructions for water bath canning mandarin oranges will give you fun snacks for the whole year!
Have you ever purchased a bag of mandarin oranges, but knew you were never going to get them finished before they went bad? Or maybe you purchased a couple of bags because they happened to be on sale?
My youngest son doesn’t like eating oranges because he finds the texture of orange segment skins to be offputting for him. He’s a texture driven eater.
So when I found that he loved canned mandarin oranges, then we spent years adding them to our pantry stockpile.
But, whenever I purchased mandarin oranges on sale, we’d often have them go to waste because we just couldn’t eat them in time.
Thankfully, there are ways to preserve mandarin oranges that will make your family happy and add to your pantry stock in the process! Tody we’ll be focusing on how to can mandarin oranges, but you can also dehydrate them!
Benefits of Mandarin Oranges
- Vitamin C
- Vitamin A
- Dietary Fiber
- Potassium
- Manganese and more
While you can lose up to 1/3-1/2 of VitaminsC and A from heat, there are still benefits to preserving your own food for storage in your pantry.
Plus, it’s just a great way to preserve some of the winter bounties when your garden isn’t producing any longer. And the bright orange just looks fabulous on dark, dreary, winter days!
How to Can Mandarin Oranges
Supplies You’ll Need
- Water bath canner (This one is approved for use on glass top stoves)
- Canning jars, lids and rings
- Rack (for bottom of canner)
- Jar Lifter
- Debubbler – us a debubbler or a wooden skewer
Read more: Can I use a water bath canner on a glass stove?
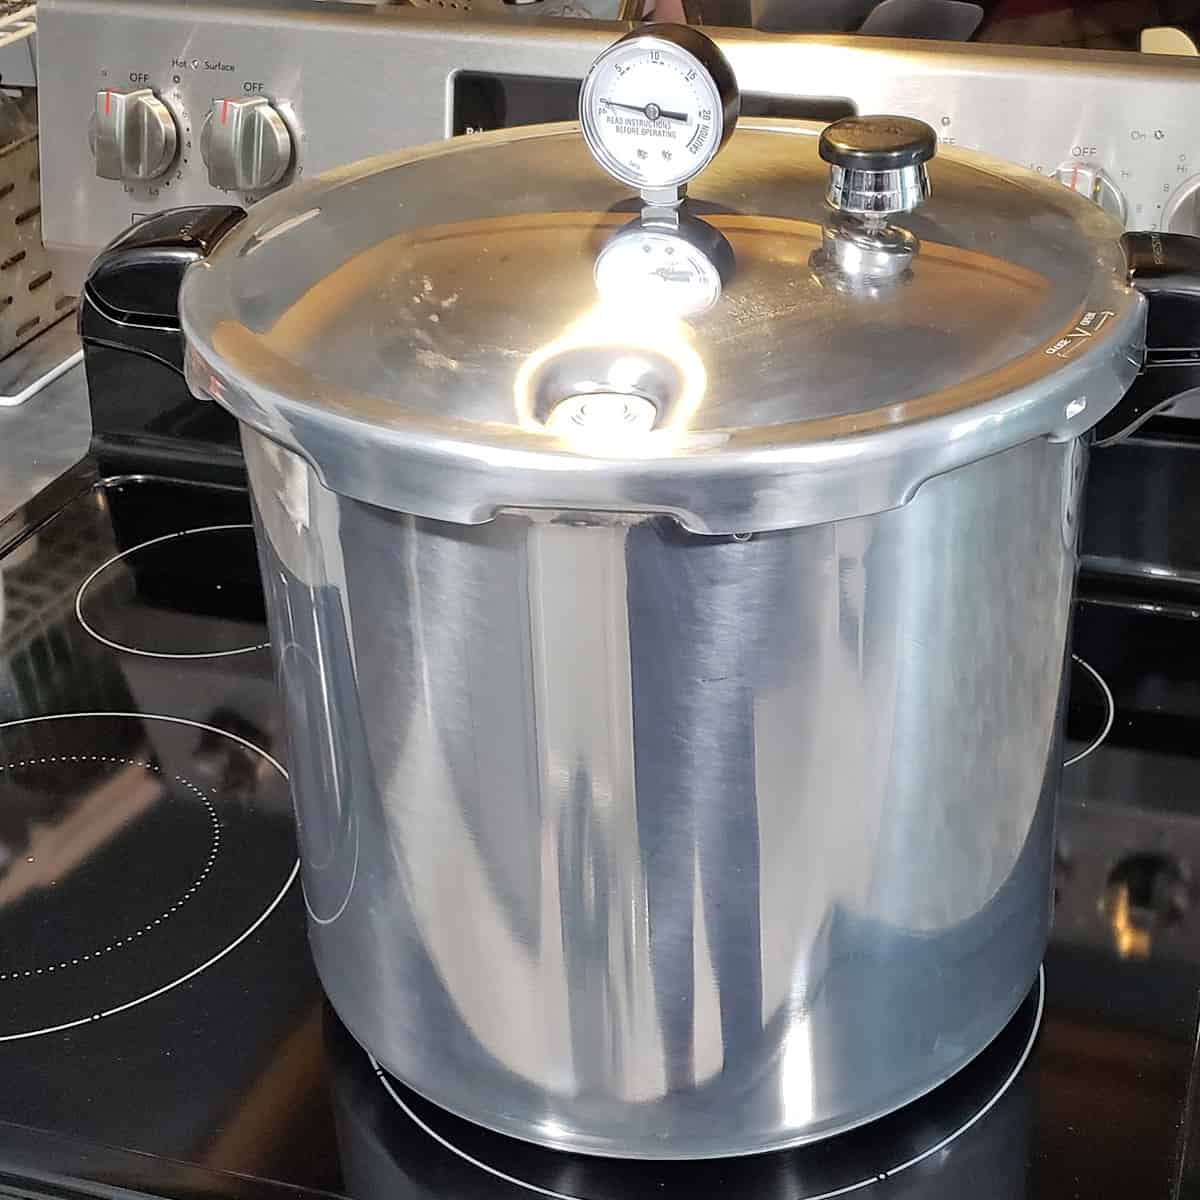
Step 1: Prepare your canner
- Place your canner centered on the heating element.
- Put rack on the bottom.
- Fill halfway with clean water.
- Preheat to a gentle boil to approximately 140°F.
Step 2: Clean your jars, lids, rings, and equipment
It is no longer required to sterilize your jars if you are processing for ten minutes or longer, but it is necessary to clean them before using. I wash in hot soapy water, and then put into my water bath pot to simmer while I’m preparing all the rest of my food and equipment.
Washing out your canner beforehand allows you to inspect it and remove any dust and buildup it may have had from storage.
The jars/rings stay in a warm water bowl. While not a necessary step, it helps me keep a field of clean and keep me organized!
Step 3: Clean your mandarin oranges
Clean in warm, soapy water with baking soda to remove any residue from the peels.
Step 4: Prepare Simple Syrup
- 1/3 C of sugar
- 4 C of water.
Simmer until sugar has dissolved.
This was just enough for my 8 half-pints (4 pints). You can increase the recipe if you have more to do.
Step 5: Peel Oranges
Peel the oranges and set them aside. You may want to use them to create a DIY citrus vinegar cleaner, or you may want to use them to make candied orange peels, or maybe even dehydrate them for use in a simmering pot, a firestarter, or a quick orange zest.
Be sure to remove as much of the pith and string from each orange. You can break into segments or you can do whole. I prefer the segments because you can get more into a jar.
A tip about canning oranges: depending on the orange, the white pith can create a bitter aftertaste, and the membrane can be thicker than a preferred texture. For us, with the mandarins that we have used, this has never been an issue (and I’m sure the super-light syrup helps).
But if you are using full-sized citrus, or are using mandarins that aren’t in season, don’t like the texture, or just want that cute segment like the ones from commercially canned products, you might consider using Pectinase, a pectic enzyme to soak your segments in before canning to remove more of the pith and membrane. Follow these instructions to help you create that ‘cute’ cutie segment!
Save those peels!
By the way – save those peels! You’ll be able to dehydrate them, make candied orange peels, or even a citrus vinegar all-purpose cleaner for your home!
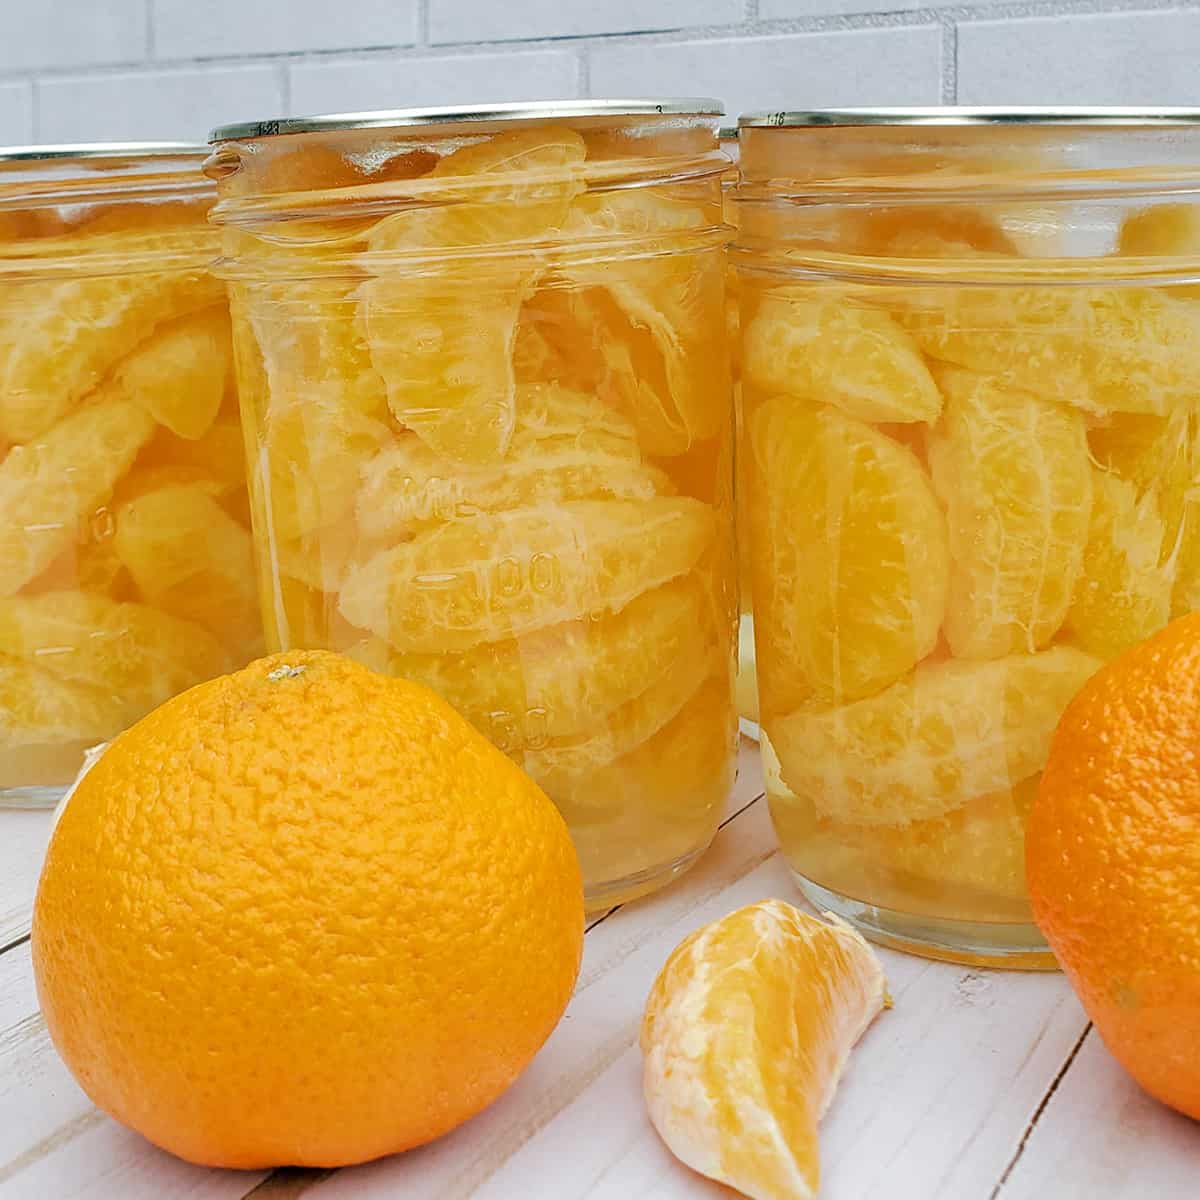
Step 6. Fill jars with orange segments
You’ll want to stuff it full, but not going above your 1/2″ headspace.
Step 7. Fill jar to 1/2″ headspace
Fill to a 1/2 headspace with your light syrup.
Note: If you would like to do without the sugar, use water instead. Orange juice is also another viable option.
Step 8. Debubble
Using a skewer or a debubbler tool (not metal), debubble your jar to make sure no air pockets are left. If you find that you have dropped below the 1/2″ headspace, add one more segment or a little more liquid.
Step 9. Wipe rims
Use your clean cloth or paper towel dipped in vinegar to wipe the rim of the jar to remove any syrup or debris. This is also your last chance to check for cracked or chipped rims.
Step 10. Seal jars
Placing a jar lid on (without touching the bottom – this is where a lid lifter comes in handy), then place ring on finger tight (don’t crank it super tight -just until it resists a little).
Step 11. Place in pot
Make sure your rack is on the bottom first.
Step 12. Check water level
Your pot should have at least 1″ of water above your jars for safest canning. If you need more, add hot water to bring it up to level. I find it best to have a kettle of hot water handy.
12. Cover & boil
Cover your canner and bring the water to a vigorous boil
13. Boil for 10 minutes
You may reduce the temperature slightly to keep a good boil, but if you lose the boil, you must reset your timer.
Use these guidelines for the time you need depending on your elevation:
- 1,001′-3000′ – add 10 minutes
- 3,001′-6,000′ – add 10 minutes
- 6,001′-8,000′ – add 15 minutes
- 8,001′-10,000 – add 20 minutes
You can find your approximate elevation here, using their search tool, or on your local city’s webpage.
14. Allow to rest
After your timer goes off, turn off the stove and remove the canner lid. Allow to sit for five minutes.
15. Remove jars
Remove jars with your jar lifter, and place on a towel or without tipping sideways in the process. Place a towel loosely over the jars if you cannot find a draft-free area.
Inspect for any jars that may not have sealed, but don’t mess with the lids. If they did not seal, place in the refrigerator and eat within five days.
Tip: Don’t retighten rings even if they look visibly loose. It’s fine.
16. Cool for 12-24 hrs
Once settled, check for any jar that may not have sealed.
17. Wash
Remove the rings and wash them in warm soapy water.
18. Store
Label and store. Sit back and admire all your hard work!
How long to store canned mandarin oranges
While most canned goods last up to two years, I’m reading a lot of responses that mandarin oranges may not last that long as they may turn bitter.
This could be, in part, because they used less than perfect oranges (as you see in the video above), which means a less than favorable taste down the line. So always choose the best oranges you can!
How to Serve Canned Mandarin Oranges
Right out of the jar is our favorite method. Put them in the fridge the day before you plan to serve if you like them chilled. They are a nice side dish to a morning breakfast or a sweet treat after dinner.

Can you add a print button for those of us that like a hard copy? Thanks.
Eventually I’ll get the to the canning ones, but I’m slowly converting the whole site to recipe cards. But you can copy/paste or create a pdf.
What is a debubbler? I’ve always ran a table knife along side of jar? Now I see, “not metal”?
A knife is a version of a debubbler. But something non-metal is recommended to not damage the glass. A debubbler is the long blue thing used in the video, or a plastic knife, a chopstick, anything that you can poke around and move the food.
Just did this last night and they turned out great. Every jar sealed. Thanks!
awesome!
I did this exactly as per another recipe and they came out incredibly bitter much like a grapefruit, do you happen to know how come this happened?
If you have bitter oranges, it’s not the process’ fault, but it could be the oranges. Like I mentioned in it, you may want to try the variety that removes the membranes which can leave a bitter aftertaste, or to do the version that is canned in syrup instead of water. You did nothing wrong, it’s just the oranges.
Where do I get the enzyme? Every site I go to is for wine making .
I linked to it in the post. Just click on the blue link – and it will take you there.
How many oranges or weight of oranges do you start with? Thanks!
I had about 1 large bag of cuties from the store. I didn’t weigh or count, just filled up the available jars I had.
Hi you said you cannot use a water bath canner on a glass top stove? I do i always have, I have had my glass top stove for 15 years I have canned in a pressure cane and a hot water bath pot every year without any problems. 139 qrts of green beans in pressure canner, 72 qrts of tomatoes in a hot water bath. I am canning for 3 house holds.
It’s not what I say, but what manufacturers say. Whether you’ve had a problem or not, it’s recommended by the manufacturers to use flat bottomed pots for water bath canning on glass top stoves.