How to Freeze Dry Rotisserie Chicken
This post may contain affiliate links. We may earn a commission if you purchase via our links. See the disclosure page for more info.
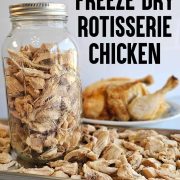
Rotisserie chicken is an easy first protein project for your freeze dryer. It requires little prep, dries so incredibly easily, and refreshes into chicken that is perfect for any meal or chicken salad that you love!
Another bonus to freeze-drying rotisserie chicken is finding it on clearance the next day! You will love being able to grab a few at a time, fill your freeze dryer, and use the carcass to create bone broth that can also be freeze-dried for bouillon!
I’ve chosen the Harvest Right Freeze Dryer for our family, but there are a variety of machines you can use now.
How to Freeze Dry Rotisserie Chicken
Step One: Strip the chicken
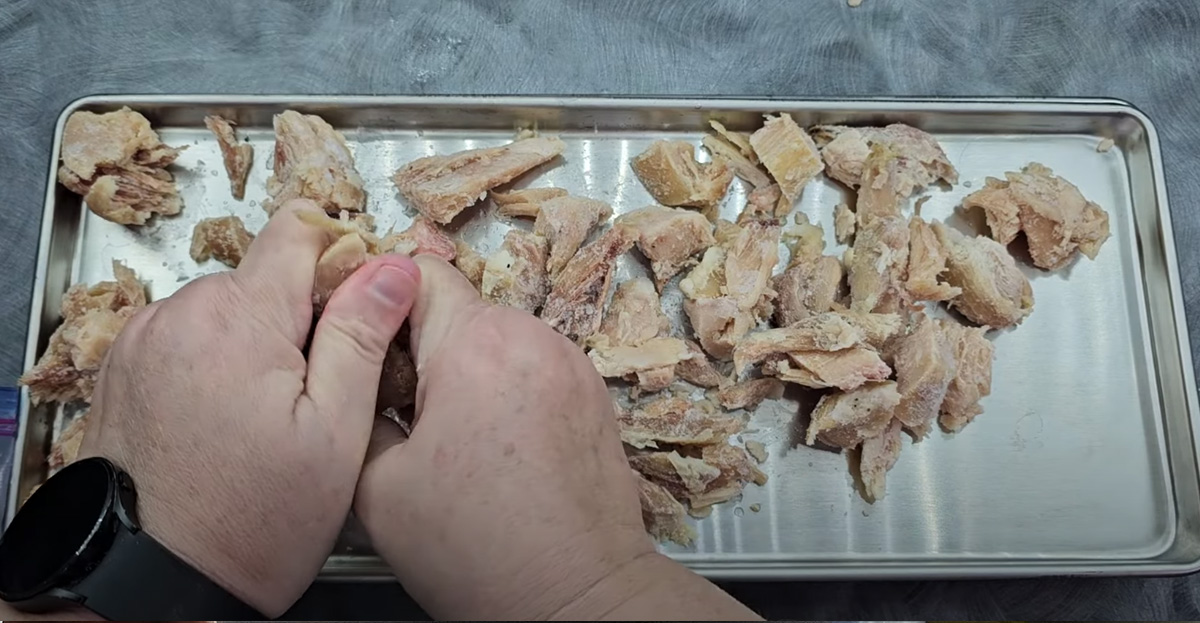
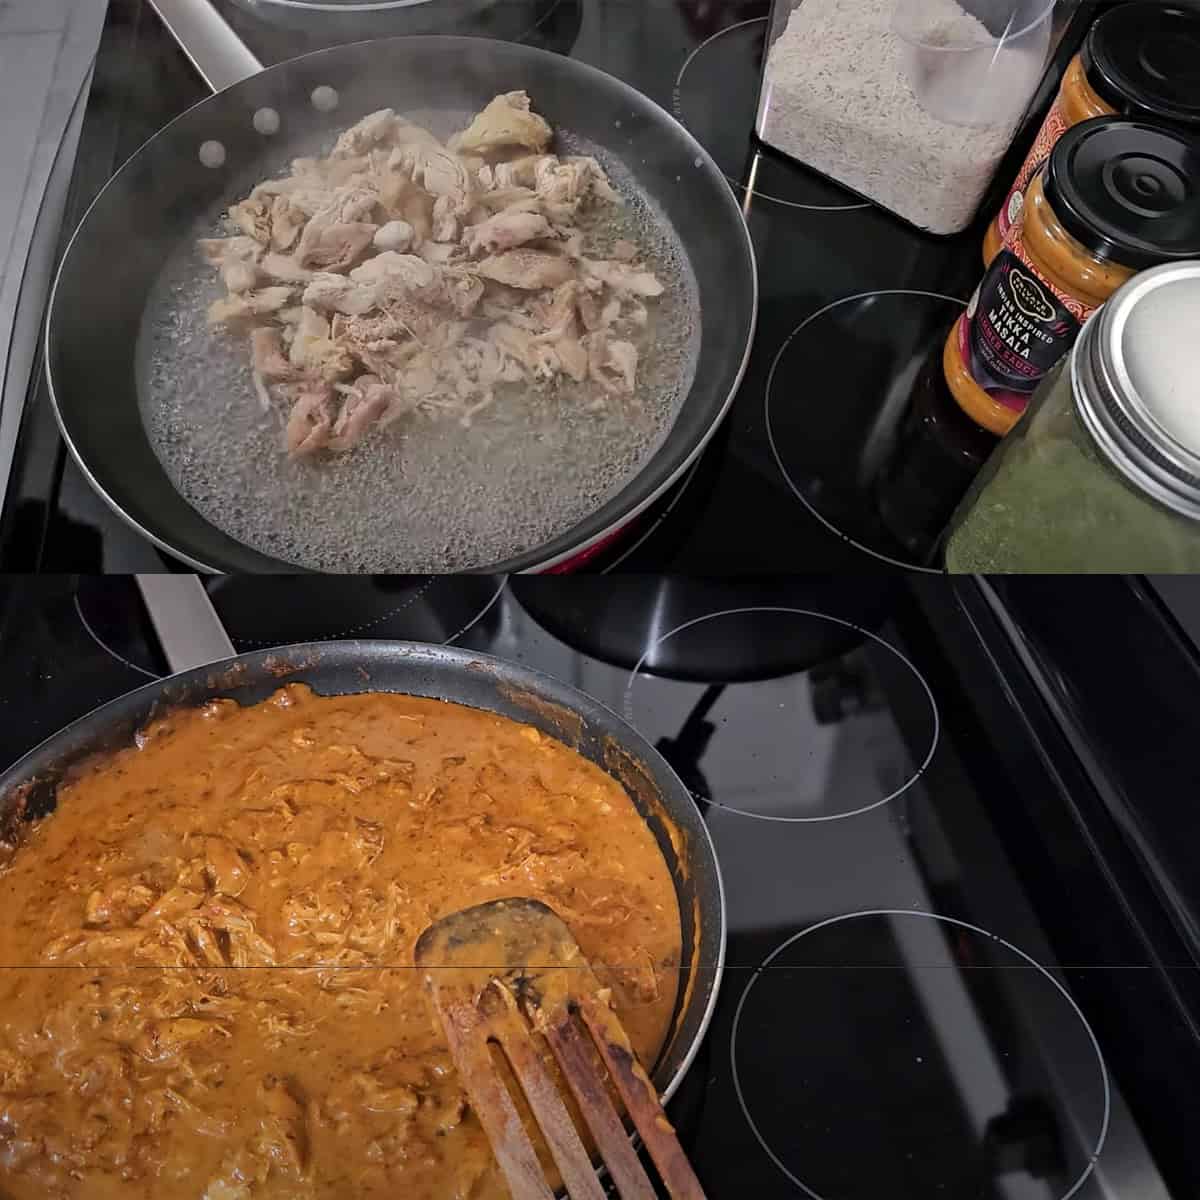
Remove skin, fat and bones from chicken. Set aside to make broth!
Step Two: Cut chicken into small pieces
I find that bite-size pieces of about 1 inch or smaller are best. They freeze, dry, and rehydrate better for most meals.
Step Three: Freeze chicken pieces for up to 24 hours.
Freezing chicken pieces will help the freeze-drying process go much quicker and run your freeze dryer less.
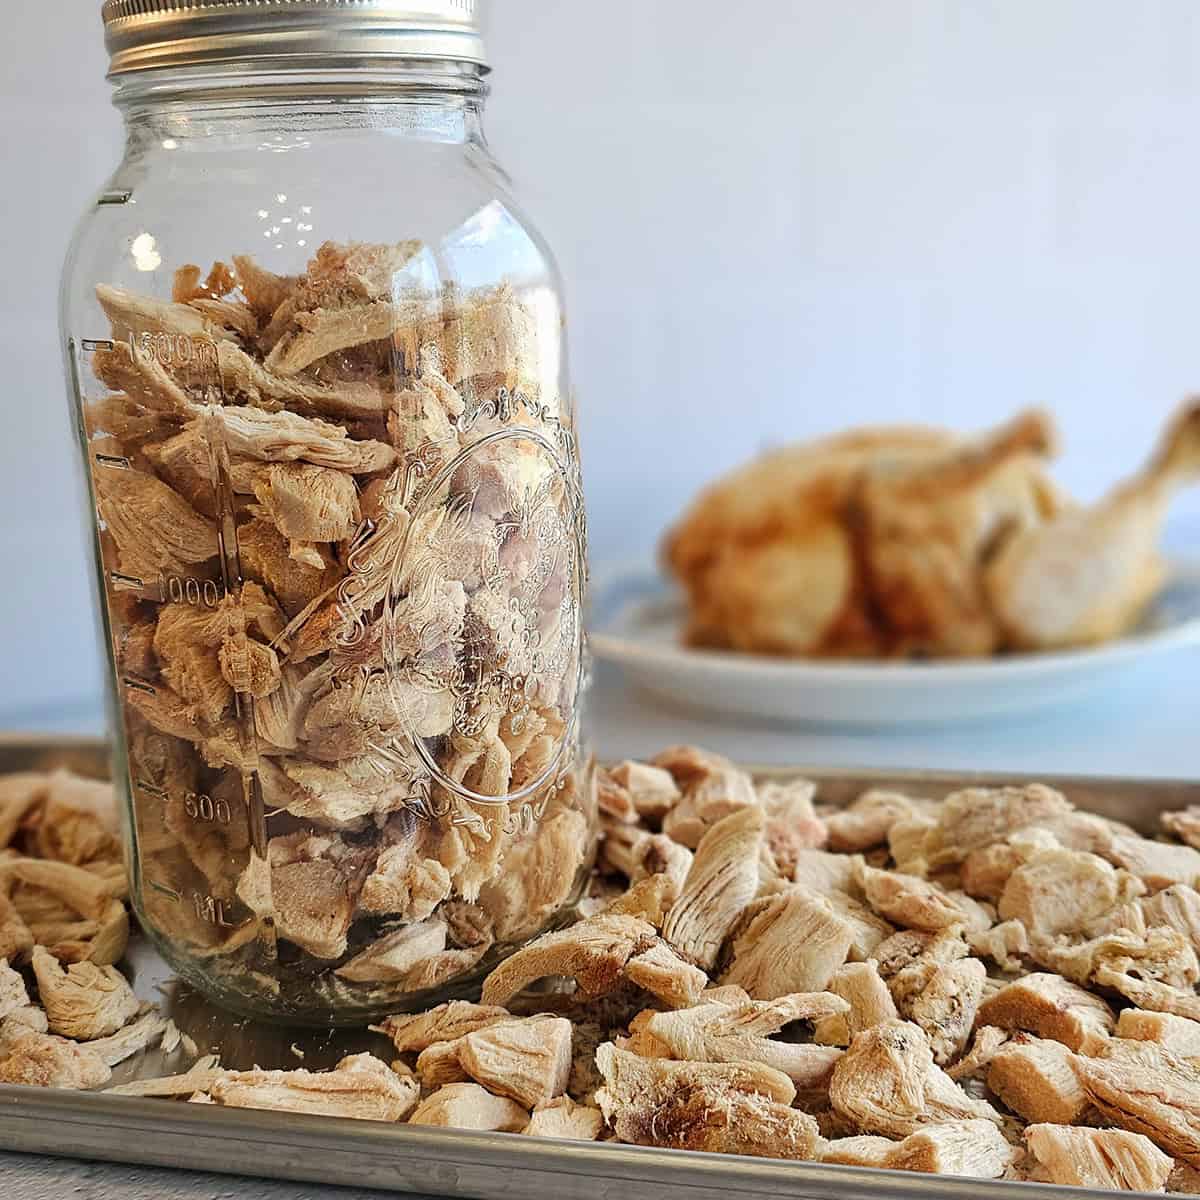
You can freeze them on a large cookie sheet or freeze-dryer trays. Lay those trays on the top section of your chest freezer or in your stand-up freezer. I created a section for my freezer specifically to place up to three freeze-dryer trays to allow things to freeze on trays.
I usually freeze things overnight. For the chicken, I had so much to freeze, I chose not to use my freeze drying trays, and instead used bags to freeze as much as possible and loads trays later.
Step Four: Run pre-freeze cycle of freeze dryer
Make sure to follow your manufacturer’s directions for this cycle. I usually start this when I’m prepping the final trays or before I pull out my frozen trays from the freezer.
Step Five: Freeze Dry
Place frozen chicken pieces onto freeze dryer trays and place into freeze dryer. Set drying time to an extra 24 hours to allow for full drying and give you a chance to check and run the drying process longer if necessary.
Close the vacuum and hit start!
Make sure to follow the manufacturer’s directions on how to run your machine. I happen to use a Harvest Right freeze dryer, but if you are using another freezer dryer, it may have different directions.
Step Six: Test Your Food
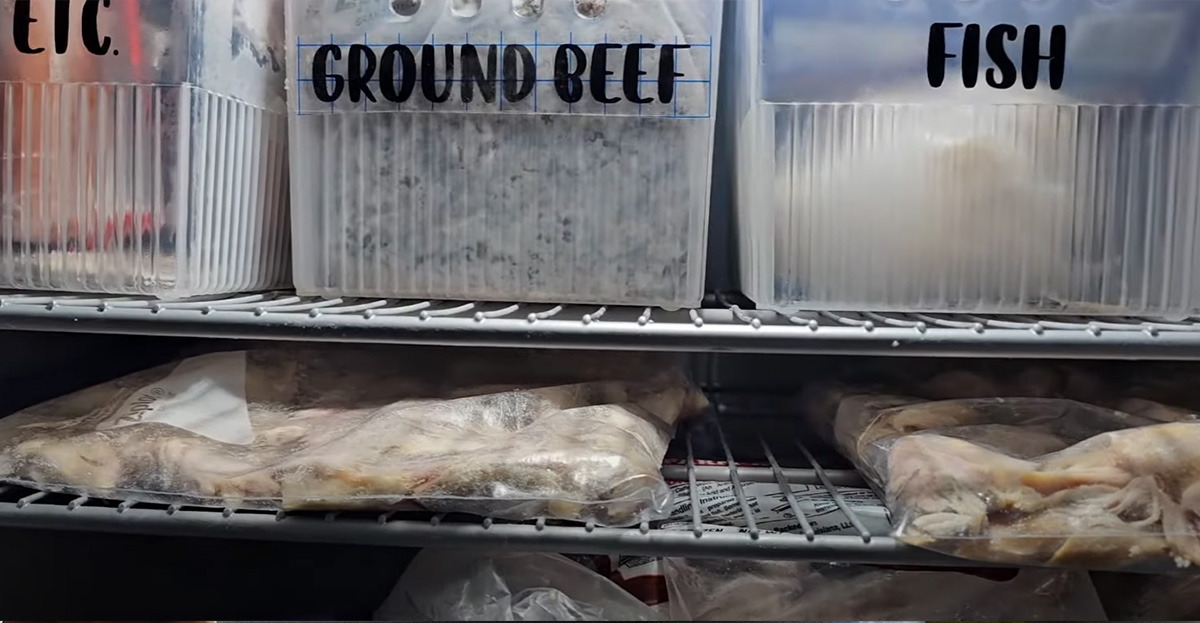
After initial freezing and drying cycle has stopped, you can pause, pull the trays out, and test your chicken.
Chicken should break easily and be fully dry. Add more time if you feel it needs it.
Another option is to weigh your tray, then place back into your freezer dryer for two hours during the same drying time. Weigh your tray again. If there was a weight difference, dry more. If not, you’re good!
I prefer to use the longer drying time and test by look and feel for chicken.
Step Seven: Store
Store in an airtight container (canning jar or Mylar bag). Vacuum seal or use an O2 absorber for the size of the container.
I use vacuum-sealed half-gallon jars for immediate storage. I let the food cool for just a few moments, then put it directly into the jars and vacuum-seal.
Our goal is not a 25-year shelf life but a few years, and vacuum sealing works just fine for our needs. If you need more, using O2 absorbers will help. I use this vacuum sealer and these O2 absorbers from Amazon.
STORAGE NOTE: My experience with rotisserie chicken has been that a six-month to one-year shelf-life may be all I get, depending on the fat left on the chicken. Obviously, the skin will contribute, as will the darker cuts of meat that naturally contain more fat than just the breast meat. Rotisserie chicken isn’t meant to be freeze-dried for long-term storage, but it’s a convenient food in the pantry for quick, easy meals!
Yield
Because chicken does not shrink with freeze-drying the way that dehydrated foods do, you can use exactly the amount you need for a recipe from its freeze-dried state.
If your recipe calls for 1 cup of chicken, use 1 cup of freeze-dried chicken.
Rehydrate
Hot: Place the desired amount of chicken into a skillet with enough broth or water to cover the bottom and simmer for a few moments.
Cold: Place chicken in a bowl covered with broth or water to allow it to rehydrate either on the counter or place in the fridge.
Suggested Uses
You can use freeze-dried chicken in any way that you use fresh. I love it for quick stovetop meals when I’m stretched for time in the evenings.
Some of my favorite uses:
- Chicken Salad: the rotisserie chicken flavor is perfect with grapes, chopped pecans, a little pesto and mayo, flax or chia seed meal and shredded radishes for extra crunch.
- Tikka Masala: This is one of my favorite pantry-pull, fast meals for the evening. I admit I used jarred sauce with a little extra broth, allow the chicken to rehydrate and heat up while I make rice in the rice cooker and saute’ some zucchini chunks. Dinner in 20 minutes with very little hands on from me!
Darcy’s Tips
- I love catching rotisserie chickens on clearance at my local grocery store. It makes it very easy to stock up on pre-cooked chicken at an affordable price without doing all the cooking work. It’s great for summer since you don’t have to heat the kitchen up roasting chickens!
- Costco and Sams are both famous for their rotisserie chickens, but you don’t have to have a membership to either since most grocery stores now carry them.
- Save the bones, skins, and fat to create a rich chicken broth that can be dehydrated or freeze-dried!
More Freeze Drying Recipes to Try
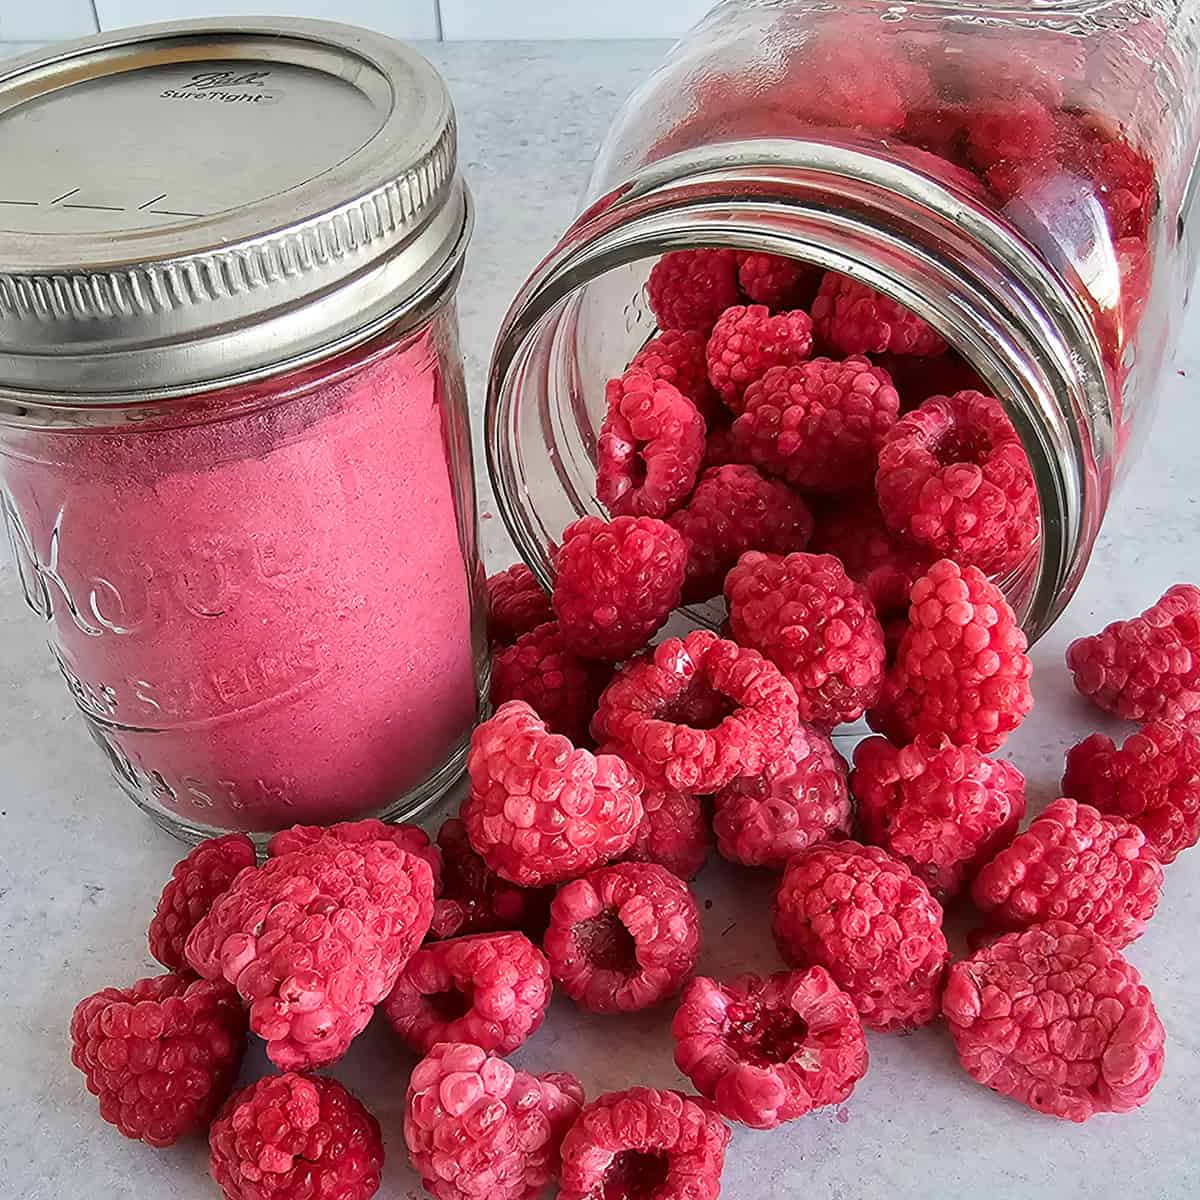
- Freeze Dry Raspberries
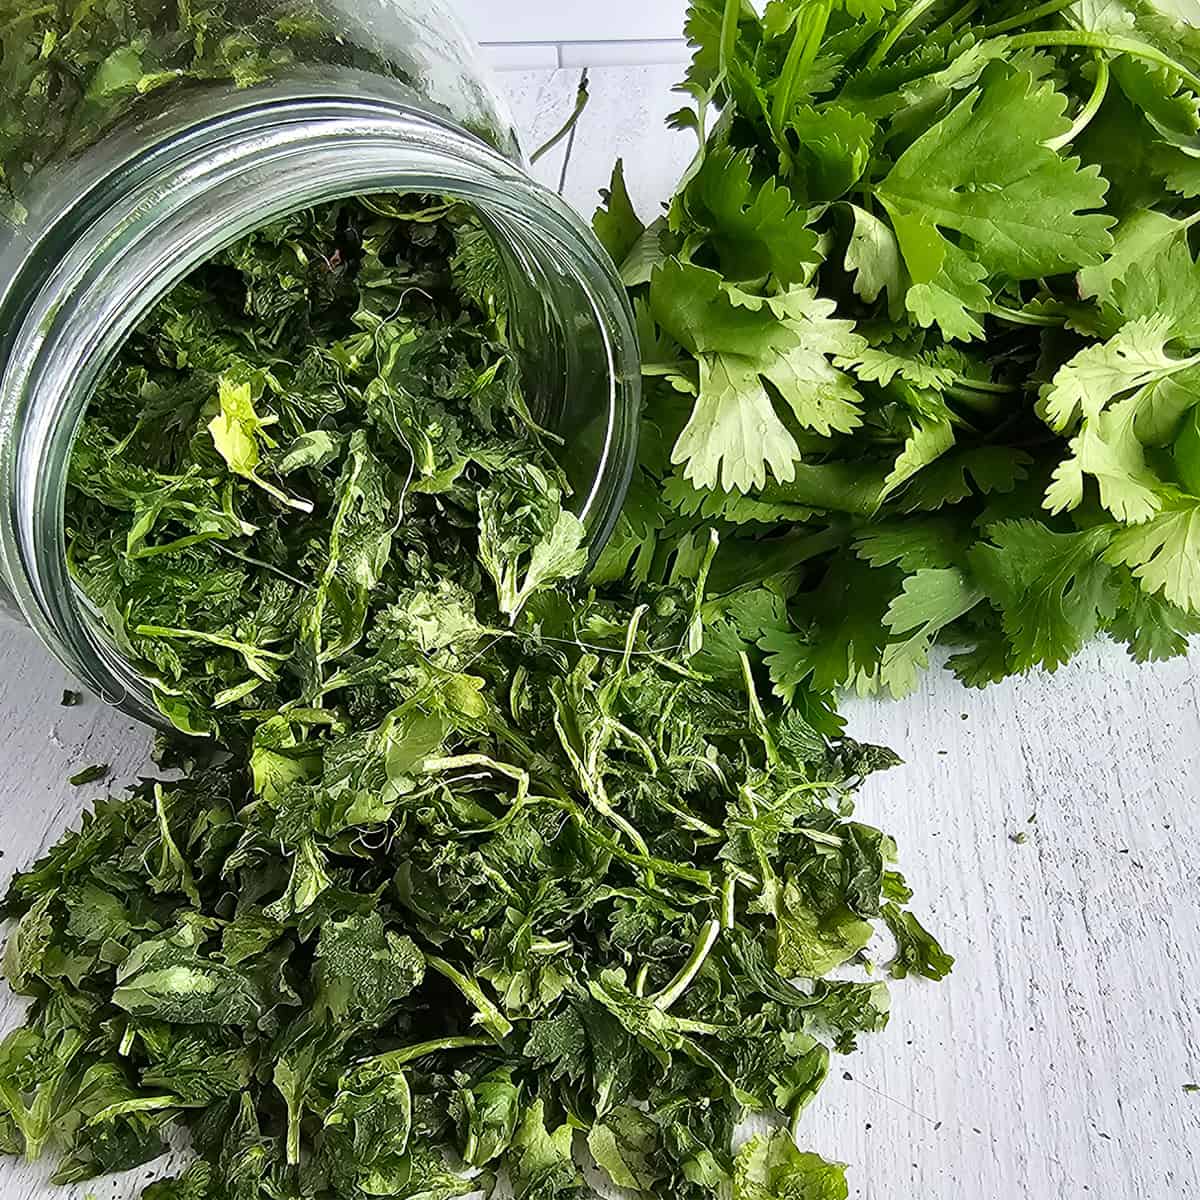
- Freeze Dry Cilantro – keep the flavor!
- How to Reseal #10 Cans of Freeze-Dried Foods

How to Freeze Dry Rotisserie Chicken
Equipment
Ingredients
- Rotisserie chicken
Instructions
Freeze Drying
- Strip the chicken. Remove skin, fat and bones from chicken. Set aside to make broth!
- Cut chicken into small, bite-sized pieces.
- Freeze chicken pieces for up to 24 hours.
- Run pre-freeze cycle of freeze dryer
- Freeze Dry – set for 125F and set drying time at least 12 hours over.
- Test by making sure chicken shatters easily.
- Store in an airtight container by vacuum sealing a jar or using O2 absorbers in mylar bags.
Rehydrating
- Simmer chicken in broth to rehydrate. I don't use a set amount, I just use enough to make sure it can sit in the broth easily. See notes below about measurements.
Darcy’s Tips
Nutrition
Nutritional information is an estimation only. Nutrient information for dehydrated foods is based on fresh. Use 1/4 of the servicing size for the same nutrient information. Thus 1 Cup of fresh fruit has the same sugars as 1/4 dried.
©ThePurposefulPantry. Photographs and content are copyright protected. Sharing of this recipe’s link is both encouraged and appreciated. Copying and/or pasting full recipes to any social media is strictly prohibited.
Easy and great to have quick access to meal!