7 Alternatives to Vacuum Sealing Jars
This post may contain affiliate links. We may earn a commission if you purchase via our links. See the disclosure page for more info.
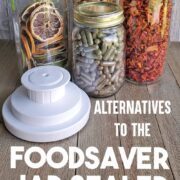
Not able to find Foodsaver Vacuum Sealing Jar Attachments? Here are some alternatives to vacuum sealing jars for your long term storage. And the first one just might surprise you 🙂

Have you been looking for the Foodsaver jar attachments to vacuum seal your canning jars for long-term storage and have run into “Currently not available” or “sold out” at every turn?
Never fear, there are good alternatives that you can use to put your dehydrated foods and dry goods in storage, and even while still using your canning jars, or other containers.
When I contacted Foodsaver’s media department, their help line, and their message board, the same message rang clear through all three folks:
It’s not that we’re not selling them any longer, it’s that we just do not have any definite time when stock will become available again.
Foodsaver Brands
Note: The Introduction to this was written when there was a serious shortage on Food Saver Jar Attachments. But the alternatives are valid no matter what.
Too long to read? The Takeaway –
Vacuum sealing IS NOT necessary for good food storage for dehydrated foods (or any dry storage). Yes, it’s a helpful tool to prevent spoilage, but if you package correctly, airtight storage is all that is not needed, not oxygen-proof storage.
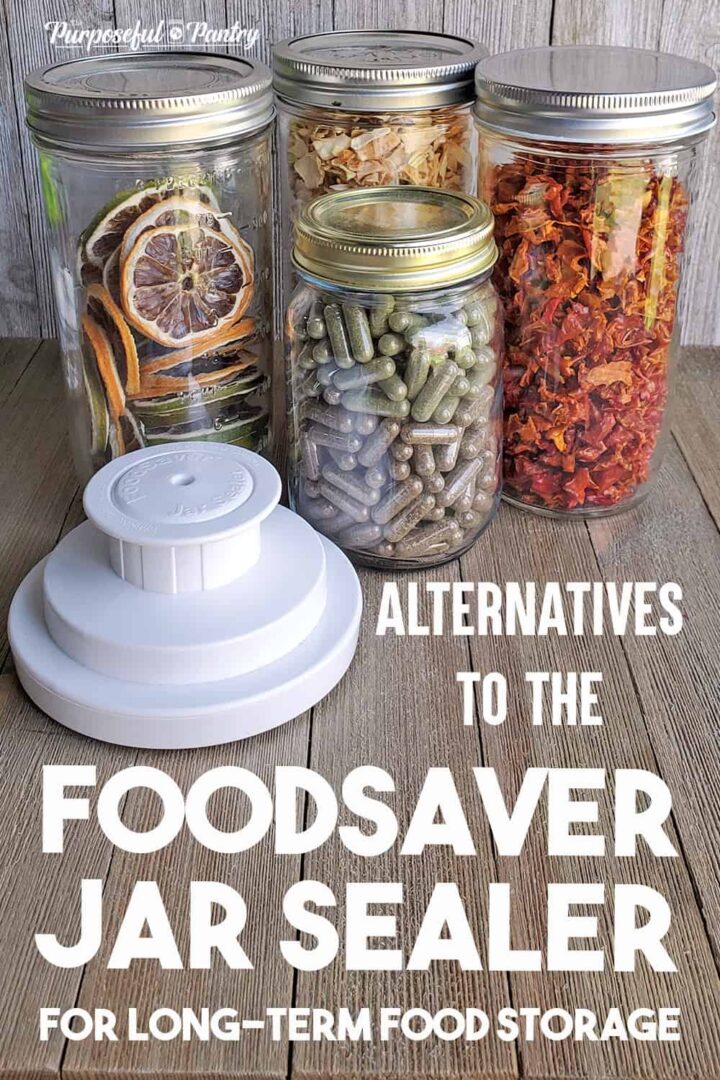
Alternatives to Vacuum Sealing Jars without a Foodsaver Jar Sealer
Airtight Container
Vacuum sealing is not necessary for the long-term storage of dehydrated foods.
Yes, I said it! Vacuum sealing canning jars is a benefit to long-term storage, but it is not mandatory. A good airtight container is all you need.
You can use
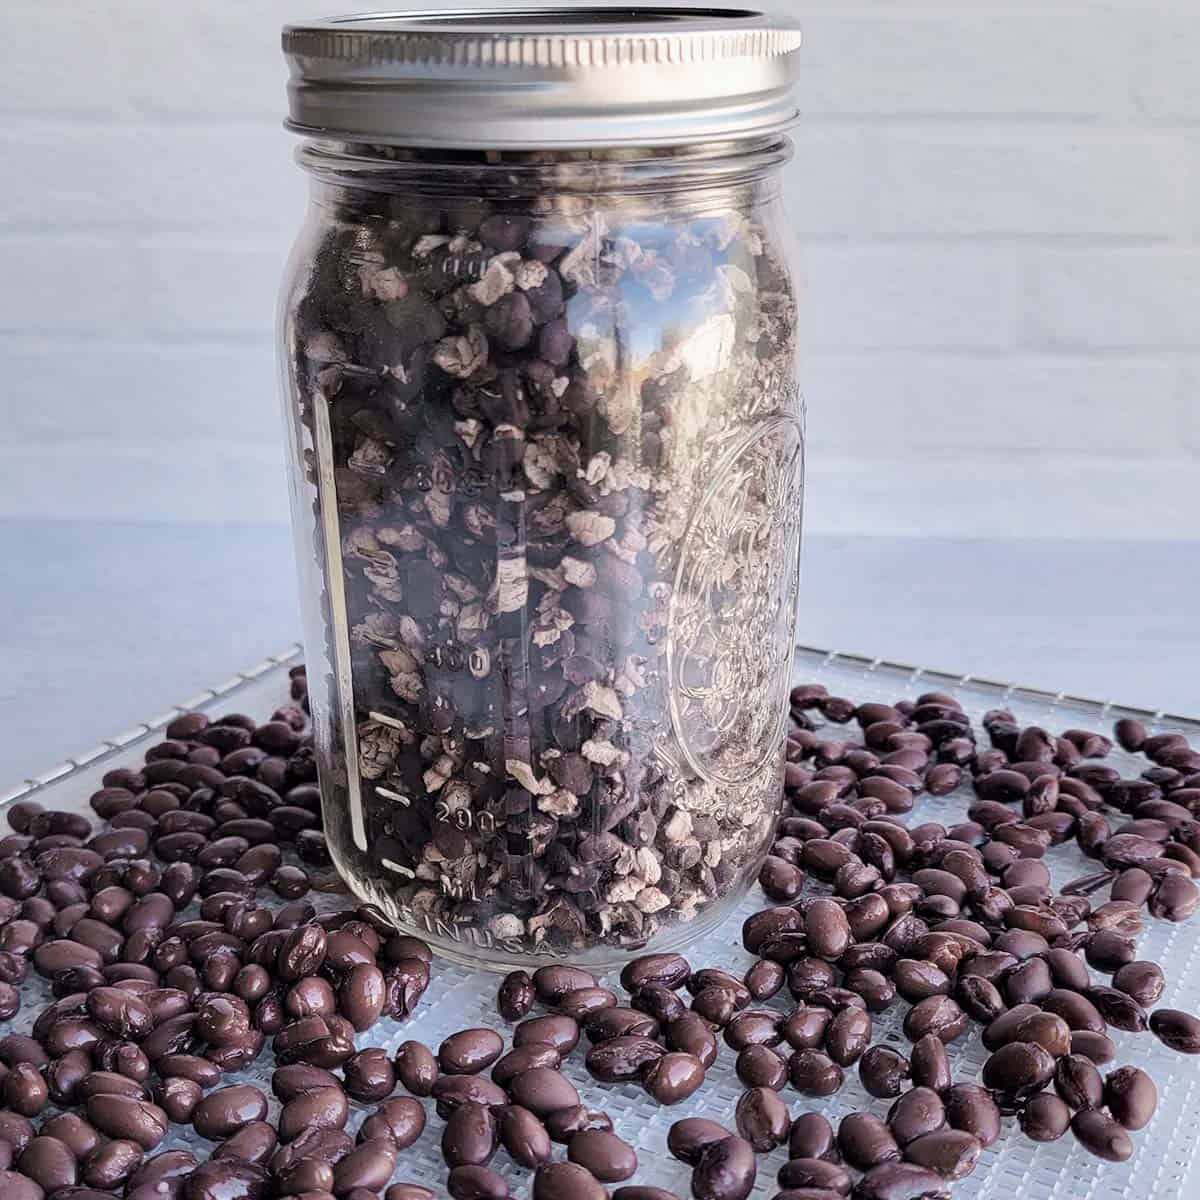
- Commercial food product jars – think spaghetti sauce, pickles, salsa,
- Canning jars
- Plastic containers such as Rubbermaid, Sterlite, Progressive, Tupperware, etc. just make sure that when squeezed, you don’t hear or feel air escaping from the container – because then it is not airtight.
And also make sure the container that you’re putting your food into is equal in volume to the amount of food you’re storing. Don’t put a cup of rice into a container meant for 8 cups. That extra air can reduce the shelf-life of that rice.
Foodsaver Vacuum Bags
Vacuum sealing bags, whether from Foodsaver or another brand are great for long-term storage of smaller quantities of food.
The problem with some dry goods such as rice, or dehydrated foods, is that those foods have sharp, pointy edges that can put micro holes in your bags that you never see. Then, when you get the bag, you don’t understand why the bags are bloated or the food is soft or even molded.
So in order to use vacuum sealing bags for dehydrated foods, try these methods to help protect and double-bag. Put your food into one of these bags or wrap in one of these components and then vacuum seal the whole thing in your vacuum sealer bags:
- Wrap in parchment paper
- Double bag with older vacuum sealer bags for repurposing
- Use paper bags
- Wrap in paper towels
- Use a zipper top bag
Remember that these are not rodent-proof, but definitely worth doing, especially if you need to store smaller quantities!
Mylar Bags
Mylar bags are classic for long-term storage and for hiking/camping meals. They can be a perfect alternative to keeping food for long-term storage in your pantry, in an emergency bag for your car, etc.
These are basically a clear plastic bag that has been fused with a foil or other metallic coating that stops light from getting into a properly sealed bag.
They can be closed with the heat sealing function of a vacuum sealer, a straight iron, or a clothes iron. Once sealed, they stop air from entering the bag as well. They become sealed and protect your food even better than a mason jar.
To vacuum seal them, simply throw in an O2 absorber, seal the bag quickly, and you have airtight storage from within. You can use this handy, printable chart to determine the right amount of O2 absorbers you need.
There are zippered mylar pouches that are good to store in as well, though they are air permeable over time, so you’ll need to be careful for that.
LEARN MORE: Moisture Absorbers vs Oxygen Absorbers
Vacuum Canister
Foodsaver made vacuum chambers for their machines that are no longer in production and can be quite expensive in the States, though it seems are easily available in the UK.
You may be able to find them at thrift stores, from friends (put the word out in a local Facebook group for someone looking to declutter!), or even on Ebay, but be sure not to pay the outrageous prices being asked for them now.
A vacuum sealing canister works by placing your jar with a lid inside the canister, closing the canister, and running your vacuum seal machine with it. The vacuum created inside the canister is also being created inside your jar. Once the process is finished, open the canister and your jar is still sealed!
There are some alternatives to the Foodsaver version, though I have not used them, yet. If you have, I’d love to hear your experiences with them in the comments! Let us know!
DIY Vacuum Canister
Vacuum canisters can be easily made from PVC piping components that you can get from any DIY store that sells them in the plumbing section.
It works much the same way as the Foodsaver canisters do, and you can make it as large or as small as you need! Here are plans to build your own DIY Vacuum Canister.
Other alternatives to the Foodsaver Jar Attachments?
- Fermenting Jars
- All-in-one systems that have a hand-pumped vacuum element and each jar has a specialized lid
- Containers that go along with those hand-pump systems.
While they may work, I don’t recommend them unless you have no other options, and vacuum sealing is that important to you.
But please, let me reiterate – while it can be helpful, it’s not necessary. Moisture is really a bigger issue for storage where dehydrated foods are concerned – so protect for that first and foremost.
Oxygen Absorbers
Whether you use a glass jar, a mylar bag, or other device, oxygen absorbers do what vacuum sealing does – but with oxygen only.
Oxygen is one of the 4 enemies of food storage (light, heat, oxygen, and moisture). So while vacuum sealing pulls much of the air out of a container oxygen absorbers pull out just the oxygen. (Which is why you may not get a ‘vacuum effect’ in a mylar bag when they are used.
These should be used for long-term storage only with dehydrated foods as they are expensive to use for short-term since they have to be replaced every time you open a jar or bag. They are one use and done.
Is Oven Canning is Safe Alternative for Vacuum Sealing Jars
Oven canning (also misnamed as Dry Canning) is not an approved nor safe method for food preservation.
- The jars were not created for dry heat. The jar manufacturers have said that they aren’t made for that heat, which can cause microfractures that promote jar breakage.
- Heat promotes moisture release. Inside of an airtight jar, that moisture doesn’t reabsorb evenly, leaving the possibility of moisture pockets that can later form mold.
- Condensation caused by the cooling effect inside the jars also becomes problematic, especially in this ‘sealed’ environment.
- This introduction of moisture into a low-oxygen environment creates the perfect growing medium for any mold spores that could be on your foods if not properly cleaned.
Additional resources:
- Dry Canning Isn’t Canningby the National Center for Home Food Preservation
- Preserve the Harvest by the Utah State University Extension
- Canning Jar Safety by the SDSU Extension


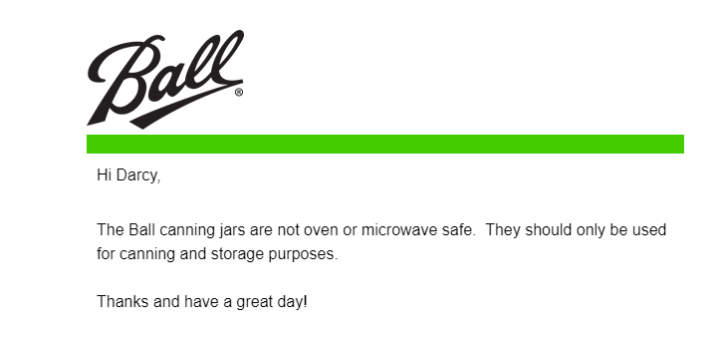
Hey Darcy, total newbie here. I hoping you will answer my question. Two parts : is it okay to open a jar and only use part of it? And do you have to change the lid every time you open the canning jar ?
Yes, you can use only part, and then reseal. And no, you do not have to replace the lid unless you damaged it by opening it up. Canning, on the other hand, should use a new lid every time.
Any pressure canner can be used as a vacuum chamber. I use my canner for this purpose often. Simply attach the vacuum source (vacuum from food saver, hand pump. Hand pump would be very slow especially using a large canner. I use my automotive a/c vacuum pump) to the canner weight port via hose ( may need a adapter, automotive parts store can help). I also plumbed in a vacuum gauge so I know when I have reached full vacuum. Again a auto parts store can help with gauge. I used a a/c low pressure gauge. Under $15.
I bought a cheap vacuuming set with widemouth and regular sealing top and a hand pump. It is so efficient that it is quicker than dragging out the electric sealer.
I often use the canisters to seal jars. I often re-use jars from products that I have saved. These would be ones with the silicon ring in the lid. I do check the lids on sealed jars fairly often; as sometimes the seals don’t last. Make sure the jar rims and lids are clean and free from debris. I usually replace the lids first and then the jars when the don’t stay sealed. I find that a finger-tight ring helps with sealing. Sometime, I sandwich a second lid between the sealing lid and the ring to help developing a seal. If you have issues with maintaining the seal with the lid alone, you can just screw on a ring and it will help maintain the seal.
I was one of the fortunate ones to find the jar sealers early in 2020. But, I found them on the FoodSaver website not Amazon.
I also use some of your other techniques.