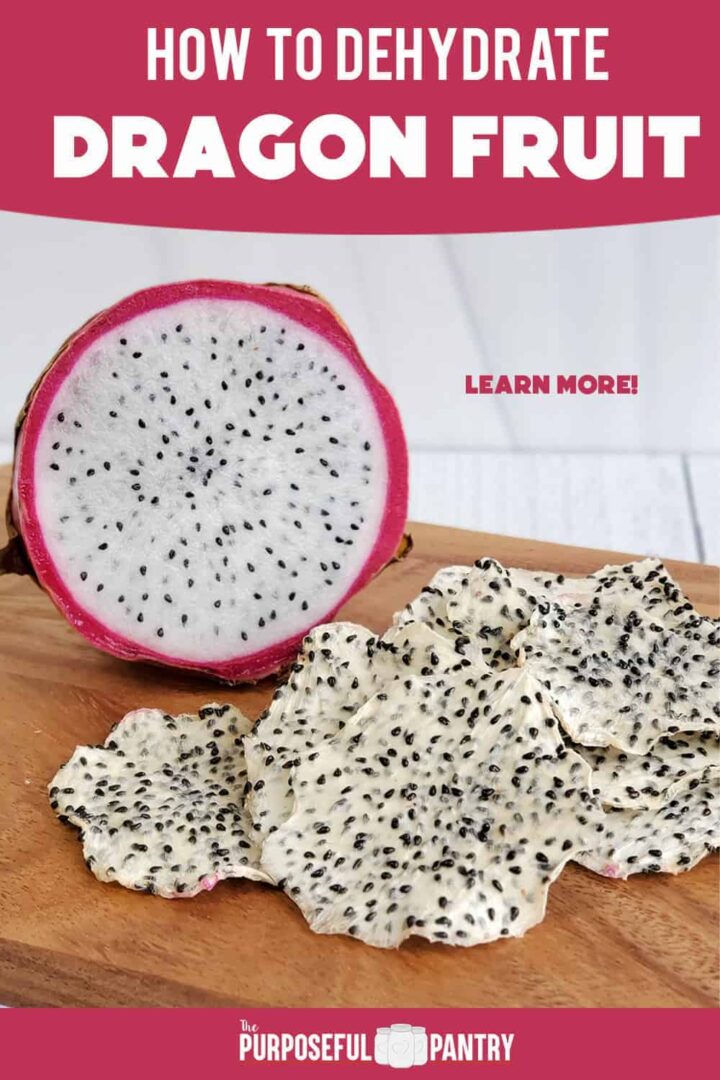
How to Dehydrate Dragon Fruit (aka Pitaya)
This post may contain affiliate links. We may earn a commission if you purchase via our links. See the disclosure page for more info.
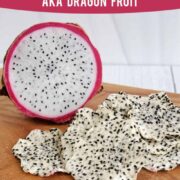

Dehydrate Dragon Fruit for long-term storage, for snack time treats, and to preserve your harvest. Go on a food adventure! But don’t be disappointed if it’s not your favorite project.
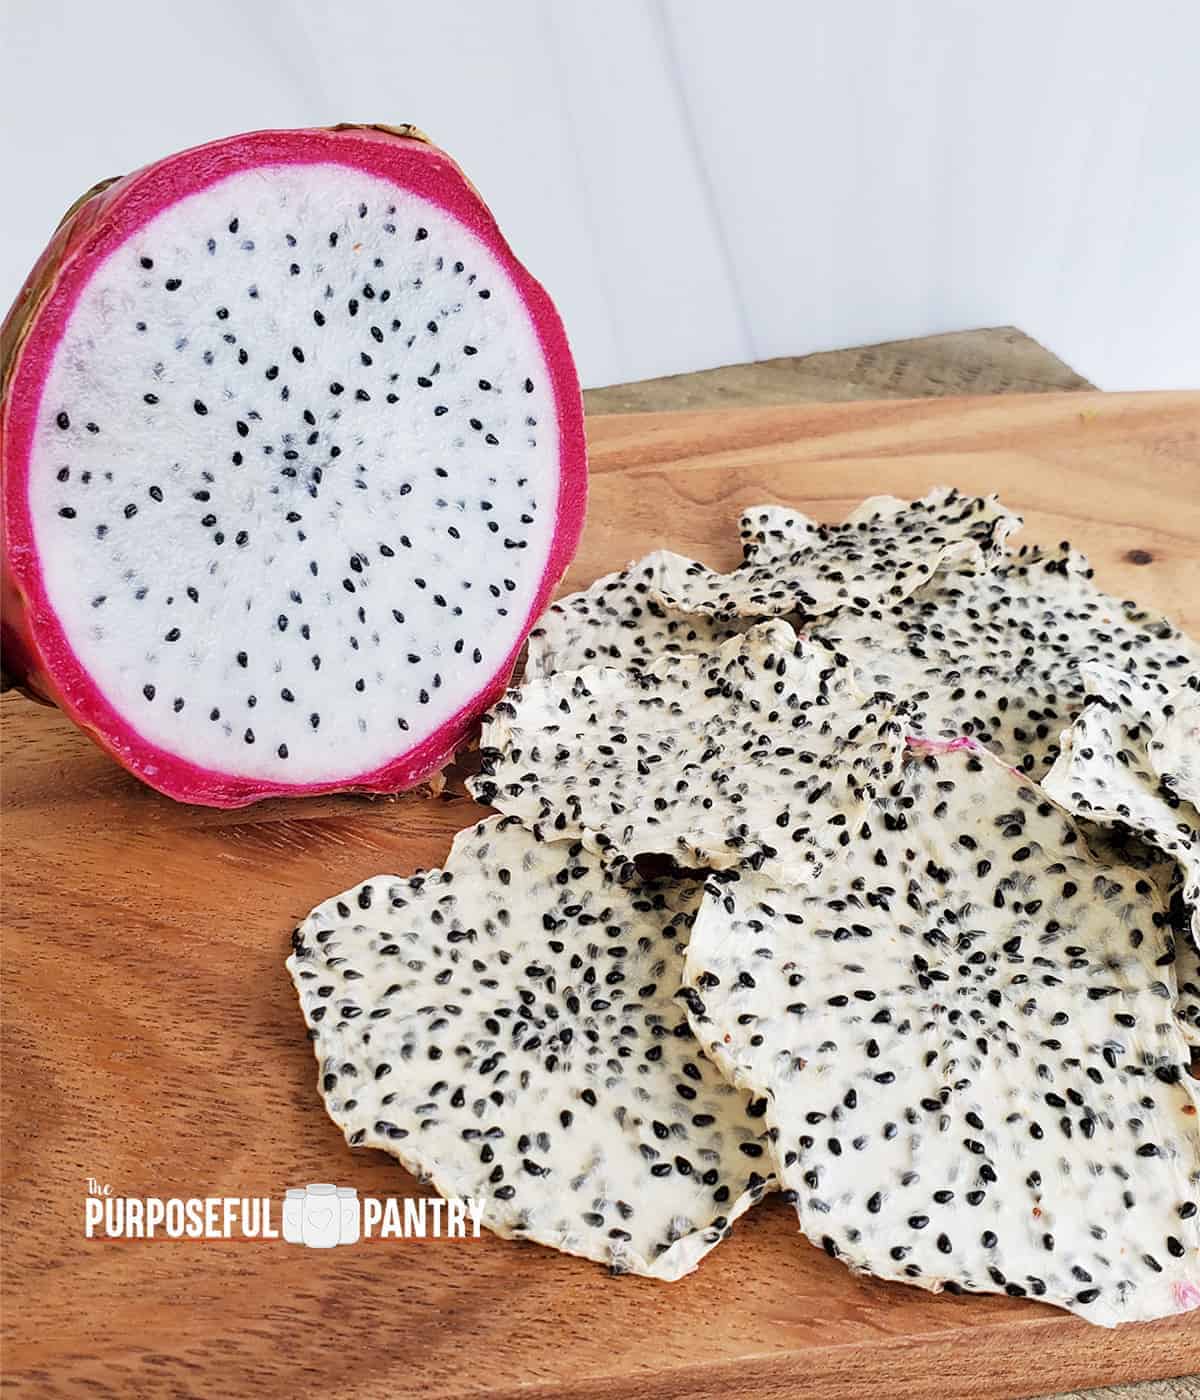
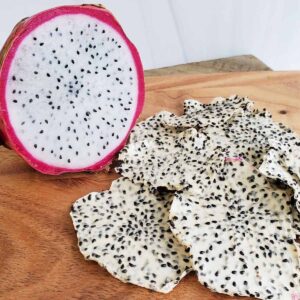
Have you ever tried dragon fruit before? It also goes by the name pitaya, and is a fun fruit to look at – it reminds us of the Harry Potter dragon eggs!
It’s an exotic fruit to many of us in North America, and I want to take you along on our fun food adventure dehydrating pitaya this week!
It’s super easy to dry, with little prep, so here’s to trying something new!
How to Dehydrate Dragon Fruit
Quick reference: Dry at 135°F / 57°C for 8-12+ hours
Step One: Wash fruit
As with all fruit, even organic, always wash your fruit before peeling so that you don’t transfer any surface problems into the flesh with your hands or your knife.
Step Two: How to cut dragonfruit.
You have some options:
- Scoop the flesh out with a spoon, first, and then slice into 1/4 inch slices (6 mm).
- Slice the fruit (remove those leaves first) and dry with the skin on.
- Slice down the slice and just peel the rind off
- Slice with the skin on, then just remove the rind after – it’s quite easy to do as well.
Step Three: Dry at 135°F / 57°C for 8-12+ hours
You can place these relatively closely on the trays, and you don’t need a liner.
Step Four: Dryness check
Dried Dragon Fruit will be dry to the touch, pliable but not snap. They will bend and then break.
Step Five: Eat!!
Storage:
Be sure to condition before storing. Once properly dried, conditioned, and stored in an airtight container (you may use a moisture absorber if you’d like), dehydrated dragon fruit should last up to a year. You may get even longer!
Oven Directions:
- Place dragon fruit slices on parchment paper on a cooling rack
- Place into a 170°F/76°C oven (or as low as your oven can go)
- Crack the door with an oven-safe oven mitt or wooden spoon
- Dry for 4-6 hours until thoroughly dry (times will vary – watch carefully as to not burn)
Author’s note about dried dragon fruit.
I will be honest. I found this to be a largely disappointing project. I had researched the different varieties of dragon fruit and read that white tended to have the least taste of the white, red and yellow varieties.
In fact, it’s quite bland.
I was really disappointed in how little taste it actually has. And at almost $6 per fruit, it was an expensive project try.
Experimenting with food preservation is a good thing, even if it doesn’t go as planned.
Darcy @ The Purposeful Pantry.com
Food adventuring in food preservation is a great learning tool. Not every project will work the way you’d hoped. Not everything will taste as you’d hoped. But you are learning more skills, developing your palette, and having fun!
If nothing else, powder it to add to your generic powders to boost nutrition, even if you didn’t like the taste of the product alone. Rarely will it affect the flavor of your vegetable or green powders.
My Takeaway
I never want to present a project on the blog as being great when it’s not. I am always honest in my thoughts on a brand new adventure in food preservation.
So while I was disappointed in this project – it wasn’t a waste. I learned, I experimented, and I grew. Just because I didn’t like this one doesn’t mean you won’t!
Dehydrate Dragon Fruit (aka Pitaya)
Equipment
Ingredients
- Dragon fruit
Instructions
- Wash Fruit.
- Scoop out flesh with a spoon.
- Slice into 1/4" slices.
- Dry on dehydrator trays for 8-12+ hrs at 135°F/57°C.
- Dry once the slices are completely dry, leathery,plaible and break easily.
- Eat.
- If storing, condition first, then store in an airtight container for up to a year.
Video
Darcy’s Tips
- Place dragon fruit slices on parchment paper on a cooling rack
- Place into a 170°F/76°C oven (or as low as your oven can go)
- Crack the door with an oven-safe oven mitt or wooden spoon
- Dry for 4-6 hours until thoroughly dry (times will vary – watch carefully as to not burn)
Nutrition
Nutritional information is an estimation only. Nutrient information for dehydrated foods is based on fresh. Use 1/4 of the servicing size for the same nutrient information. Thus 1 Cup of fresh fruit has the same sugars as 1/4 dried.
©ThePurposefulPantry. Photographs and content are copyright protected. Sharing of this recipe’s link is both encouraged and appreciated. Copying and/or pasting full recipes to any social media is strictly prohibited.


I just dehydrated dragon fruit. (It is still in the dehydrator.). I did not peel it, but sliced it into 1/4″ slices and they are beautiful – vivid pink with black seeds in white flesh. I made them simply to have for garnish.
I don’t know what I will garnish (haha) but they are beautiful.
I also waited until they were on sale so they were only ~$2 each .
We are growing dragon fruit, about 6 varieties at the moment and the red skin, white flesh ones have been the first to fruit so I am drying them at the moment. We let ours ripen fully and are very sweet. Hope the dried ones are just as good.
Thanks for the instructions.
i just dehydrated red dragonfruit. It’s delicious. Will definitely make more.
Glad you liked it.
I also found white dragon fruit tasteless, but recently our supermarket started stocking frozen red dragon fruit and I was amazed to find how delicious it was. Like the ripest watermelon, but sweeter.