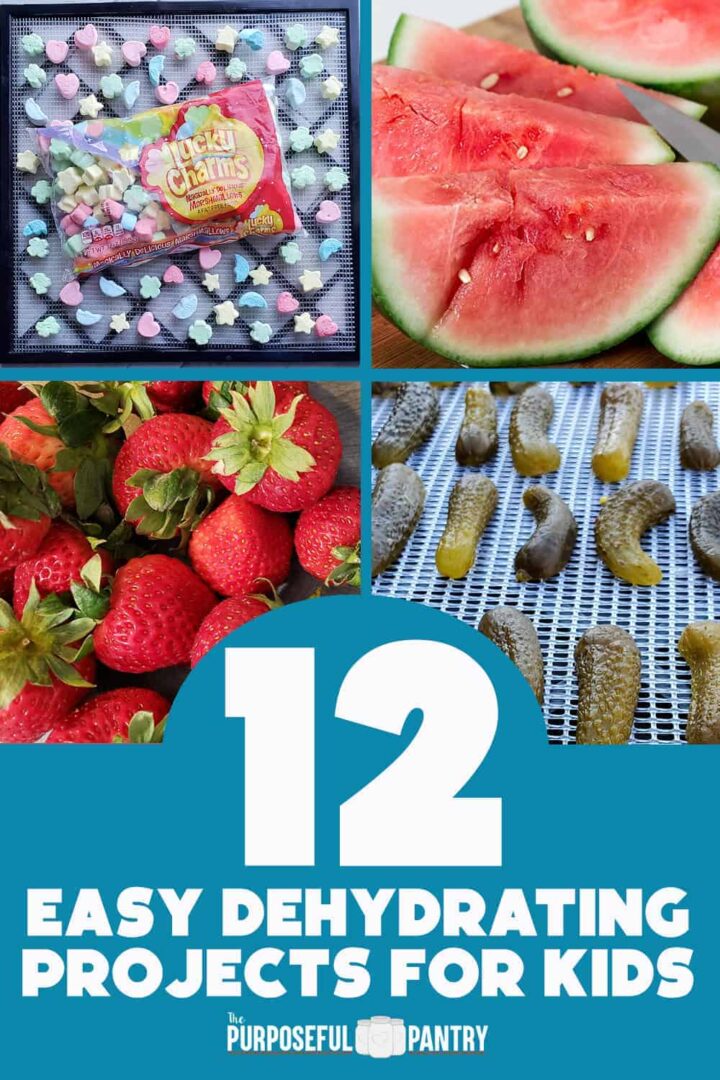
12 Easy Dehydrating Projects for Kids
This post may contain affiliate links. We may earn a commission if you purchase via our links. See the disclosure page for more info.

Would you love to involve your kids in the kitchen for fun, and to help teach them easy kitchen skills and preservation methods? These easy dehydrating recipes for kids will fit the bill!
Kids love to eat foods that they’ve helped prepare, even if they might turn their nose up at them when presented at the table.
These easy dehydrating projects for kids will allow them to gain confidence in the kitchen, take control of their food preparation, and allow you to teach them good food habits and give them dietary information they need early on!
Easy Dehydrating Projects for Kids
Apples
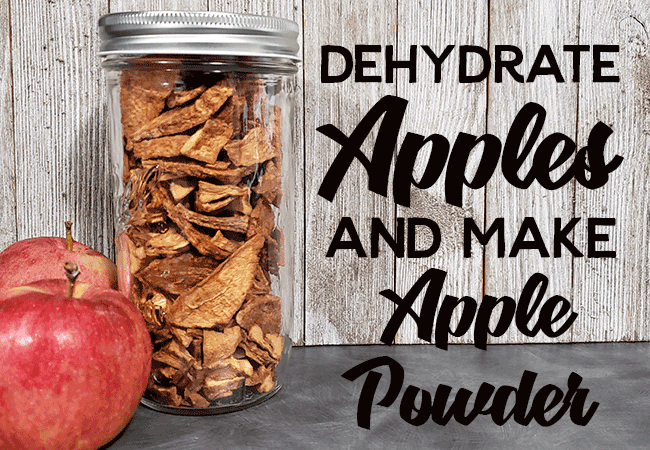
Apples are one of the easiest projects to do. Sliced apple rings with cinnamon sugar make a great treat – but they are perfect plain, too, especially if your apple is sweet!
Alternatively, you can just use slices (which take a little longer or diced apples which are perfect for adding to oatmeal with a little cinnamon, or creating a homemade trail mix.
TIP: Use the pineapple ring project below and dip your apple rings in the juice instead of lemon juice!
Try out this easy apple cinnamon fruit leather if your kids really love apple flavor!
Pineapple
Canned pineapple rings are one of the joys of beginning dehydrating projects. They are prepped, the canning process breaks down the fibers and makes them a wonderful treat. Here’s how:
- Open can and drain can
- Pour the juice into a jar to store for your apple rings
- Lay pineapple rings on your dehydrator trays
- Dry at 135°F/57°C for 8-14 hours until leathery and dry
- Store in an airtight container
- Tip: Save that juice!! Pour the juice into a container to save for your next apple ring project! Dip your apples into it instead of lemon juice for a sweet addition to the apple flavor.
Pineapple chunks will work for this, too. Fresh pineapple is great, too, but canned can help kids feel more accomplished with less prep work.
Bananas
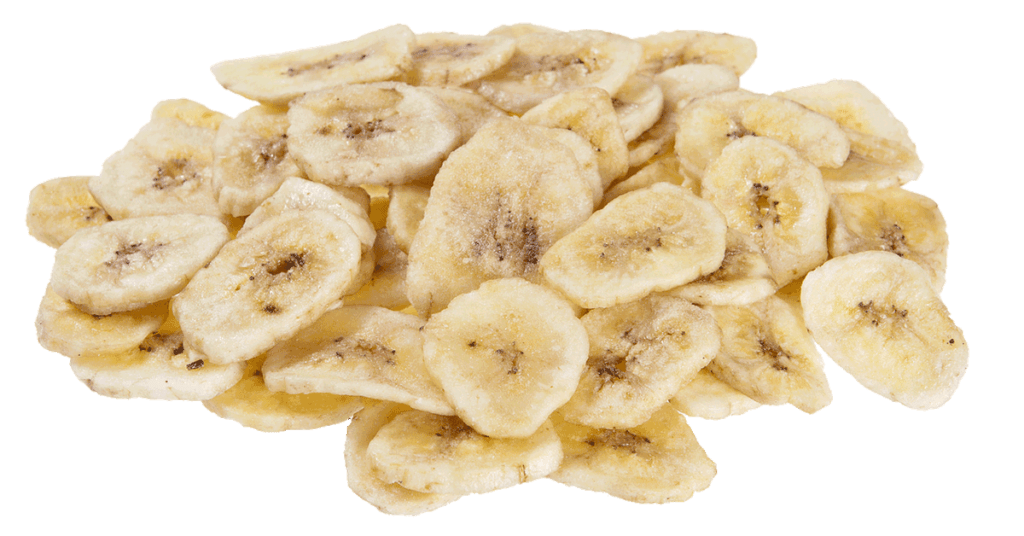
Who isn’t trying to find some way to use up the extra bananas we bought to create something else with them?
Bananas are great for a first knife skill lesson, and a lesson in patience in the kitchen. They do take a while to get really crispy, but can be done chewy as well. Here are two options :
• Tips: Sprinkle your bananas with peanut butter powder, cocoa or chocolate drink mix powder, or even a little coconut before drying.
One more word for bananas – they don’t quiet taste like the storebought version your kids may be used to as those are usually fried. And the time to dry can be up to a day or more to get really crips the way you want them. But let them test a little along the way 😉
Strawberries
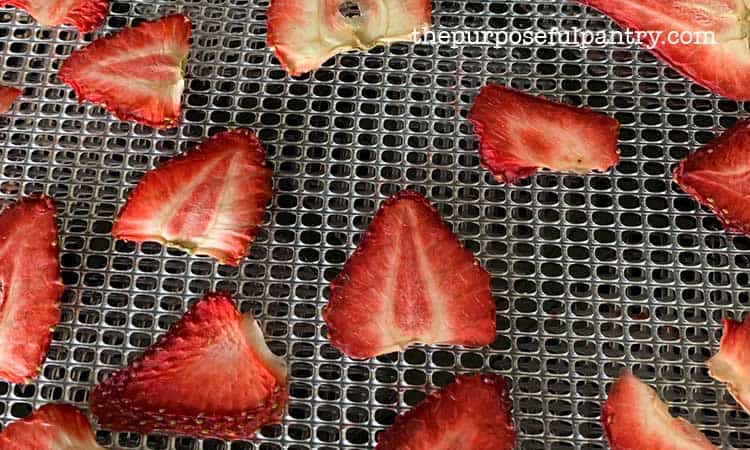
Strawberries are another great food to dehydrate. Most kids love them, and will love the sweet-tart treat that comes in the end. But a word of caution – these will be eaten up during the ‘testing’ phase because they are so yummy! Cut them 1/4″ to 1/2″ inch for chunkier pieces.
Kiwi

Dehydrated kiwi is also another great first knife project (though stay close as it can get a little slippery). They are tart treats that kids will love!
Kale Chips
If your kids love salty crunchy things, kale (or spinach) with a little salt and pepper, nutritional yeast, or even DIY Ranch dressing mix gives a crunchy treat that’s like a chip, but not really.
Simply spray your kale leaves (remove the big heavy stems and cut them in half if they are really large – but they do shrink!) with a little water or cooking spray. Sprinkle with powdered ranching dressing mix, nutritional yeast, or another seasoning of your choice and dry them at 95°F/35°C until crisp, then enjoy!
If you used oi, these will need to be eaten within a week since oil can go rancid over time. But trust me, they’ll be gone in a heartbeat if they love them.
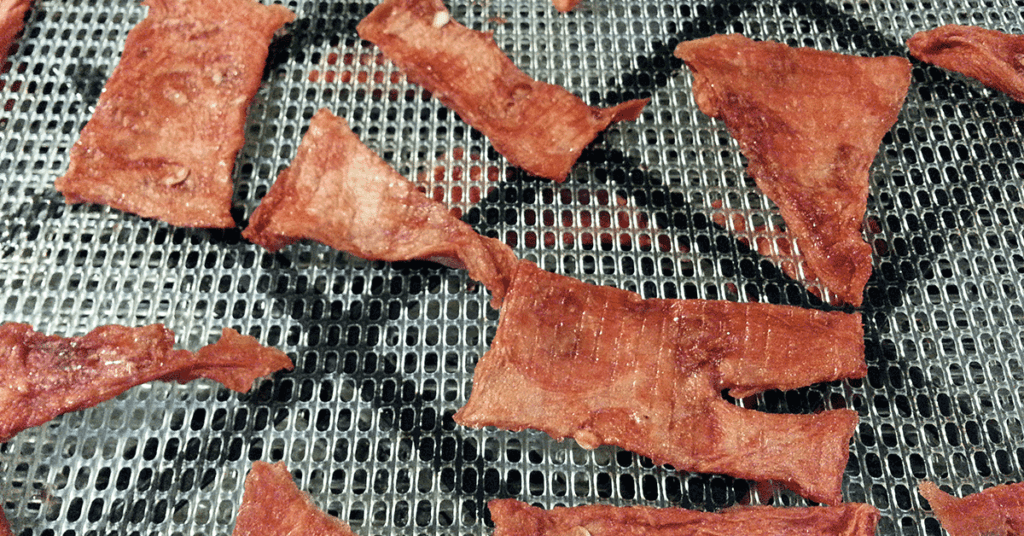
Fruit Leathers

Homemade fruit leathers are probably going to be a favorite for your child. They can be made into so many combinations, and are so fun to do in long strips or shapes or even large blobs.
Simply pureeing the prepared fruit of your choice, mixing it with about 1/3 applesauce will give you sweetness and pliability.
Pour it onto fruit leather trays. If you don’t have them, use this handy parchment paper trick for square machines. For round machines, you can get lipped fruit leather trays that make fruit rollups easy!
Basic Fruit Leather Recipe – use any fruit in this process to help you. I do recommend using applesauce instead of sugars because it adds sweetness and pliability.
Mix in some vegetables or herbs. I’m not suggesting that you sneak spinach or kale into it, but there are some great flavor combos that will work for you!
- Sweet potatoes and apple
- Pumpkin pie fruit leather
- Strawberry zucchini fruit leather
- Strawberry Banana fruit leather
- Cinnamon Apple Fruit Leather
Experiment with smoothie drinks your kids love, and make a fruit rollup version.
- Strawberry lemonade fruit leather – try adding a little basil or mint for a twist!
- Chocolate banana fruit leather
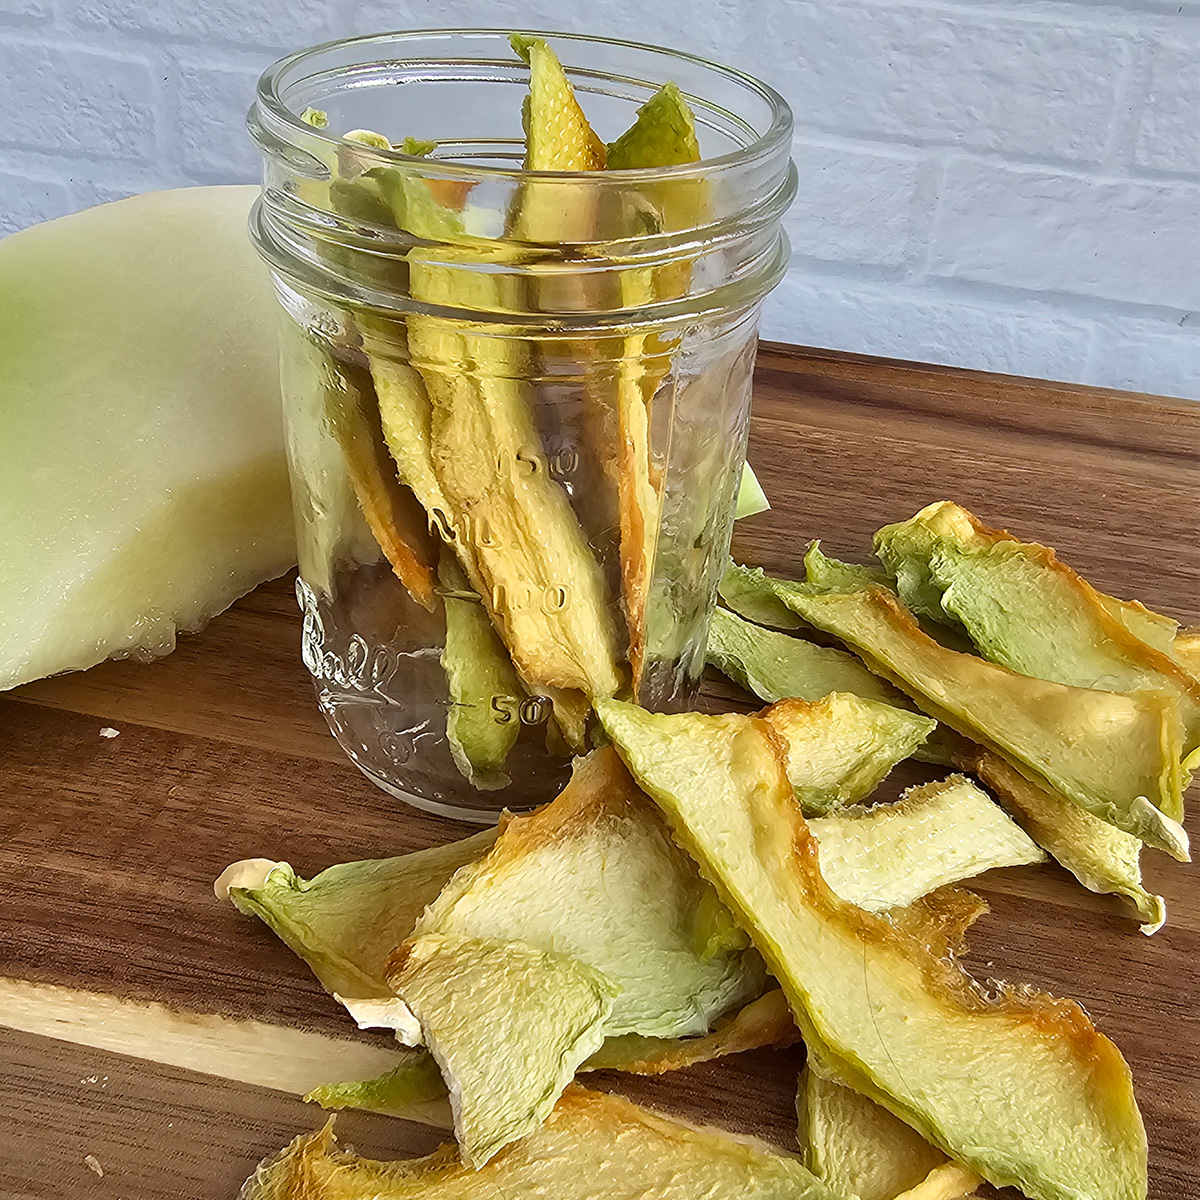
Watermelon
Watermelon candy is a wondrous thing. When you have a leftover watermelon that you cannot eat enough of, dehydrating sections of it becomes a treat that we call watermelon taffy at our house.
Dry at 135°F until done. They will be slightly tacky, but not sticky. Eat quickly, or condition first, and store in an airtight container.
Herbs
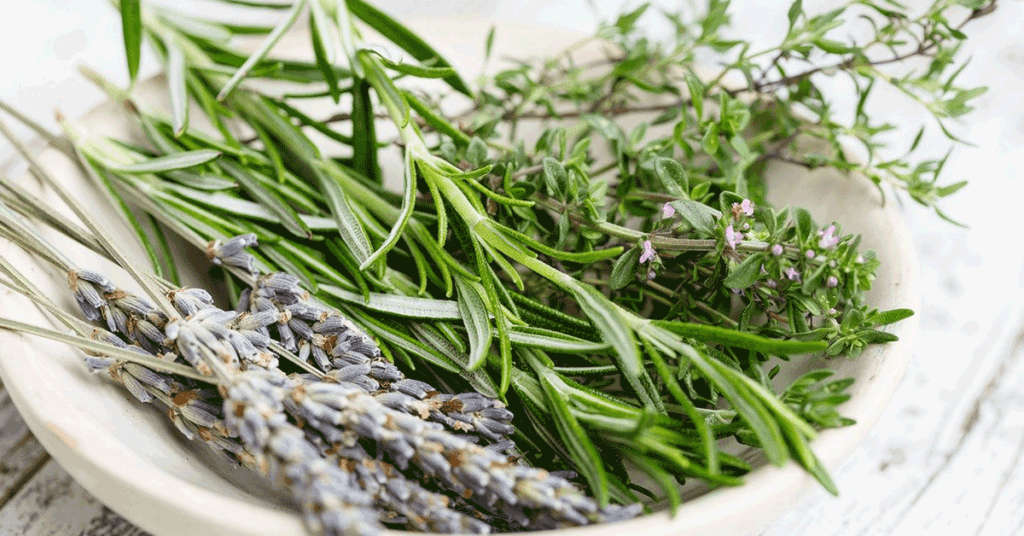
Do your kids already help you in the kitchen preparing meals and use herbs from a jar that you’ve purchased from the store?
Teaching them about growing herbs on a windowsill, getting fresh herbs from the farmer’s market or store, or even foraging herbs in your area on your daily walks can be a great way to walk through the process of how some of those foods we use daily originate, and how to preserve them for cooking later.
Preserving herbs can be a fun craft to do in your home and decorate an area of your kitchen while they dry, or it can be a dehydrator full project! Here are six ways to teach your kid show to dry herbs.
Marshmallows
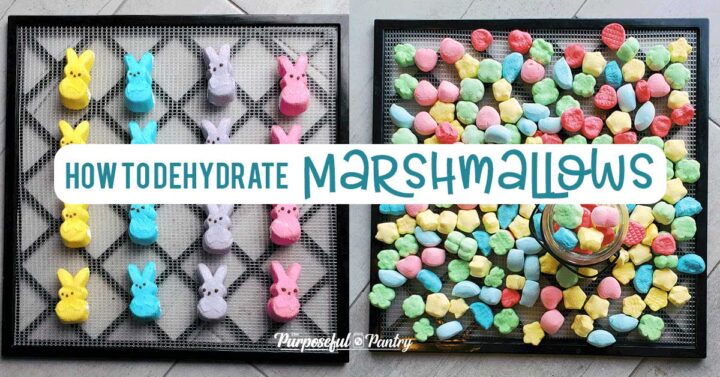
Now, we all know that marshmallows aren’t wholesome by any means, but they are fun, they are perfect to add some interest to boring cereal or oatmeal, and are an easy no-prep project to do.
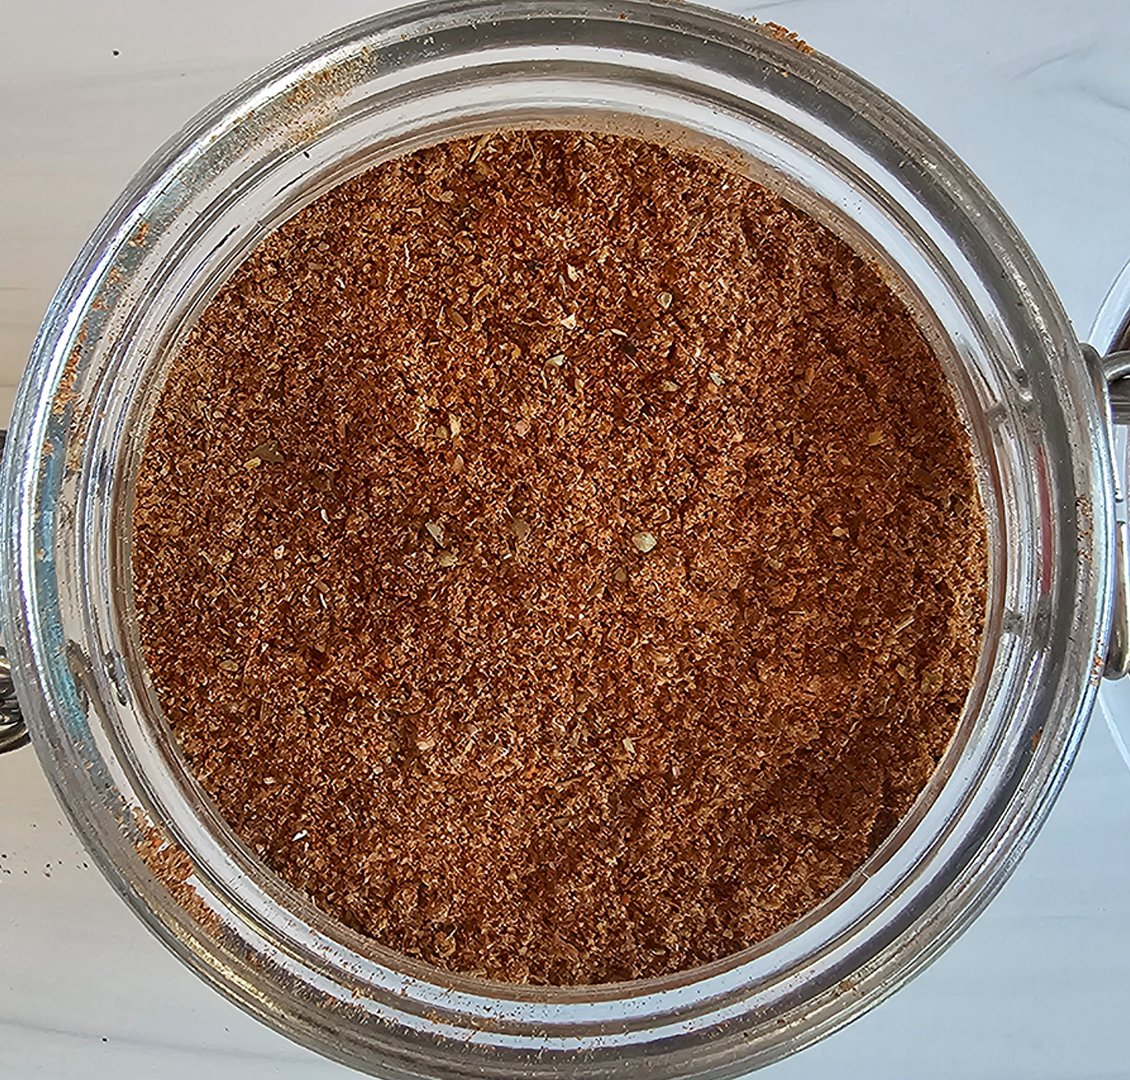
Pickles
Now hear me out! Dehydrated pickles are fantastic, and the powder you can create is perfect for popcorn.

This is also a great project because there is very little prep other than rinsing off the pickles because of their saltiness. And it is a practically fool-proof project.
The dills are tart salty bombs of flavor that some kids adore, and the sweet pickles can be extremely addictive! The sweet gherkins were like little gummy worms to us.
Kiwi
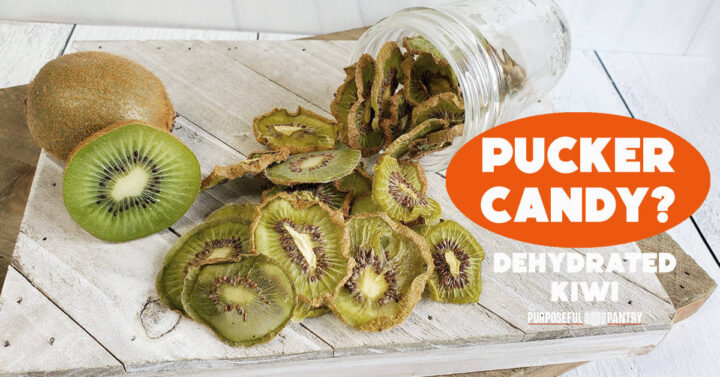
Dried kiwi is like nature’s sweet and sour candy. It makes can be sweet with a sour afternote. Or, depending on the kiwi, it can pucker you up with a tart bite that kids love!
Can You Need a Dehydrator to Do This?
No, you don’t. While a dehydrator is beneficial for safety, efficiency, and ease, an oven can be used.
- Set your oven to the lowest temperature (preferably 170°C/76°C) anything hotter has to be watched carefully as it will cook before it will dry.
- Crack the door with an ovenproof silicone glove, spatula or other non-flammable object. This allows some airflow and moisture to escape.
- Times will vary for doneness, but you’re looking at the same result, but it will take less time.
- PLEASE be mindful of small children or mobility-impaired individuals as this can be of great risk to them.
I have some tips for you if you are in the market for your first dehydrator.
So – get in the kitchen with your kids and start experimenting! Having fun with their food is a great way to get your kids to become more interested in what they eat and taking food risks.