The Secret to Dehydrating Bananas at Home
Dehydrating bananas is easy when you know the secret to making crisp, crunchy, dry bananas at home! Time! A well-sliced banana plus time will get you something that is a treat! No more chewy, gummy, home-dried bananas!
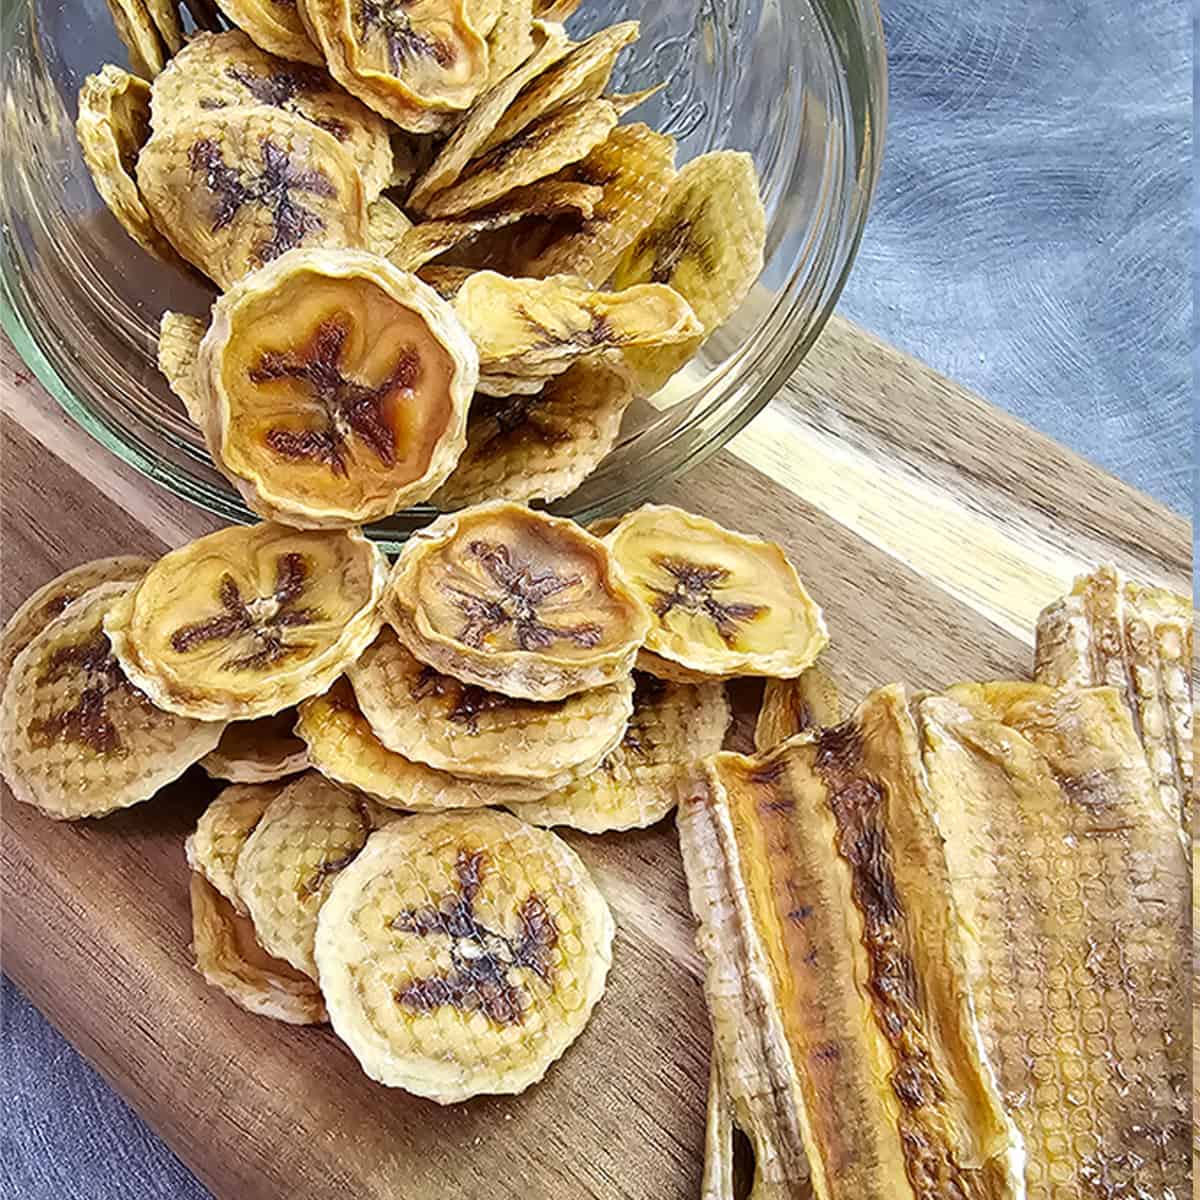
Bananas seem one of the easiest dehydrating projects for beginners, right? Perhaps you tried it as your first project? Did you love them the first time you tried them?
But it is also one of the biggest failure rates as a first-time project and causes more people to stop dehydrating because they just can’t seem to get it right!
I’ll walk you through some of the tips and tricks I’ve found to get the best, crunchy, dried bananas that you’ll love!
How to Dehydrate Bananas at Home
QUICK INSTRUCTIONS: Slice super thin – less than 1/4″. Dry at 140F°/60°C until they snap when cooled.
The first secret to getting crunchy, dehydrated bananas is to pick a Goldilocks banana. Not too ripe, not too hard, but just right. A few little spots are okay, but much more and your banana is already developing those sugars that make oxidation happen faster and cause chewier chips.
If chewy chips are your thing – go for it! But if you want those crispy banana chips, follow these directions.
Equipment
- Knife
- Cutting board
- Dehydrator
- Silicone mesh sheets – I recommend silicone mesh sheets over fruit leather sheets or parchment paper because they are practically stick-proof. better than any other medium I’ve tested.
Instructions
- Peel bananas – set aside for composting or placing under plantings in the garden if you wish.
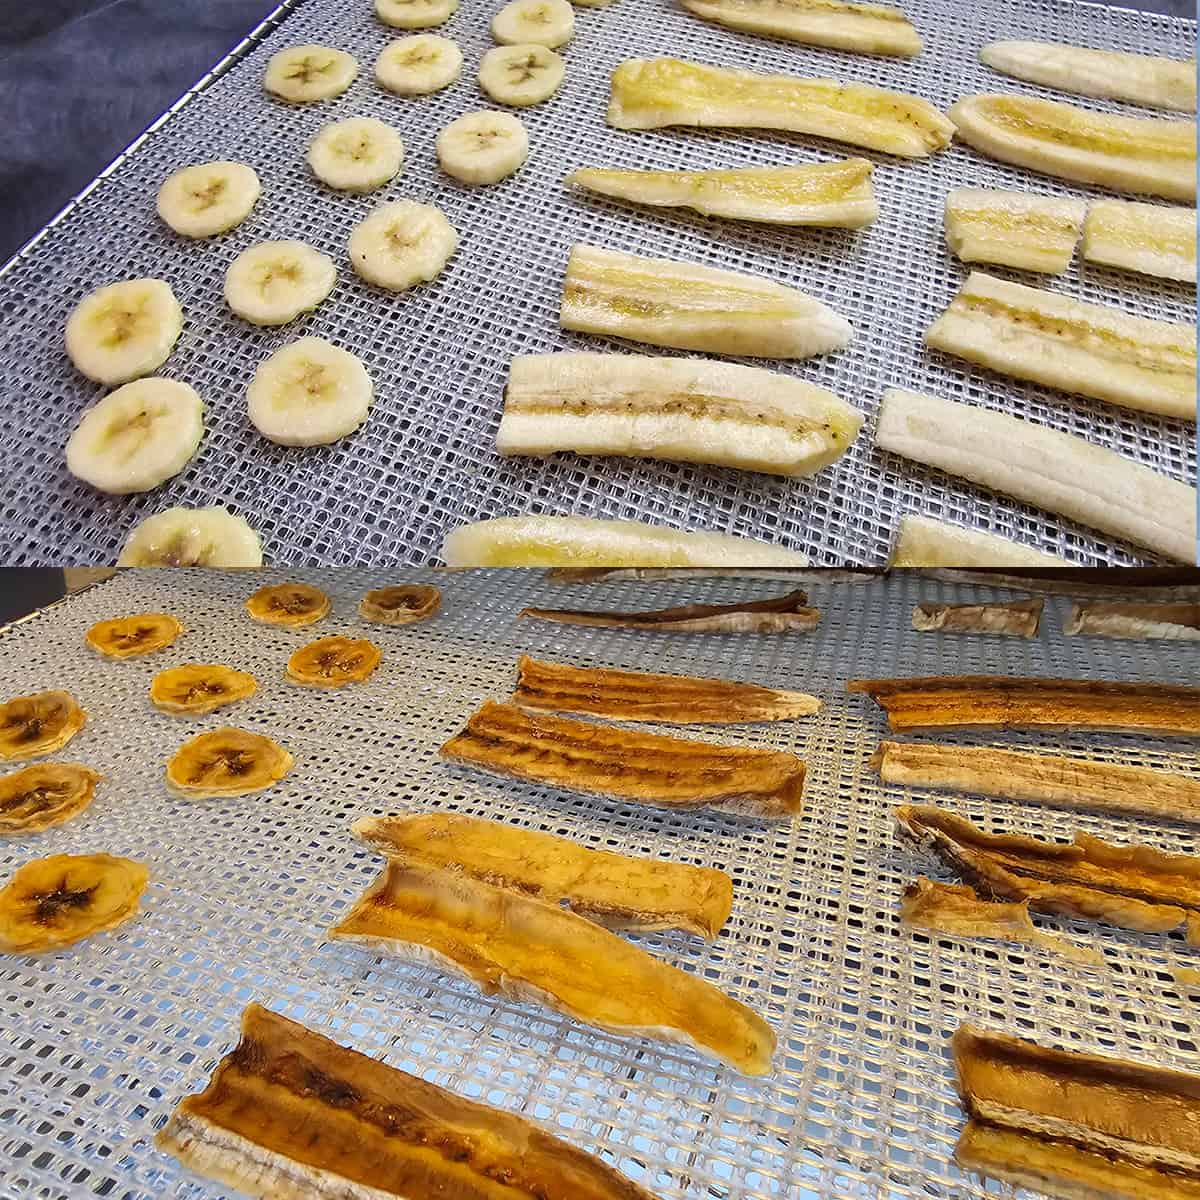
- Slice bananas into thin slices – less than 1/4″. If using a mandoline, set it to 3/16″ if that’s an option. This is the second secret!
- Coins – straight slices that look like circles;
- Planks – long segments that look like jerky;
- Diagonal – an oblong coin with more surface area
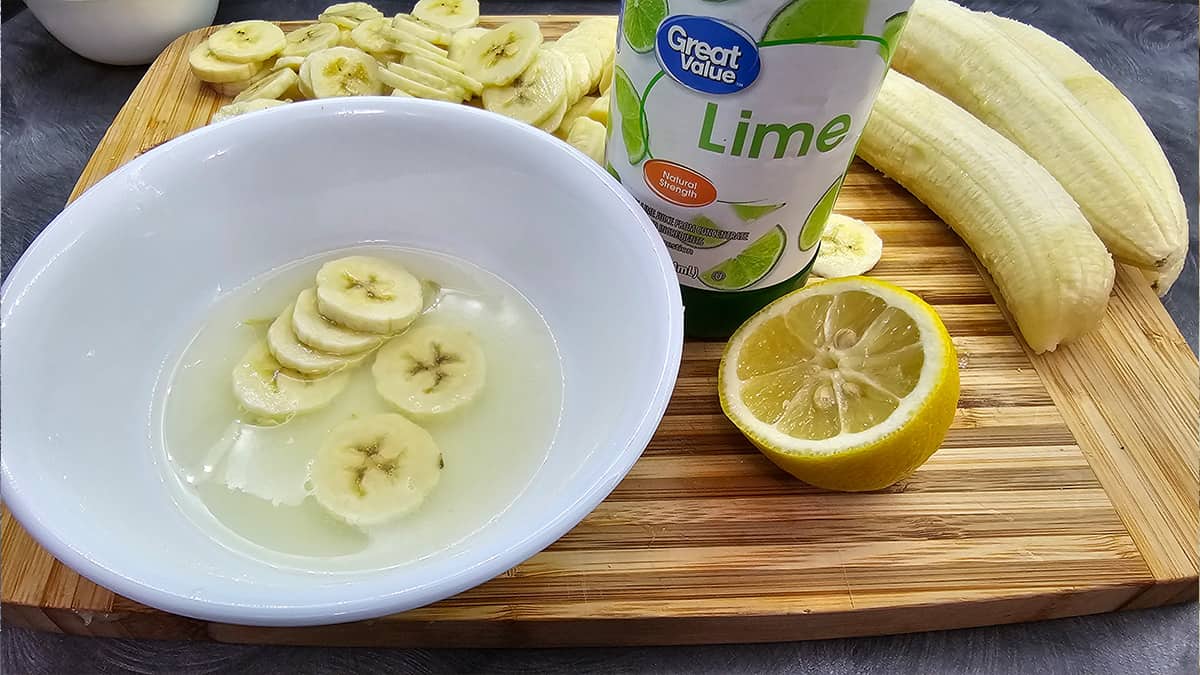
- Dip in an acidic solution to stop oxidation – lemon juice or 1/2 lemon juice to 1/2 water. This is an optional step.
- Place onto dehydrator racks with silicone mesh sheets. Packing in tightly is fine, but don’t overlap.
- Sprinkle with any seasonings you might like or leave plain.
- Dry at 140°F/60°C until crisp when cooled. This may take anywhere from 15-24 hours. This is the third secret!
How to Season Banana Chips
- Peanut butter powder (learn even more ways to use peanut butter powder!)
- Cocoa or a Hot Cocoa Mix
- Diluted honey – helps to add the flavor without the thicker coating of honey.
- Cinnamon
- Tajin – a spicy flair!
When are Bananas Dry?
Take a sample out and let it cool for about 5-10 minutes. Samples should break easily. If not, give them more time in the dehydrator.
Condition
What is Conditioning?
Conditioning is the ‘double-check’ phase of drying. Put your final product into a jar with a little space, shaking the jar once a day for 5-7 days (more for fruits, less for herbs), to make sure you see no signs of moisture buildup.
- No food sticking to the sides of jar or each other that don’t easily shake off
- No condensation
- No signs of mold after a few days (in which case you should toss all of the contents of the jar).
If you find any of these issues (other than mold), put food back into your dehydrator to dry more.
You do not have to condition those things meant as snacks in the next few days.
Store
Store in an airtight container for up to a year. You may want to use a moisture absorber with your bananas to help regulate the moisture introduced every time you open the jar. You’ll be opening it a lot. They are that good!
They will be fine to place into a good zipper-top freezer bag for short-term use, like lunches and hiking trips.
How to Prevent Bananas from Turning Dark?
- Use less ripe bananas. The riper they are, the more susceptible they are to oxidation – oxygen interacting with the enzymes. This is the same thing that happens to apples as well.
- Use an acidified bath – use straight lemon juice, a mixture of 1/2 lemon juice, and 1/2 water to dip the lemons in for a few seconds. Don’t let them soak for long, as it can begin to break down the bananas.
- Don’t worry about it! Really – they may be a little dark, but they don’t taste different at all. In my recent experiment, they didn’t save the color much, and it was a step that could be skipped!
- Use a seasoning to help change the flavor profile a little.
- Peanut butter powder
- Cinnamon
- Cocoa or hot cocoa mix
How to Use Dried Bananas
- Break apart and place it into oatmeal. It will soften fairly quickly in the hot liquid or can be a crunchy topping.
- Powder in a coffee grinder and use as a sugar booster or flavor booster in muffins;
- Put into a trail mix with pretzels, nuts, other dried fruit, and small bits of jerky.
- Use to add to banana bread or other muffins. You can rehydrate small pieces for inclusion as texture, or mash and use as part of the recipe.
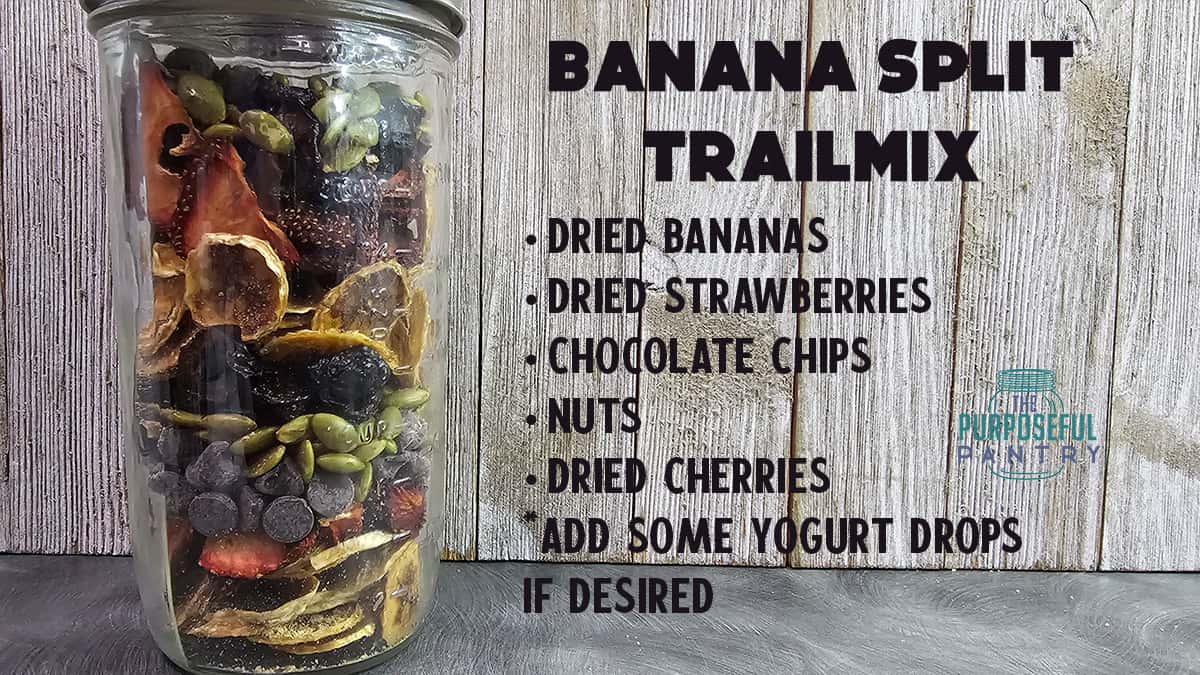
- Create a fun trailmix with all of your favorite nuts, seeds, dried fruits, and more! Check out my Banana Split Trail Mix recipe.
Why Dehydrated Bananas aren’t like Storebought Dried Bananas
This is the other major reason people quit dehydrating when trying bananas as a first project. They expect their dehydrated banana to taste like what they are used to getting at the store.
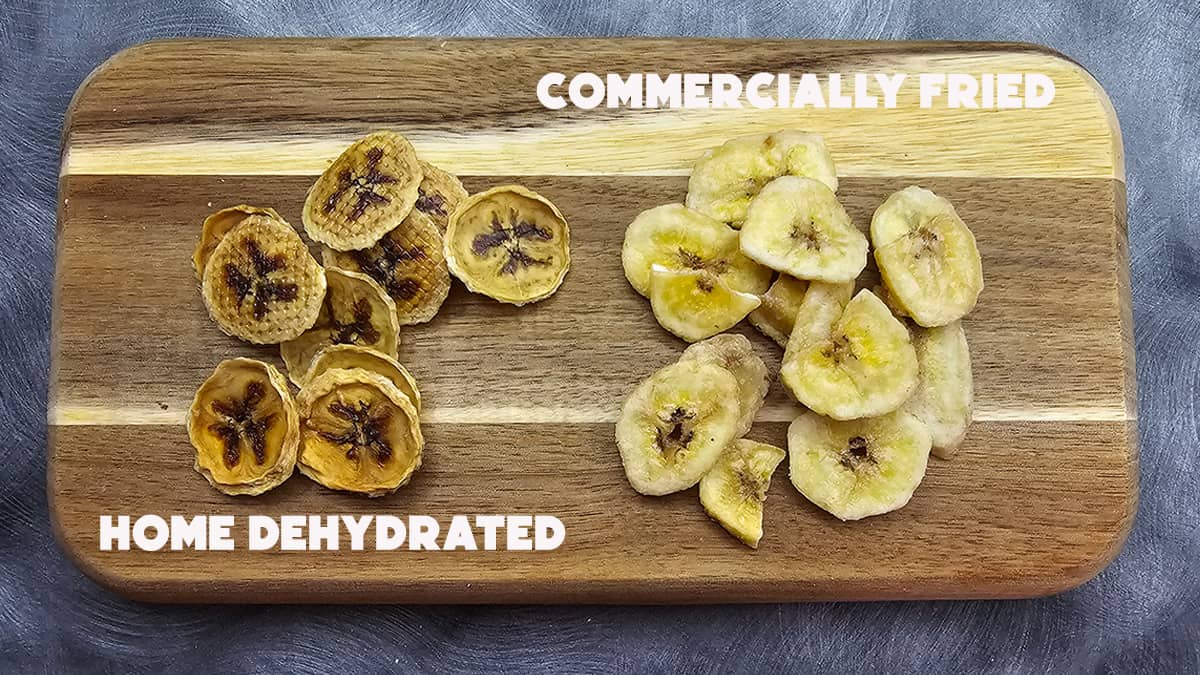
However, store bought dried bananas are often
- Fried,
- Freeze-dried, or
- Plantains – which give a different flavor profile than bananas – are much starchier and have less flavor.
I hope you’ll give these a try with the secrets I shared with you. Please let me know how you like your bananas, or if this gave you enough information to try bananas again!
Recipe
Dehydrated Bananas
Equipment
- Cutting Board
- Silicone mesh sheets Parchment paper or fruit leather can be used instead.
Ingredients
- Bananas
Instructions
- Peel bananas – set aside for composting or placing under plantings in the garden if you wish.
- Slice bananas into thin slices – less than 1/4″. If using a mandoline, set it to 3/16″ if that’s an option. This is the second secret!
- Coins – straight slices that look like circles;
- Planks – long segments that look like jerky;
- Diagonal – an oblong coin with more surface area
- Dip in an acidic solution to stop oxidation – lemon juice or 1/2 lemon juice to 1/2 water. This is an optional step.
- Place onto dehydrator racks with silicone mesh sheets. Packing in tightly is fine, but don’t overlap.
- Sprinkle with any seasonings you might like or leave plain.
- Dry at 140°F/60°C until crisp when cooled. This may take anywhere from 15-24 hours. This is the third secret!
- Condition if putting into storage.
- Store in an airtight container for up to a year.
Darcy’s Tips
- Break apart and place it into oatmeal. It will soften fairly quickly in the hot liquid or can be a crunchy topping.
- Powder in a coffee grinder and use as a sugar booster or flavor booster in muffins;
- Put into a trail mix with pretzels, nuts, other dried fruit, and small bits of jerky.
- Use to add to banana bread or other muffins. You can rehydrate small pieces for inclusion as texture, or mash and use as part of the recipe.
- Create a fun trailmix with all of your favorite nuts, seeds, dried fruits, and more! Check out my Banana Split Trail Mix recipe.
Place into jar with lid, shake once a day for 5-7 days. Look for clumping or food sticking to jar that doesn’t easily shake apart. If so, put it back into the dehydrator to dry more. If it’s fine, store for up to a year.
Nutrition
Nutritional information is an estimation only. Nutrient information for dehydrated foods is based on fresh. Use 1/4 of the servicing size for the same nutrient information. Thus 1 Cup of fresh fruit has the same sugars as 1/4 dried.
©ThePurposefulPantry. Photographs and content are copyright protected. Sharing of this recipe’s link is both encouraged and appreciated. Copying and/or pasting full recipes to any social media is strictly prohibited.


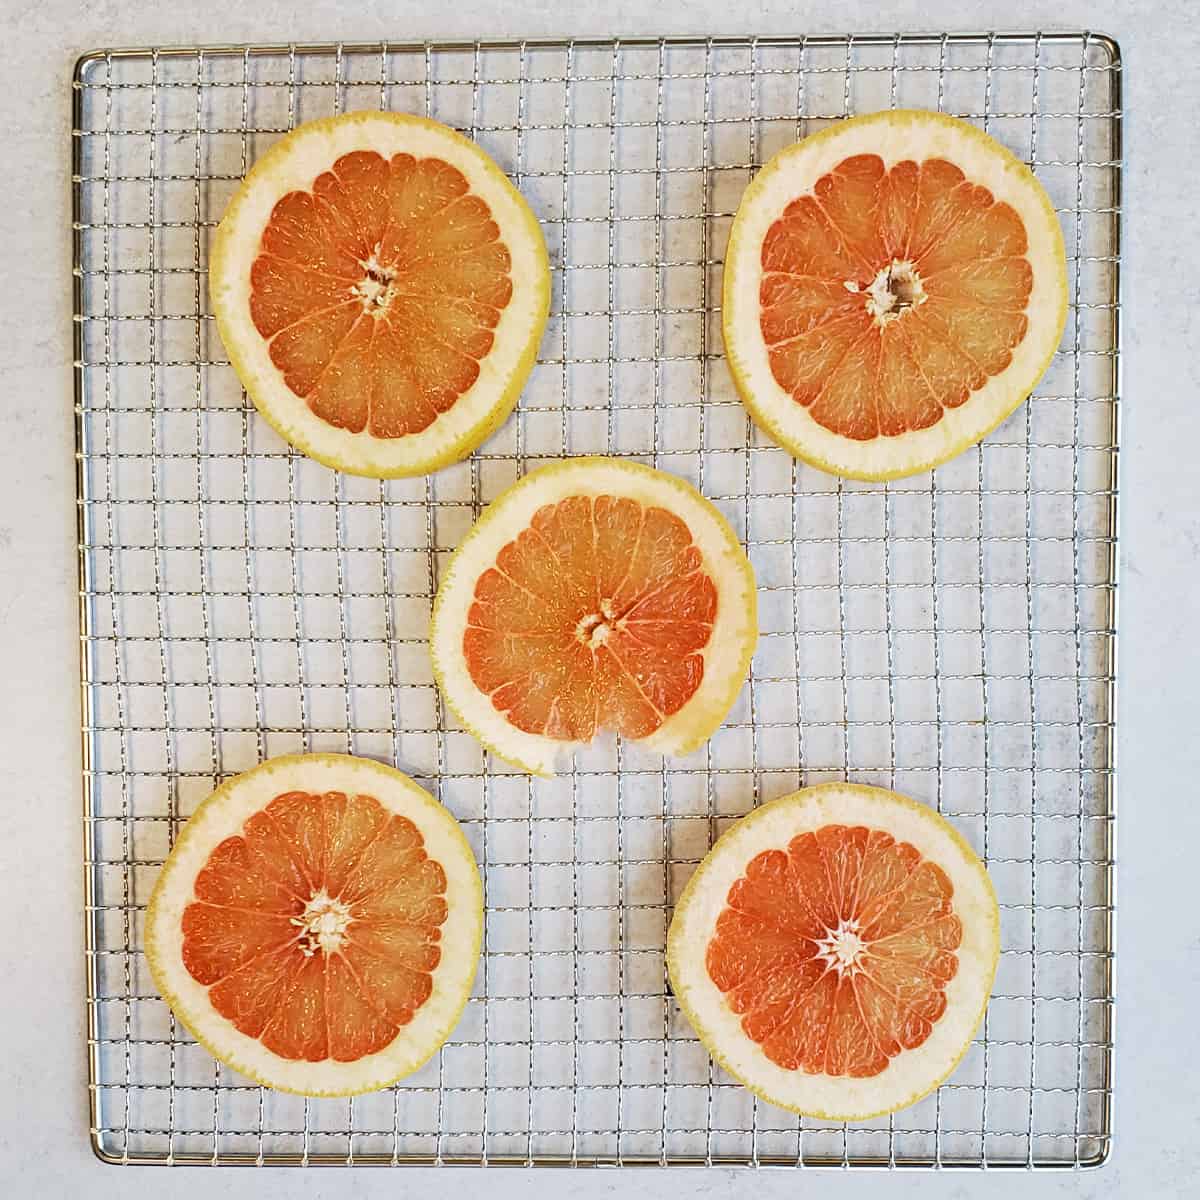
Will stainless steel racks be okay for dehydrating bananas?
Not not their own – that’s why I suggest a barrier.
I just took mine out of the dehydrator this morning. Looked up your instructions yesterday to use. Made me chuckle to see your post today. Worked great. Crispy and yummy. I also blended some and dehydrated it to make Banana powder. All the banana is now in jars with a desiccant packet, except the baggies I plan to take with me to share with grandkids this weekend.