Dehydrate Garlic & DIY Garlic Powder
This post may contain affiliate links. We may earn a commission if you purchase via our links. See the disclosure page for more info.
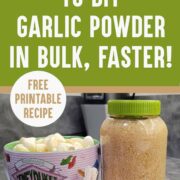
Dehydrate garlic for the best garlic powder you’ve ever had! These easy step-by-step instructions for dehydrating garlic will help you get started! And use some of the grocery store hacks to help you do it faster with less fuss!
This post may contain affiliate links. Read our disclosure policy here.
How to Dehydrate Garlic
Quick Instructions: Peel, slice, dry at 95°F/35°C until completely dry.
Equipment
- Dehydrator
- Knife
- Food Processor (not necessarily, but really helpful if doing bulk
Instructions:
- Peel garlic (No, you don’t have to peel the cloves, just remove the paper).
- Slice with a knife or use your food processor or food chopper to rough chop into small pieces.
- Place on lined dehydrator trays.
- Dry at 95°F / 35°C for 8-18 hours. Get the handy dehydrating magnet to help you know the temperatures for all of your food!
- Cool to test.
- Condition.
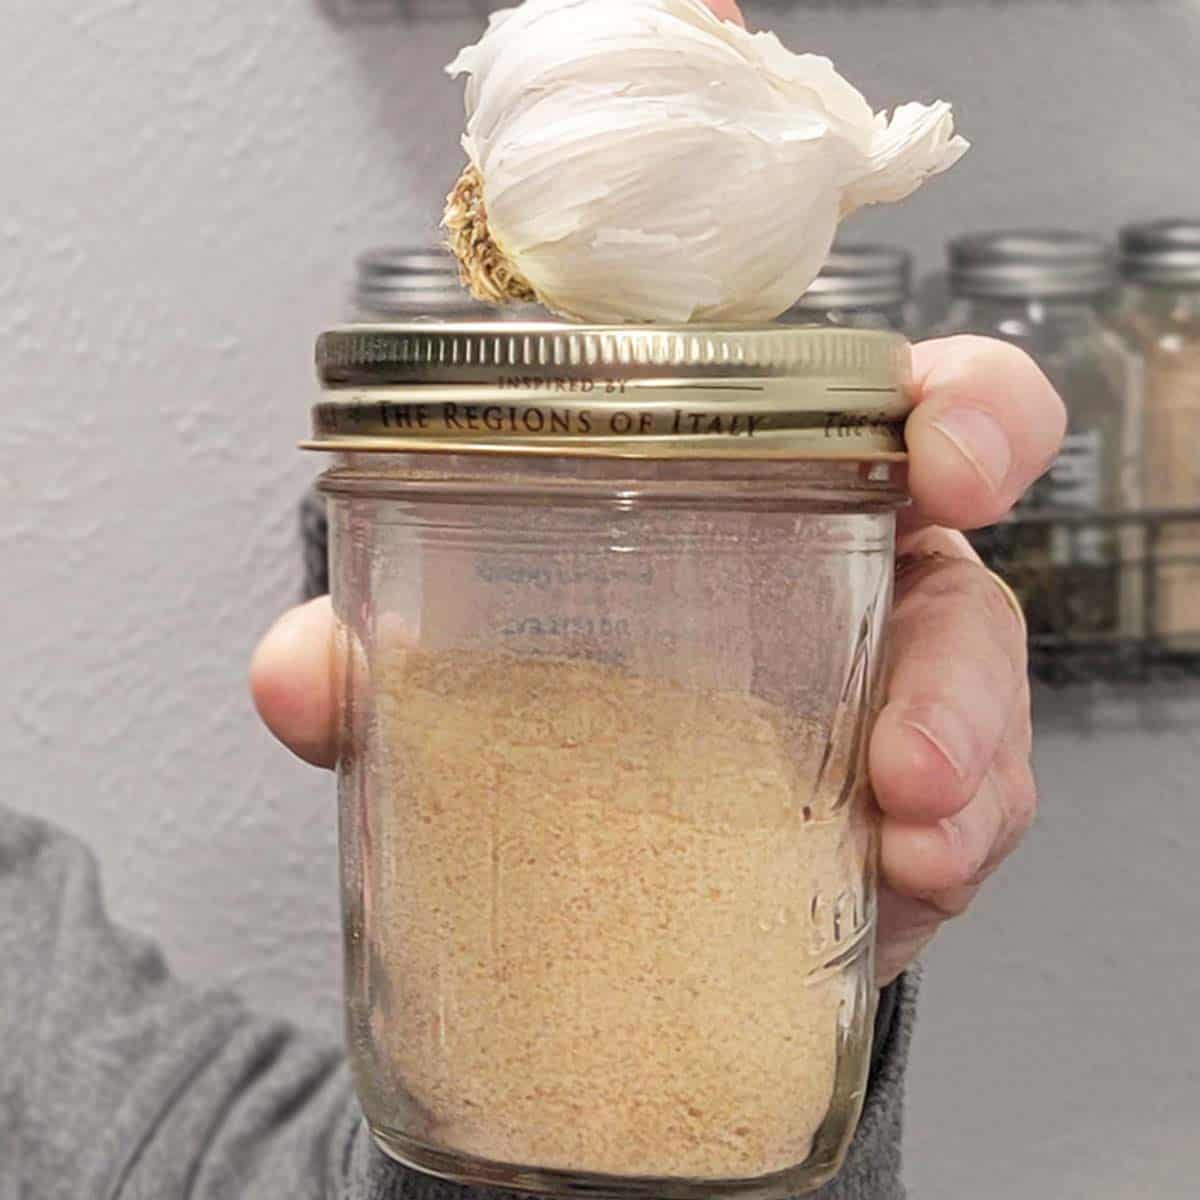
- Store in an airtight container for up to 2-3 years.
Dryness Test:
- Allow garlic pieces to cool for five minutes.
- Slices should easily snap apart.
- Minced pieces should be hard and plink when dropped onto a hard surface.
Place pieces back into the dehydrator if they need more time.
Conditioning Dried Garlic
Place into an airtight container, with room to spare, and shake once a day for 5-7 days.
If you see signs of:
- Clumping together
- Moisture buildup
- Pieces stuck to the side of the jar that won’t easily shake off
Throw it all back into the dehydrator for a few more hours to finish drying
NOTE: If you see mold, do not use it – throw it all out. Mold in one place visible may not show you where it is growing elsewhere in the jar.
Storing Dried Garlic
Garlic is best stored whole in an airtight container until you need to powder 1-2 months worth of garlic powder
- Garlic pieces store 2-3 years, conservatively. If they no longer have smell when you open the jar or crush the pieces, it’s time to compost.
- Garlic powder stores 6-9 months. Consider adding a moisture absorber to help reduce clumping in garlic powder.
Expert Tips
- To do a bulk load without all the work of peeling, consider purchasing commercially jarred minced garlic in water. It will save you a ton of time to create your own dried minced garlic and garlic powder.
- If you have issues with intense smells, you might consider drying garlic outside. The smell can be overwhelming for some.
- When using your garlic pieces or powder, do not open right over the stovetop, but to the side. The steam from your stovetop will make introduce moisture into your container, shortening the life of your garlic.
How to Make Garlic Powder
DIY garlic powder is easy if you have a coffee grinder or bullet blender. Follow these simple steps and have garlic powder that tastes better than storebought!
Equipment
- Coffee Grinder
- Bullet Blender
- Large Blender (these are generally not as effective unless you are doing large quantities – such as for holiday gift-giving for spice baskets)
Instructions:
- Place garlic bits or slices into the grinder of your choice
- Pulse often until pieces look fairly broken up, THEN process for 20 seconds at a time. Overprocessing leads to clumping!
Conditioning Garlic Powder
Yes, you should condition your garlic powder, too!
My favorite method is this:
- Place garlic powder onto fruit leather sheet lining a cookie sheet
- Place in a warmed (but turned off) oven
- Let it sit for 15 minutes or so.
- Cool.
- Store in an airtight container with either 1/4 teaspoon or more of arrowoot powder or a moisture absorber. Either helps control moisture from opening a jar over and over as you use to – and helps stop clumping.
More tips to stop clumping:
- Store in an airtight container
- Use 1/4 teaspoon of arrowroot powder per pint (increase if you need it)
- Use a moisture absorber
- Condition as above
LEARN MORE: 5 Ways to Stop Clumping in Powders
Related Posts About Dehydrating Pantry Staples

Dehydrate Garlic and Make Garlic Powder
Equipment
- Food Processor
Ingredients
- 1 lb Garlic
Instructions
To Dry
- Remove outter papes of garlic
- Rough chop or slice
- Place on dehydrator sheets
- Dry at 95°F/35°C until done
- Condition
- Store in an airtight container
To Powder
- Place garlic in coffee grinder or bullet blender
- Pulse often until you can continuously grind (more more than 30 seconds)
- Preheat oven to its lowest temperature then turn off
- Place powder onto a lined cookie sheet
- Put powder into oven for 15 min or so to dry it out
- Cool, then store in an airtight container
Darcy’s Tips
Nutrition
Nutritional information is an estimation only. Nutrient information for dehydrated foods is based on fresh. Use 1/4 of the servicing size for the same nutrient information. Thus 1 Cup of fresh fruit has the same sugars as 1/4 dried.
©ThePurposefulPantry. Photographs and content are copyright protected. Sharing of this recipe’s link is both encouraged and appreciated. Copying and/or pasting full recipes to any social media is strictly prohibited.
I have saved so many of your recipes and am excited to learn more from you. Thank you so much for sharing these!
I bought garlic at a festival last September. Some cloves have dried a bit and turned darker in color. Can I still dehydrate this or should I toss it?
My general rule of thumb — would you eat it? Then you can dry it. I personally would cut them to see if there is any smell/natural oils left or if they are just dried out.
What does “condition” mean in your instructions?
It’s in the body of the post 😉
I would like to leave a simple review for the Bright Home silicone leather trays I purchased recently. I decided to use them to dehydrate my minced garlic( purchased pre-minced in water) on to prevent the little pieces from falling through the trays. I am new to dehydrating so this was a new experience. After the garlic was dehydrated per your instructions( which I love by the way) I became a little disheartened. My garlic stuck to those trays. What should have been an easy job suddenly turned into a frustrating job. It took me an hour to remove the garlic and clean 4 trays. I don’t know if my experience is typical or not. I just wanted to save others from having to go through this situation. I am happy to say that my garlic did turn out wonderful. Thanks Darcy
I was not looking forward to peeling, slicing, and grinding all my garlic. These tips about just removing the “paper” and running through the food processor before drying were game changers.
I’m glad it worked for you, Carol!
I want to dehydrate sliced garlic so I can use it in recipes as is, how would you suggest I go about doing this. I just found you and you are such a blessing!
The exact same way – so just slice it instead of rough chopping it.
So helpful. I need to find the one for onions if there is one ?
Search bar gets you there, but here you go: https://www.thepurposefulpantry.com/how-to-dehydrate-onions-onion-powder/
Excellent instructions! ?
I’m glad you think so!