How to Dehydrate Parsley
Learning to dehydrate parsley allows you to save your garden bounty or great grocery store find and have better tasting dried parsley than you can ever purchase from the store!
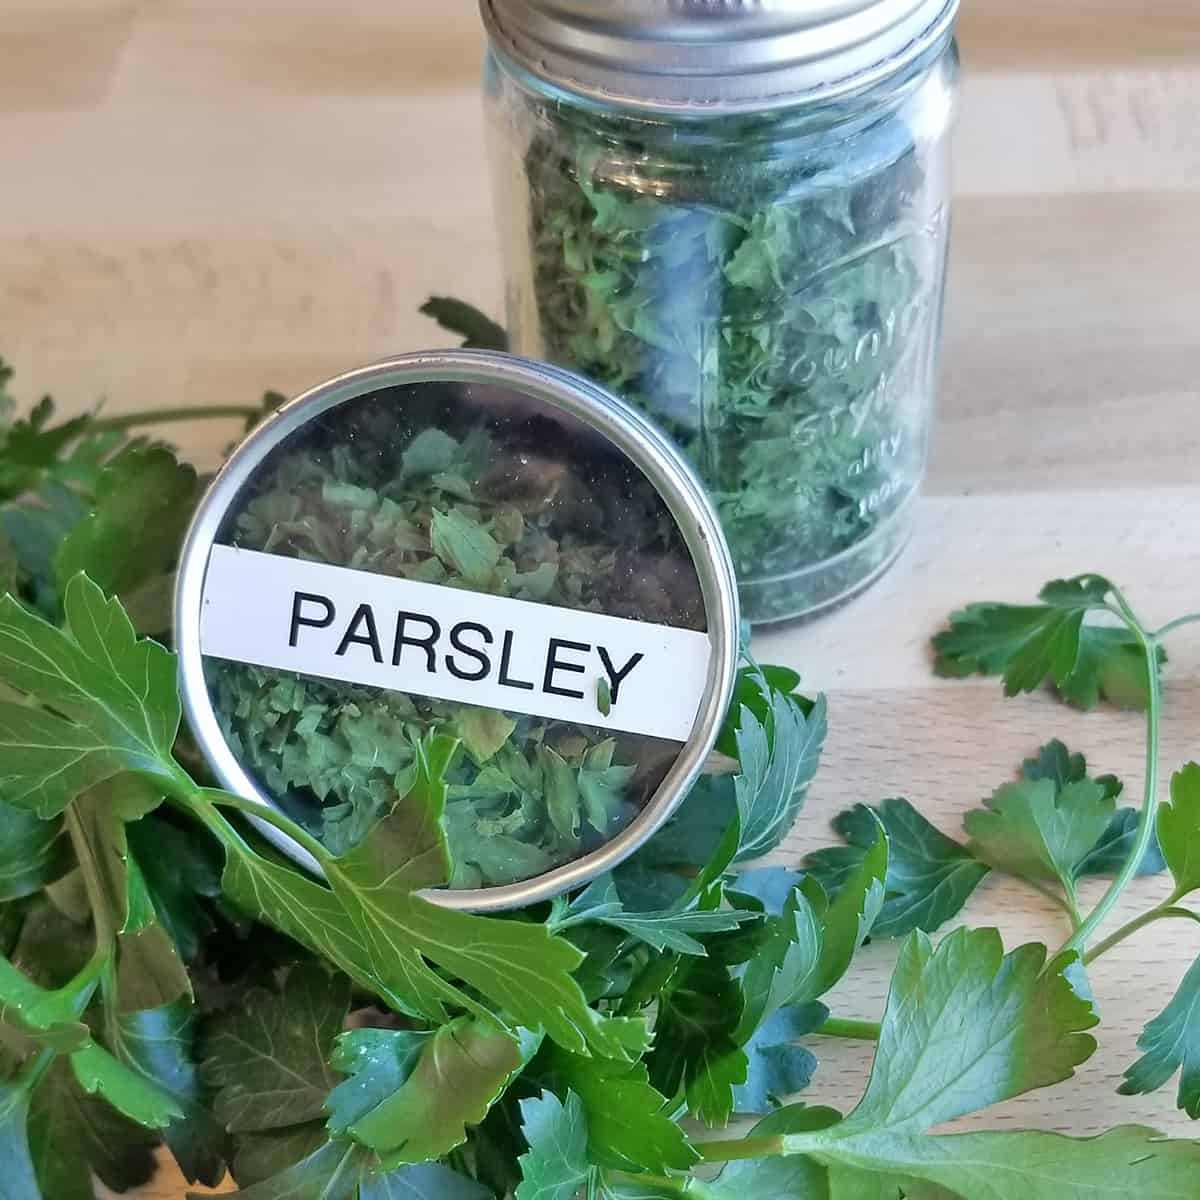
Have you ever opened your spice cabinet, pulled out a jar of dried herbs, and thought…that’s the grossest color. It’s not even green — it’s BROWN! Then did you do a sniff test and thought, “This doesn’t even smell like a plant anymore!”
The likelihood that the dried herb, or other spices for that matter, that you chose is probably VERY old. Take the amount of time it took to pick, process, pack and ship to your local market. Add in the length of time it sat on a grocery store shelf just waiting for someone to buy it and take it home to use.
THEN add to that the length of time you probably have had it stored in your spice cabinet. Fess up – I bet you have some spice and herb jars that are probably at least two years old, don’t you?
Dry Your Own Parsley!
You can do it! Every spring, I grow parsley. I use some and I dehydrate a ton to keep me stocked in dried parsley all year long!
Sometimes, though, I buy it from the grocery store when I want that fresh, bright taste during the wintertime. I rarely can use the whole bunch, though whole bunch. Instead of letting it turn into a slimy science experiment gone wrong in my crisper drawer two days later (why is it that it seems to go bad so quickly once you get it home?), I dehydrate parsley to add to my long-term herb storage! Let me show you how I do it:
How to Dehydrate Parsley
Whether you grow it or purchase it from the store, parsley is super easy to dehydrate, whether you hang it, use a dehydrator or use an oven. Check out this post with all the different ways to dry herbs.
However, like cilantro, it can go slimy pretty quickly in the fridge, so don’t wait too long to get this puppy dehydrating quickly!
1. Rinse your parsley
If you want to use a spray pre-rinse, use this fruit and vegetable spray by my friend, Jennifer, at Self Reliant School.
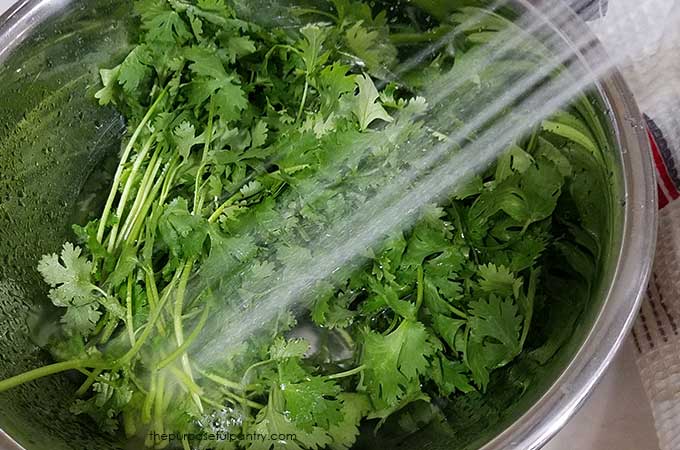
2. Lay out to dry or pat dry with a tea towel.
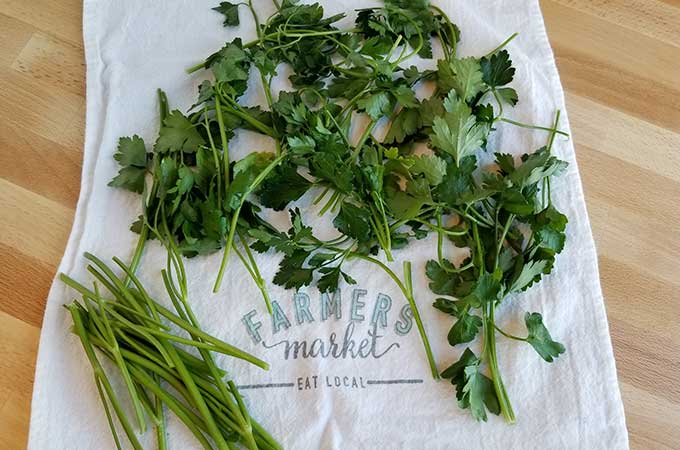
I love pretty tea towels, don’t you? They don’t have much lint that transfers to food. They absorb nicely, and are just so darned cute!
Tip: Those stems at the bottom? You can dehydrate those and chop them into smaller bits. But I prefer to freeze them in a zip-top baggie and use them to flavor stocks and soups later!
3. Lay dried stems on a dehydrator sheet
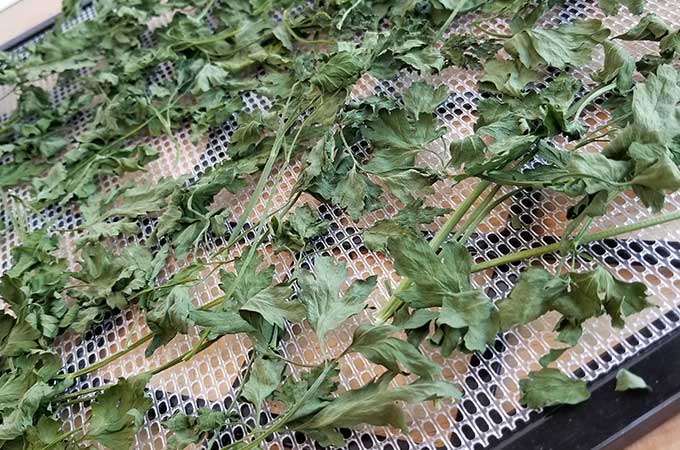
You can spend time picking all the little leaves off the stalk – but why waste your life. Just layout out the stems along the trays of your dehydrator. I try to give them just a little room because the leaves tend to stick together, unlike other heartier herbs, making drying time a little more fussy, but not much.
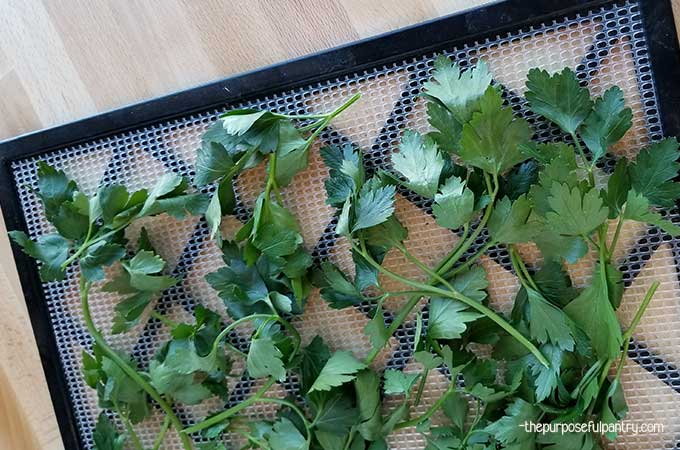
4. Set your dehydrator to 95F.
If you are using a machine that doesn’t have a specific number, set it on its lowest setting. You don’t want to go hotter so as not to cook the herb, you just want to remove the moisture and keep the vitamins and minerals inside. (I use this one by Excalibur, but also loved using this one from Nesco for years and years).
You should expect the parsley to take at least eight hours and up to twelve hours. Drying times vary due to the moisture content of the herb, the humidity in your home, the wattage of your machine, and your temperature setting. If you want to check to make sure the herb is fully dry, pull a stem or two from each try, lay them on the counter and allow them to fully cool before checking.
5. Allow to cool.
Once dried and cooled, begin to run your finger down each stem and remove the leaves. I found this is easier than simply gathering a bunch and rubbing it between your hands. I’d rather take that short time to remove the leaves than to pick out stem bits I won’t use after 😉
You can also just grab a bunch and rub them between your hands over a tea towel or cutting board. For the perfect dried parsley leave, you’ll want to hear a crisp, clean break of the leaves. Press the play button to hear what it should sound like, then click again to make it stop 😀
6. Condition
- Place dried food into a jar to allow movement. Do not add moisture absorbers or any other desiccant.
- Shake once a day for 5-7 days.
- Look for signs of sticking, clumping, or moisture buildup.
- If you have clumping or sticking to the side of a jar, if it is removed with a gentle shake, it is fine.
- If it takes significant shaking to remove it or break it up, place back into the dehydrator to dry more.
- If you see mold of any kind, throw food away and sanitize the jar.
- Look for signs of sticking, clumping, or moisture buildup.
- Once complete, store in an airtight container in a dark, cool, dry place if possible.
7. Store in an airtight container.
Gather up your little bits and store them in an airtight container. If you were to compare your home-dried parsley to that of some purchased at the store, you’d find that the dried parsley is a more vibrant color — not kind of tired-looking green.
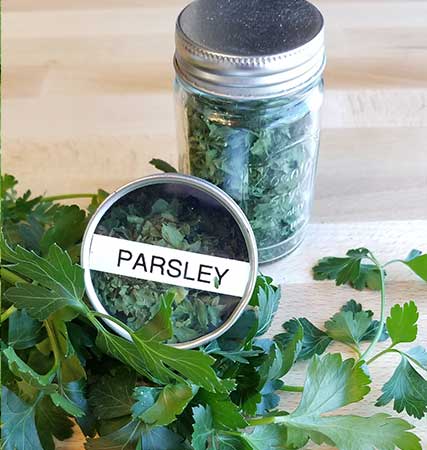
Store for as long as it smells like parsley to you! Typically, it’s suggested that you store herbs for only six months. But I say, store for as long as it smells like fresh parsley to you. Once it begins losing the readily identifiable smell of parsley, it’s time to dry up a new batch!
How to Use Dehydrated Parsley
- Sprinkle in casseroles or soups
- Sprinkle on bread with a little butter and toasted in the oven
- Add to other herbs to make spice blends like Italian Herb Blend
- Use as any other dried spice for soups, stews, casseroles, etc.
Tip: Dried herbs have a more intense flavor than their fresh counterpart, so you’ll want to use them during the long cooking process. Use fresh herbs at the end or as a garnish to brighten up a dish.
Alternative Ways to Dehydrate Parsley
How to Dry Parsley in an Oven
Set your parsley on a rack over a tray. Set your oven as low as it can possibly go, then use a glove, or any other device to prop the door open. Check frequently as you don’t want to cook or burn the parsley. This isn’t my preferred method for herbs because of the risk for burning or accidents happening with an open oven door. The amount of energy is also pretty high.
How to Dry Parsley in the Microwave
- Lay your clean and dry parsley in a single layer on a sheet of paper towel
- Set your microwave to 30 sec., full power, and start
- Allow the parsley to cool before testing for dryness.
- Continue in 30-second bursts for up to 60 seconds.
- Flake and store per instructions above.
How to Hang Parsley to Dry
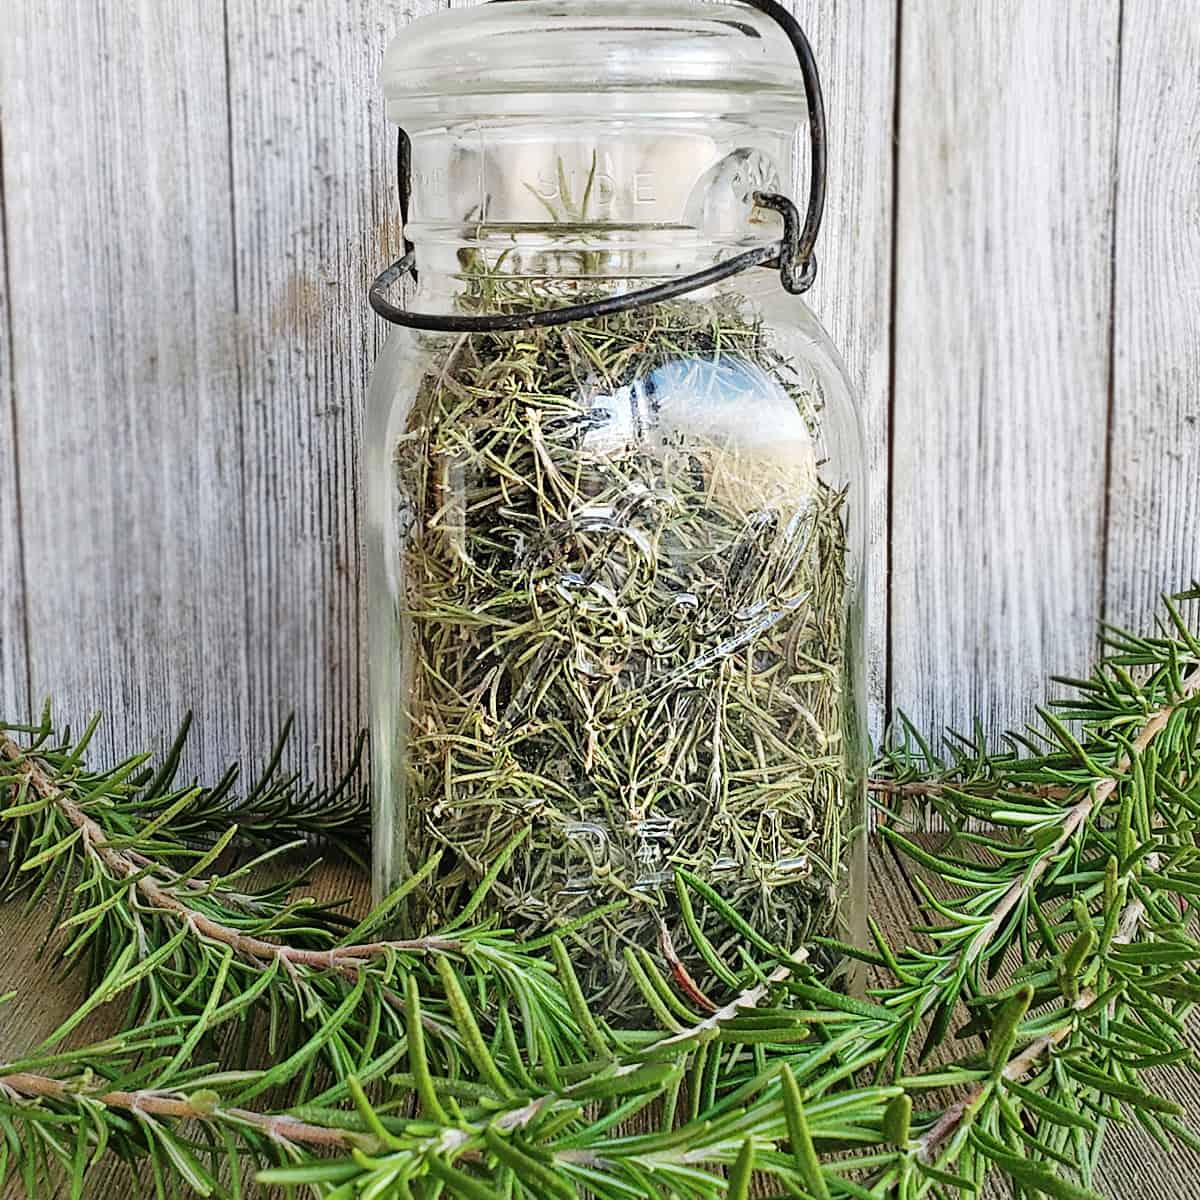
You can create small bunches of parsley and tie with a jute rope, natural yarn, bread tie, etc. (you can see my example here when I hung rosemary to dry). Store in a cool dry place to allow to air dry. I prefer to do this with more woody herbs, but if you don’t have access to a dehydrator, this will work fine.
BONUS: How to Freeze Parsley
If dried parsley isn’t your thing, and you want a quicker option that makes it feel like you’re using a fresh herb in your cooking down the road, just freeze it! I chop my herb if the leaves aren’t small, fill an ice cube tray, and top it off with olive oil. You could also use water, I just prefer oil. Freeze, then store in zip top bags with all of the air removed. Stores for up to a year in the freezer.
Flat-leaf vs Curly – which side are you on?
There’s a debate raging in the world…curly parsley vs flat-leaf parsley. Whatever side you fall on, know that you are welcome here, but I’m going to warn you: I am a flat-leaf parsley kind of girl, so that’s how you’ll see the samples on this blog post. But the process to dehydrate parsley doesn’t differ between the two types. Let me know which is your favorite in the comments below!
No matter which type of parsley you love or which drying method you use, you’ll be saving yourself some awesome flavors to dehydrate your own parsley at home with these easy steps!


I saw this tip someplace online and have been using it for a while now to prepare parsley for dehydrating: run the stems through one of the top holes of a box grater to remove the stems from the tops. Just pull the stem through to the inside of the grater by grabbing the stem with your fingers and pulling it firmly. The tops are all ready and there is no need to try to separate them after the parsley has dried. I have the small round Cosori dehydrator and this technique works well with it.
I like curly parsley! It doesn’t bolt as quickly in my garden and provides more parsley for the chopping labor.
I agree!