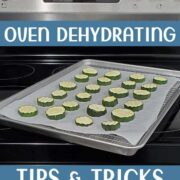
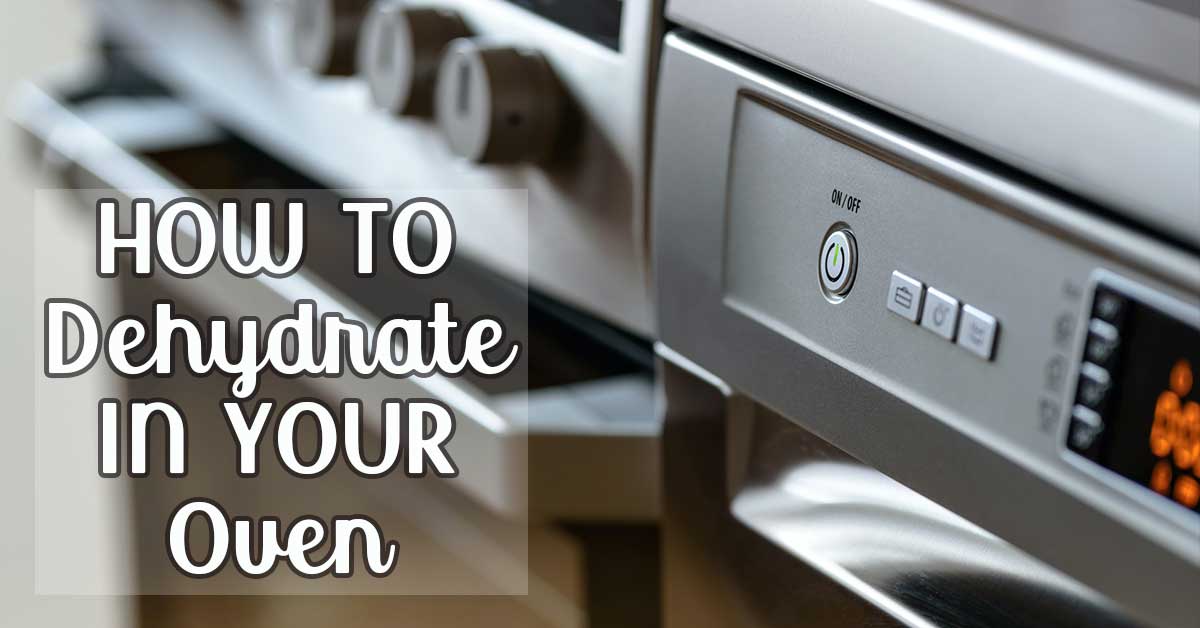
How to Use an Oven to Dehydrate
This post may contain affiliate links. We may earn a commission if you purchase via our links. See the disclosure page for more info.
You can use an oven to dehydrate! Even if you don’t own a dehydrator, oven drying is a way to preserve food for your pantry and extend your food storage.
Even if you don’t own a dehydrator, or you just don’t have room for one in your living circumstances, oven drying (do not confuse this for the unapproved method of putting goods in jars, with lids, in the oven to vacuum seal them called oven canning or dry canning) can be a great way to preserve excess grocery deals or garden excess.
Benefits of Oven Dehydrating
- Doesn’t require extra equipment. You likely already have cookie sheets and cooling racks in your kitchen tools.
- Allows you to create healthy snacks for your family without preservative additions in commercially dried foods.
- Can often be faster than drying with a dehydrator.
- Can be an extra tool for those who dehydrate by using the oven to do the last stage of drying while you start a new batch in your dehydrator.
- Creates crispy veggie snacks in a shorter time.
Drawbacks of Oven Dehydrating
- Cooks, doesn’t dry. Unless your oven has a true dehydrating feature or low temperature, it likely can’t get low enough for recommended drying temperatures to try moisture removal instead of cooking.
- Takes up your oven when dinner might be necessary.
- Uses more energy than a dehydrator.
- Does not remove moisture – along with the first drawback, most ovens don’t have the means to remove moisture from the chamber without a fan.
- It is expensive – in the true cost of running an oven vs a dehydrator, the oven is much more expensive.
Oven drying is great when you want to make snacks. It can make things ‘crisp’ when a dehydrator can’t because you’re cooking more than you are drying.
LEARN MORE: How to pick an inexpensive dehydrator
Oven Drying Tips
- Test first. Test your oven’s accurate temp (not what the dial says) with an oven thermometer. Then, test again using the open-door method described below to know exactly where the temperature stands in your oven. This will help you make better decisions on how you proceed.
- Use a wooden spoon, wooden block, oven-safe silicone glove, or spoon to prop the door open to allow moisture to escape.
- Use a fan outside the oven door to help create airflow, release moisture, and bring down the temperature if your oven doesn’t go below 170°F/76°C. This will help air circulation around your food as well as remove moisture to help dry more efficiently.
Safety Tip: PLEASE be mindful of small children or mobility-impaired individuals as this can be of great risk to them.
How to Dehydrate in Your Oven
- Preheat oven to the appropriate temperature (as low as you can possibly go)
- Prepare your foods as you would any dehydrating process for the food you are using (including blanching, breaking the skin for berries, etc.)
- Place vegetable slices or fruit slices on a baking sheet with a cooling rack on top to allow airflow, directly on the oven racks. Placing a fruit leather sheet or parchment paper on the cooling rack may be helpful to stop foods from falling through.
- Place in oven to begin drying.
- Check once an hour and flip as necessary until done.
- Cool and check samples for appropriate dryness.
- Condition.
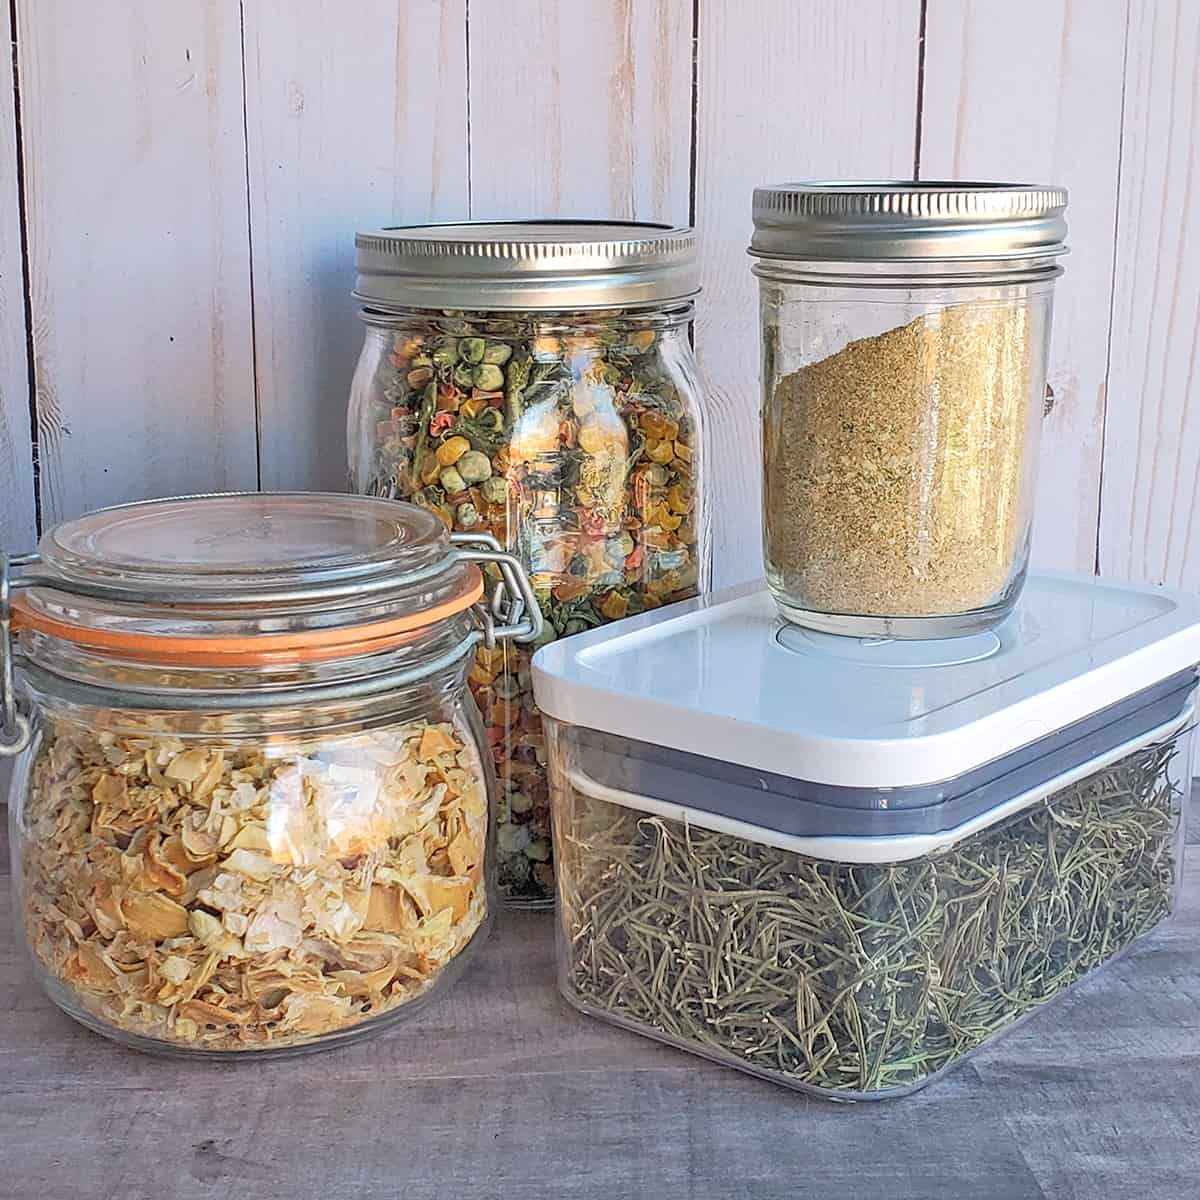
- Store in airtight containment. Read more on how to store dehydrated foods.
Oven drying Herbs:
- Electric: Turn on your oven light and leave them on a tray with a cooling rack and allow them to sit overnight.
- Gas: Pilot light will serve as a mild heat source.
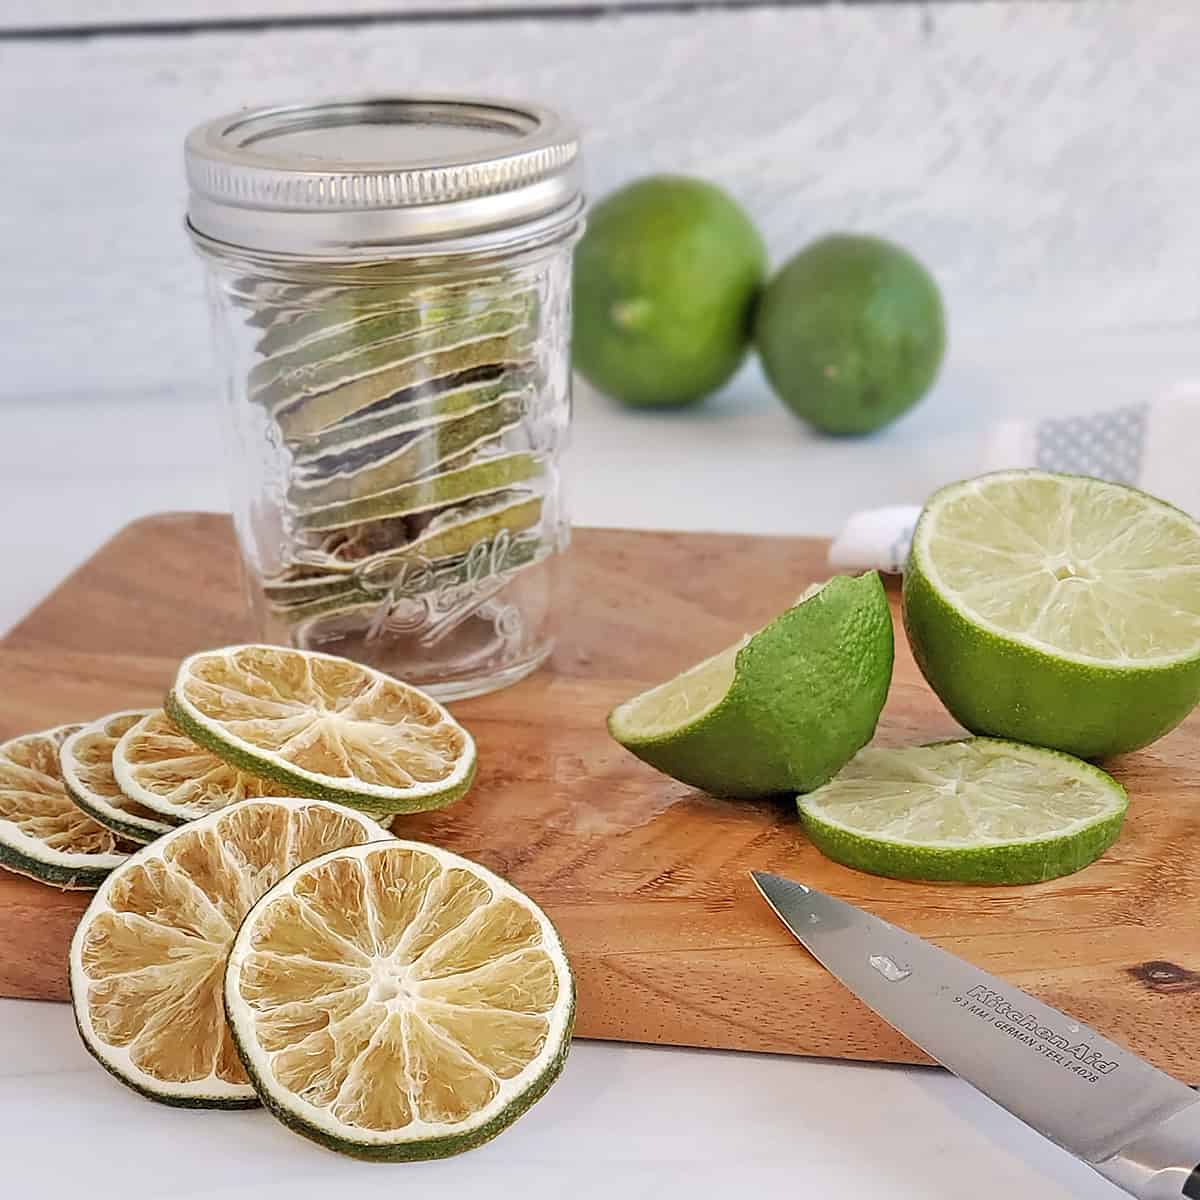
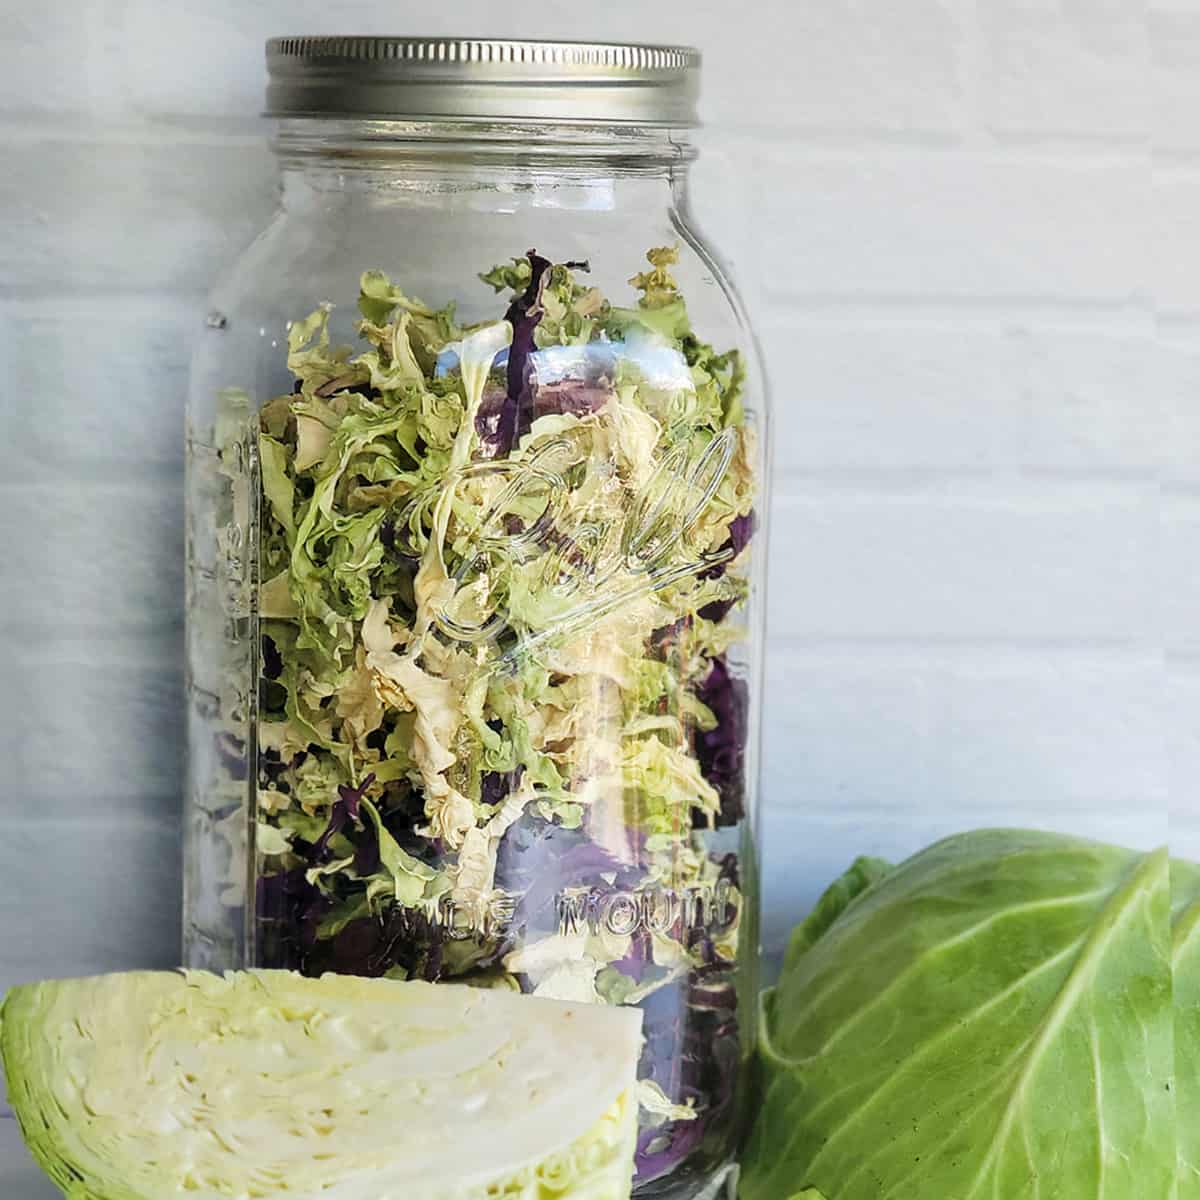
Fruits and vegetables:
- Place on parchment paper or oven-safe silicone sheets, turn often for complete drying.
- Watch for case hardening (when outside gets hard quickly – not allowing the moisture to escape). This is particularly problematic in dense-skinned corn, grape tomatoes, etc.
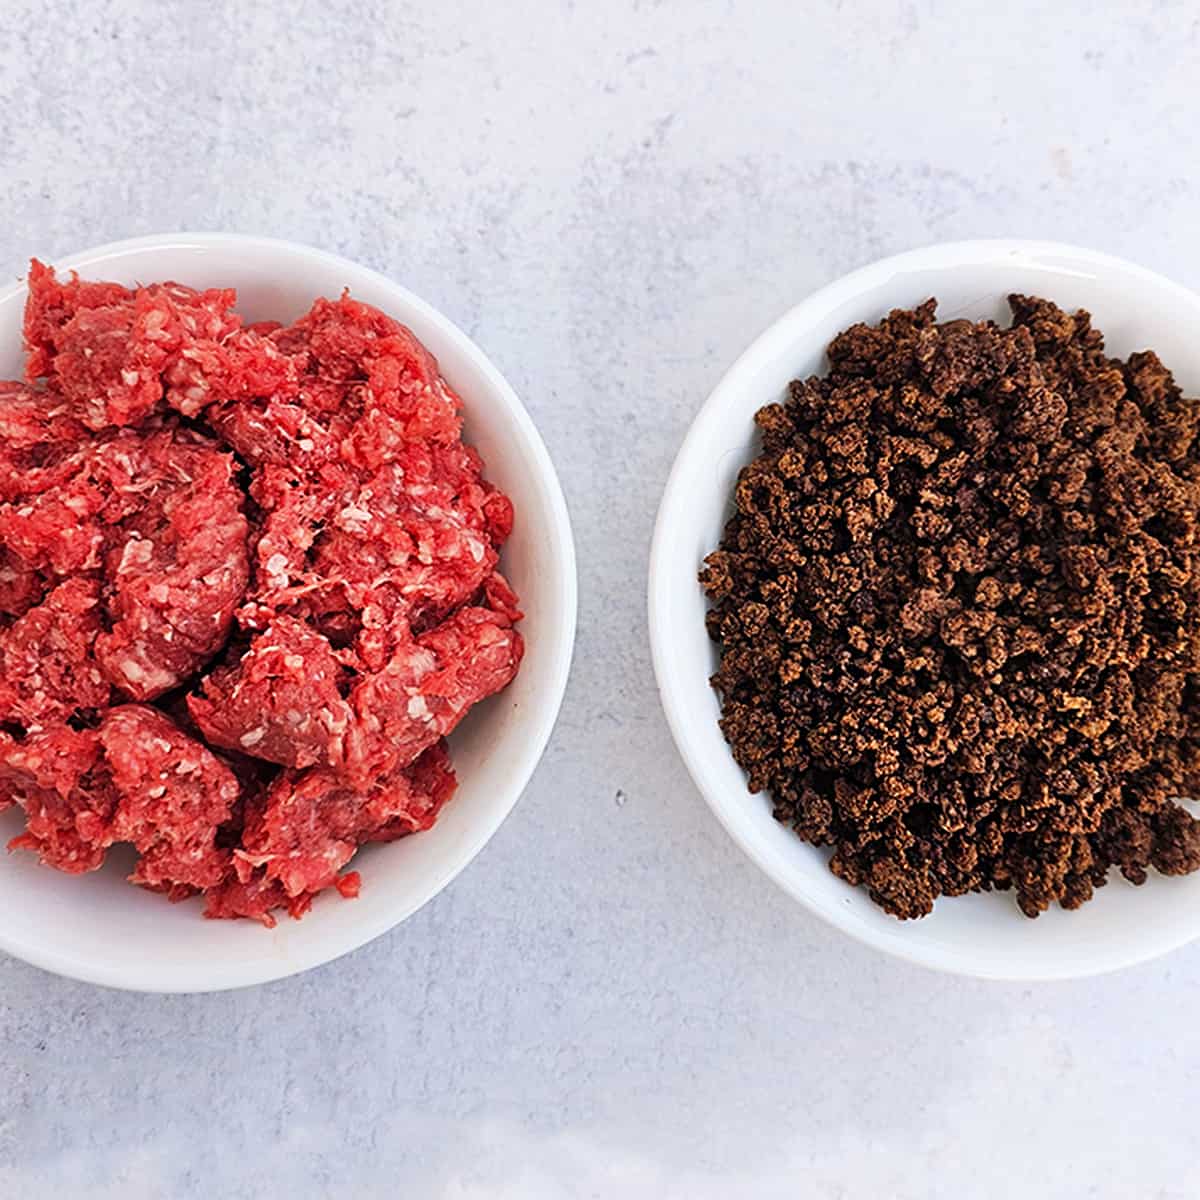
Meats:
- Most jerky can be done easily in the oven – just get them fully up to 145°F/ 62°C (160°F/70°C if doing chicken) and thoroughly dry. Follow your favorite jerky recipe.
- These are unsuitable for long-term storage under modern safety guidelines and should be sealed and stored in the freezer to extend their life if they have not been cured.
Dehydrating with Convection Ovens
If you have a convection oven, chances are it dehydrates – read your manual (or download it off the internet) to get any additional instructions. You may be unable to prop open the door to lower the temperature as many convection ovens have an alarm, but be sure the fan is running to help remove moisture.
Dehydrating with Air Fryers
- Follow the same procedures for drying in an air fryer as you do for an oven to prepare the food.
- Line your air fryer trays with parchment paper to help reduce sticking.
- Use the dehydrating feature on your air fryer, setting the time recommended in your manual, as they all work differently.
- Check your food often and flip it for the best results. Air fryers can burn, so you want to watch your food!
- Condition.
- Store in an airtight container.
Here are a few good air fryers with dehydrating functions:
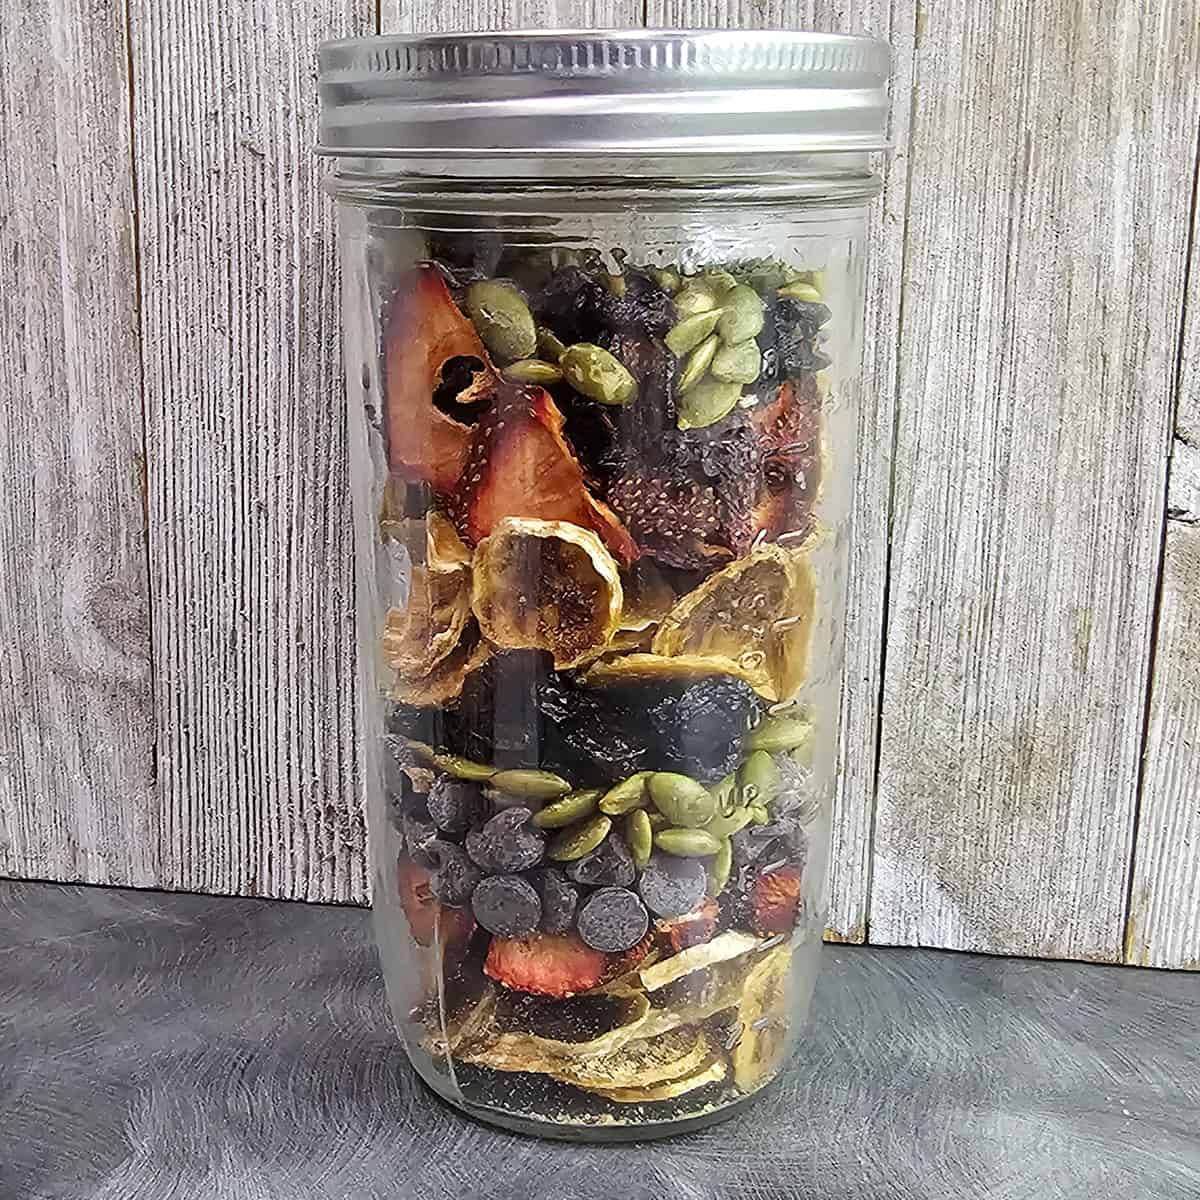
How to Condition
Conditioning dehydrated foods is a way to test to be sure the moisture has equalized in your container and that there is no excess moisture.
- Place food into a jar with enough room to move.
- Shake once a day for 5-7 days.
- Look for any signs of moisture buildup: Food sticking to the sides or bottom that won’t easily shake off, clumping, moisture beads on food or jar.
- If you find these issues, place food back into the dehydrator to dry more.
- If you see any mold, toss everything out and sanitize your jar.
Want to learn even more about conditioning? Check out this How to Condition Tutorial.
Shelf Life of Dehydrated Food
Optimally, the shelf life of dehydrated foods is about two years. However, you may get longer with hearty vegetables versus tomatoes and other fruits. Store in a cool, dark, dry place for best shelf-life.
Best temperatures for dehydrating:
If your oven goes below 170°F/76°C, these are the recommended temperatures for dehydrating:
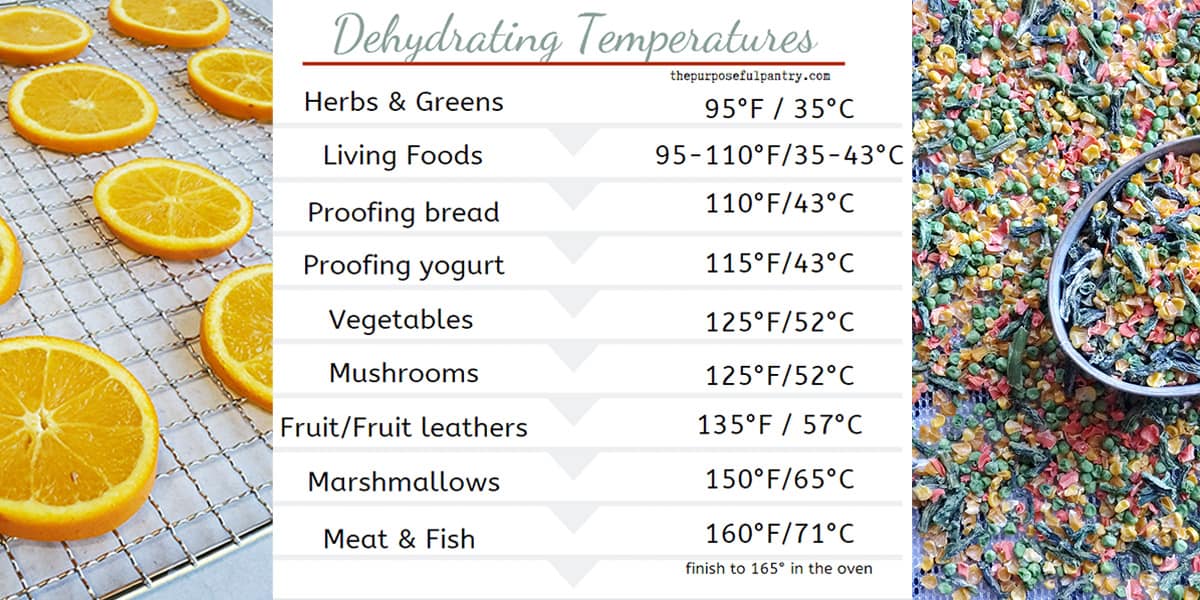
However, if your oven doesn’t go as low as these temperatures, choose the lowest it does go.
Can you use dehydrator sheets in the oven?
Yes, fruit leather sheets and parchment paper is fine to use as a lining on your baking sheets to helps stop food sticking and make placing into your storage container easier.
I’m trying new ways of preserving food and making healthy foods for my diabetic husband. I’m interested in your food blog
Welcome! I hope you can find information here that helps you out!