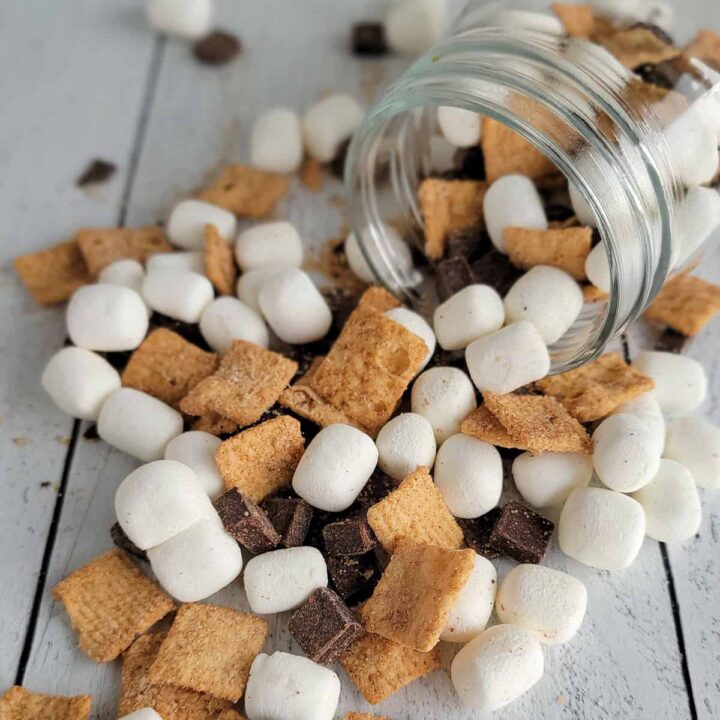
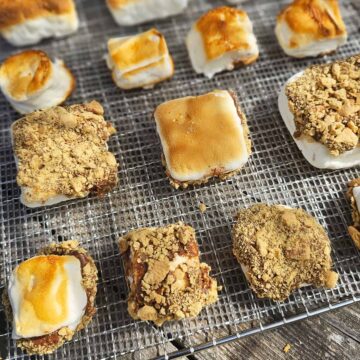
Dehydrated Roasted Marshmallow S’mores
Create the taste of summer even if it is pouring outside. These dehydrated roasted marshmallow s’mores allow you to create a tasty twist on s’mores, indoors, no matter the time of year!

Learning to use dehydrated marshmallows is a great addition to your stackable treat recipes from the dehydrator and will wow friends and family.
These tasty treats are perfect for
- Summer weekends when it’s raining;
- Marshmallow bars for birthdays or other celebrations;
- Snack plates to give to neighbors and friends;
- Treats for meetings or school parties (if allergy friendly);
- Because it’s Tuesday.
DIY Dehydrated Roasted Marshmallow S’mores
Dehydrating roasted marshmallows are a treat unto themselves. The s’more topping is just the icing on the cake, so to speak.
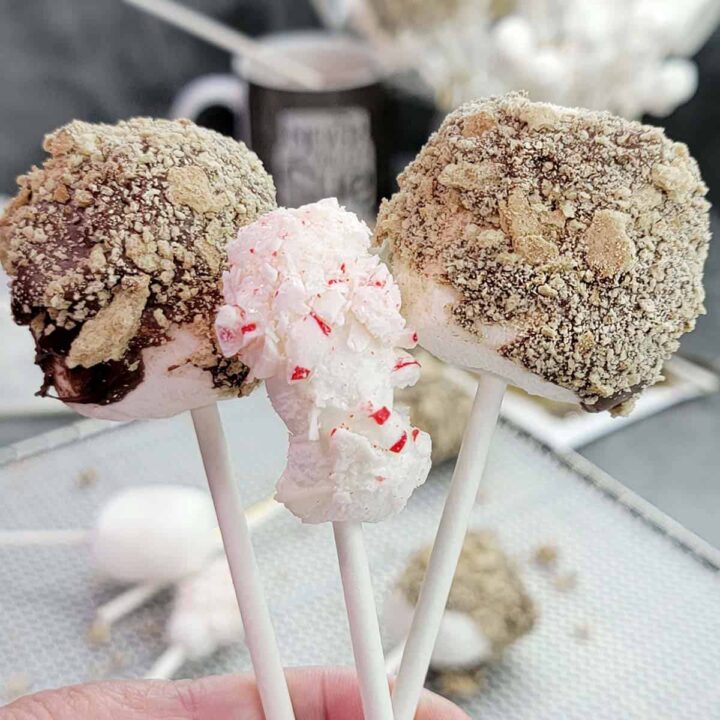
These are a full-impact twist on my Dehydrated Marshmallow Pops, giving you a ‘pop’ of a s’more flavor.
Equipment
- Baking sheets
- Dehydrator
- Mesh liners
- Small bowls
Ingredients
- Marshmallows: I used the Jet Puffed S’more vanilla marshmallows, but you can use regular or mini marshmallows. If your vegan marshmallows can handle the roasting, they’ll work for this, too! However, since vegan marshmallow recipes are all different, test yours under the heat and in a dehydrator first.
- Graham Crackers: You can use whatever kind of sweet cracker you have, but graham is traditional. You can use potato chips as a salty crunchy option, or even crushed up chocolate chip cookies.
- Chocolate Dip: melting chocolates, chocolate chips, white chocolate, hazelnut chocolate spread, anything that works!
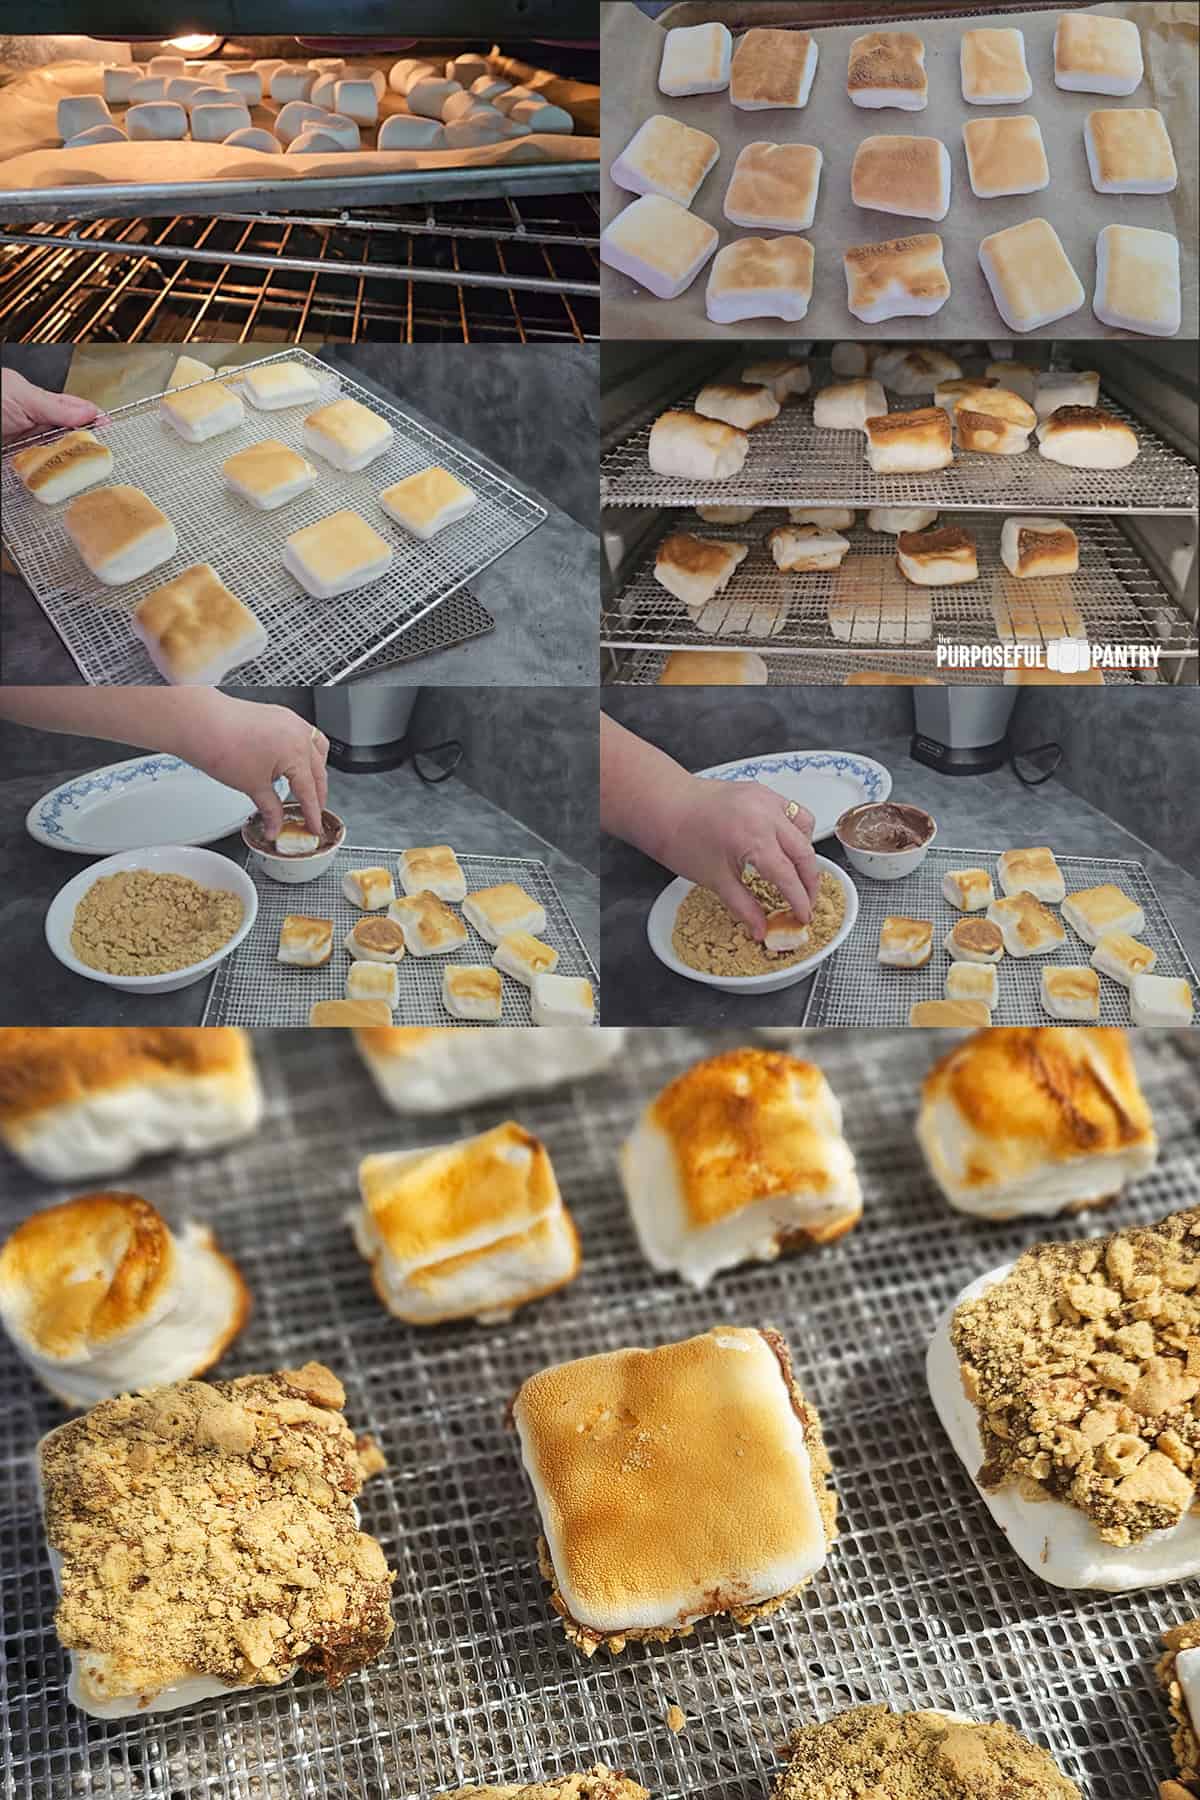
Roast Marshmallow: Whether you do this over an open fire, under the broiler of your oven, or with a kitchen butane torch, roasting both sides is recommended.
- Roast Marshmallow: Whether you do this over an open fire, under the broiler of your oven, or with a kitchen butane torch, roasting both sides is recommended. Place marshmallows in a single-layer to ensure proper roasting and drying.
- Graham crackers: You can buy them already ground or just put some in a baggie and whack them with a can of vegetables or a mallet.
- Chocolate: whichever chocolate you choose, melt small amounts at a time so that it doesn’t harden if you have a cooler kitchen.
Do I need a liner to roast in the oven?
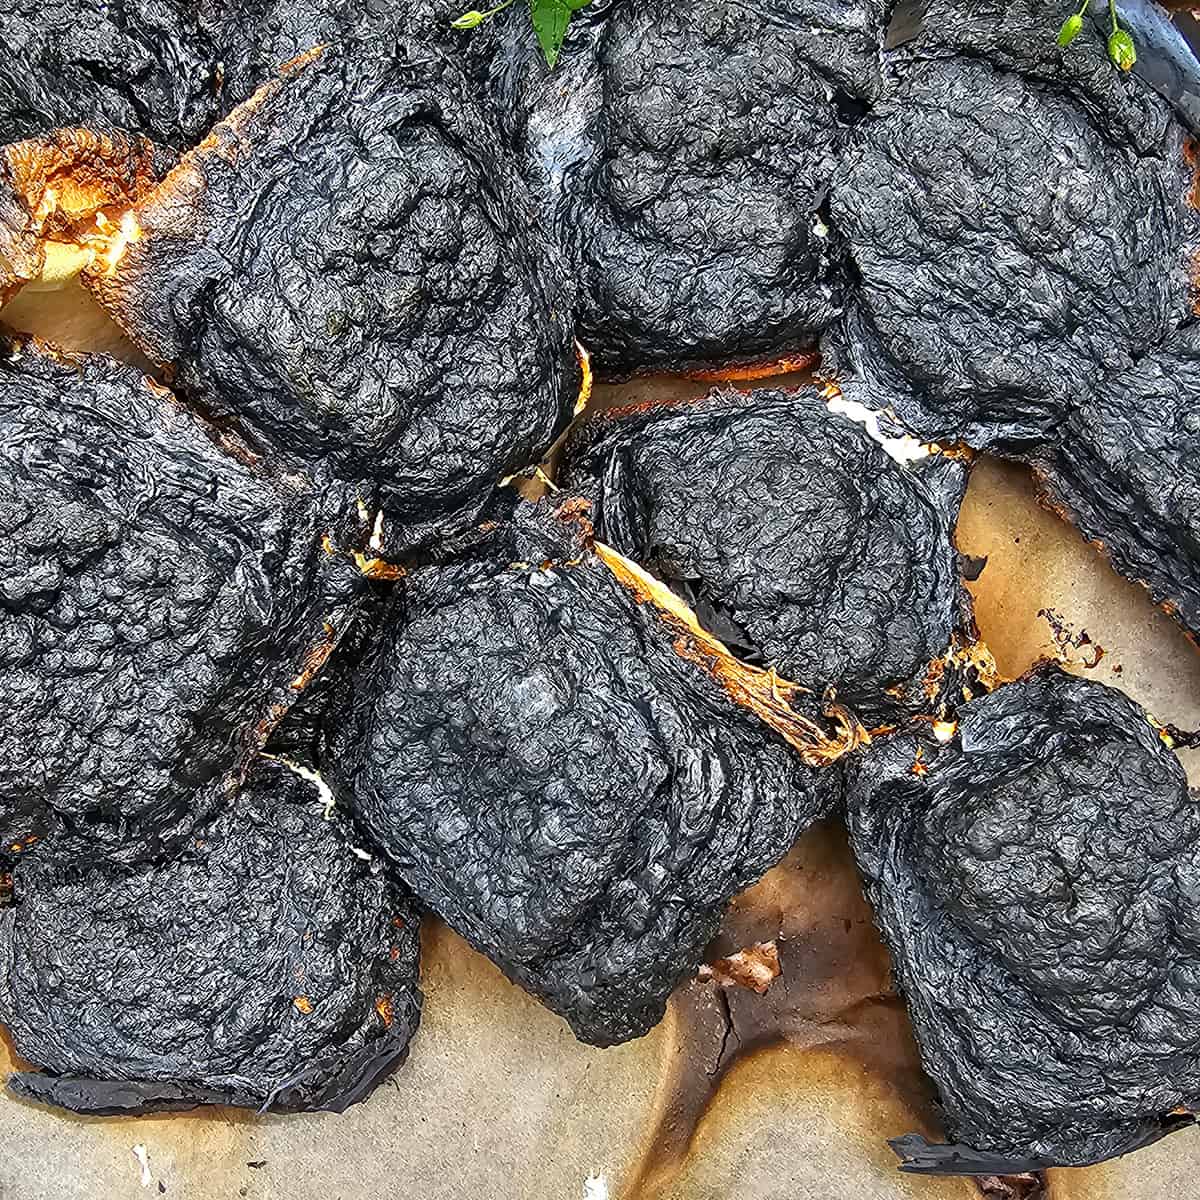
NOTE OF CAUTION: While I used parchment paper on this project, a note after the fact could have been what started the oven fire. The directions on the box say don’t use it with a broiler for this reason (who thought to read parchment paper box directions? Obviously, not me! I use them so rarely that I didn’t even think about it. Silicone is out, too.
How to Roast Marshmallows Indoors?
You have a few options for roasting indoors:
- In your fireplace as if you were doing it over an open flame outside;
- Over a gas oven element as if you were doing them over an open flame;
- In the oven, under the broiler, on cookie sheets;
- With a small kitchen butane torch.
Can You Roast Vegan Marshmallows?
In most cases, yes! You’ll want to test various brands with different formulations first. Good news is that you can also dehydrate them, too!
Can You Use Homemade Marshmallows?
Yes, in most cases. Recipes vary across the internet, but most can be roasted and dried for this process!
Darcy’s Tips
- Don’t burn things. Seriously. This is what it looks like when you wait five extra seconds, and then the oven goes “floomfph” and you know something is not right. Then there are big flames. Pay attention. Don’t take your eyes off those marshmallows.
- Keep a high temperature. If you do a lower temperature to protect them, you may find the marshmallows melt instead of roast.
- Use parchment paper on your baking sheets for the oven. It will save you clean up heartache later.
- Be sure to use mesh liners on your dehydrator trays. The stickiness from the roasting process will become concrete glue on your metal racks.
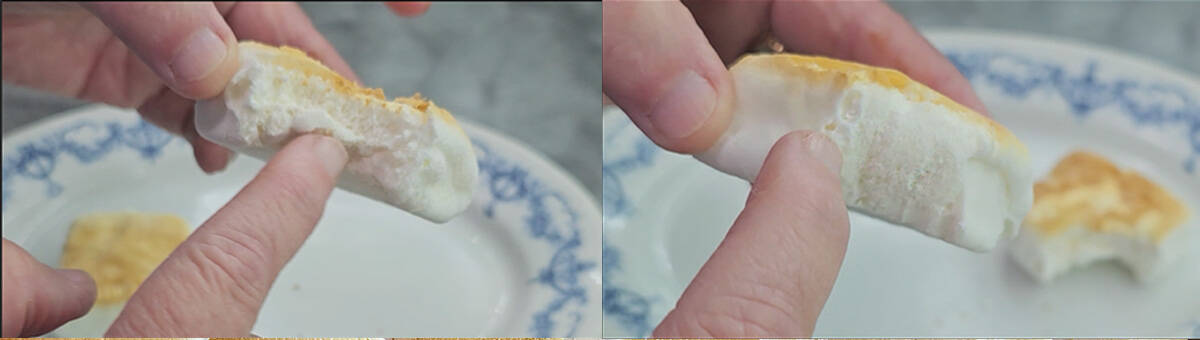
- Be sure to allow the marshmallows to cool for about 15-20 minutes before testing. When still warm, they will be soft and gummy but will harden up, given time to cool.
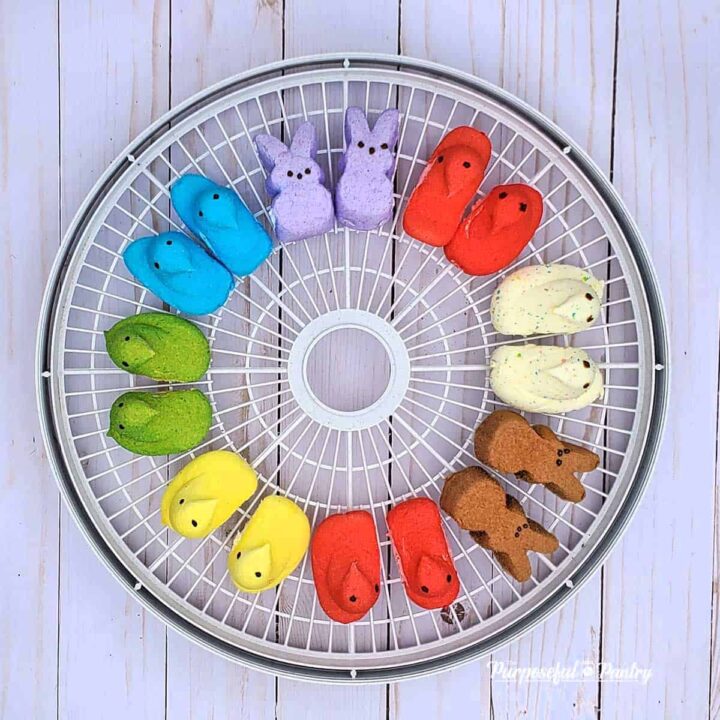
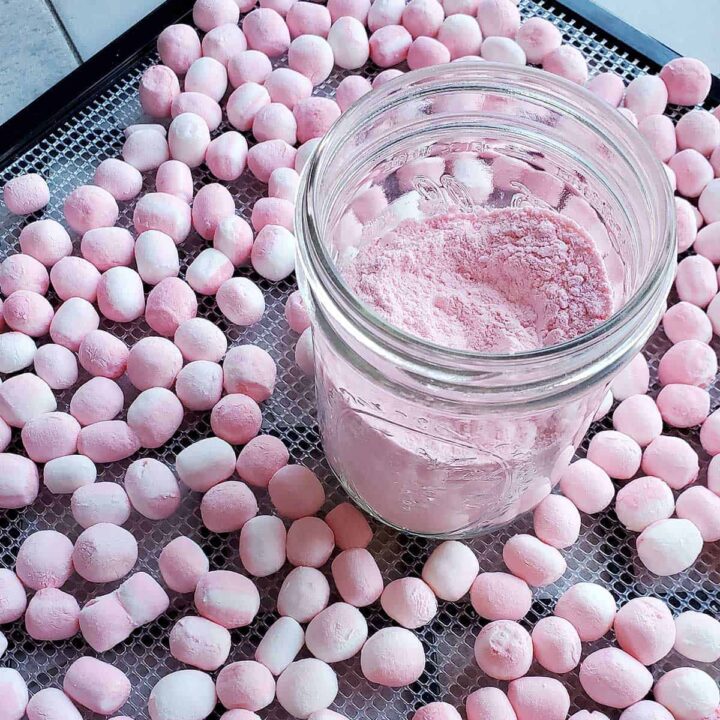
More Dehydrated Marshmallow Ideas
Dehydrated Roasted Marshmallow S’mores
Equipment
- Baking Sheet
- Mesh liners
Ingredients
- Large marshmallows
- Graham cracker crumbs
- Soft chocolate for dipping chocolate melts, chocolate chips, Nutella
Instructions
- Place large marshmallows on a baking sheet.
- Place in a 500°F oven (broil setting) under the broiler.
- Roast until you've receached desired roasting state.
- Flip and roast second side if desired.
- Remove marshmallows and place on a plate to cool.
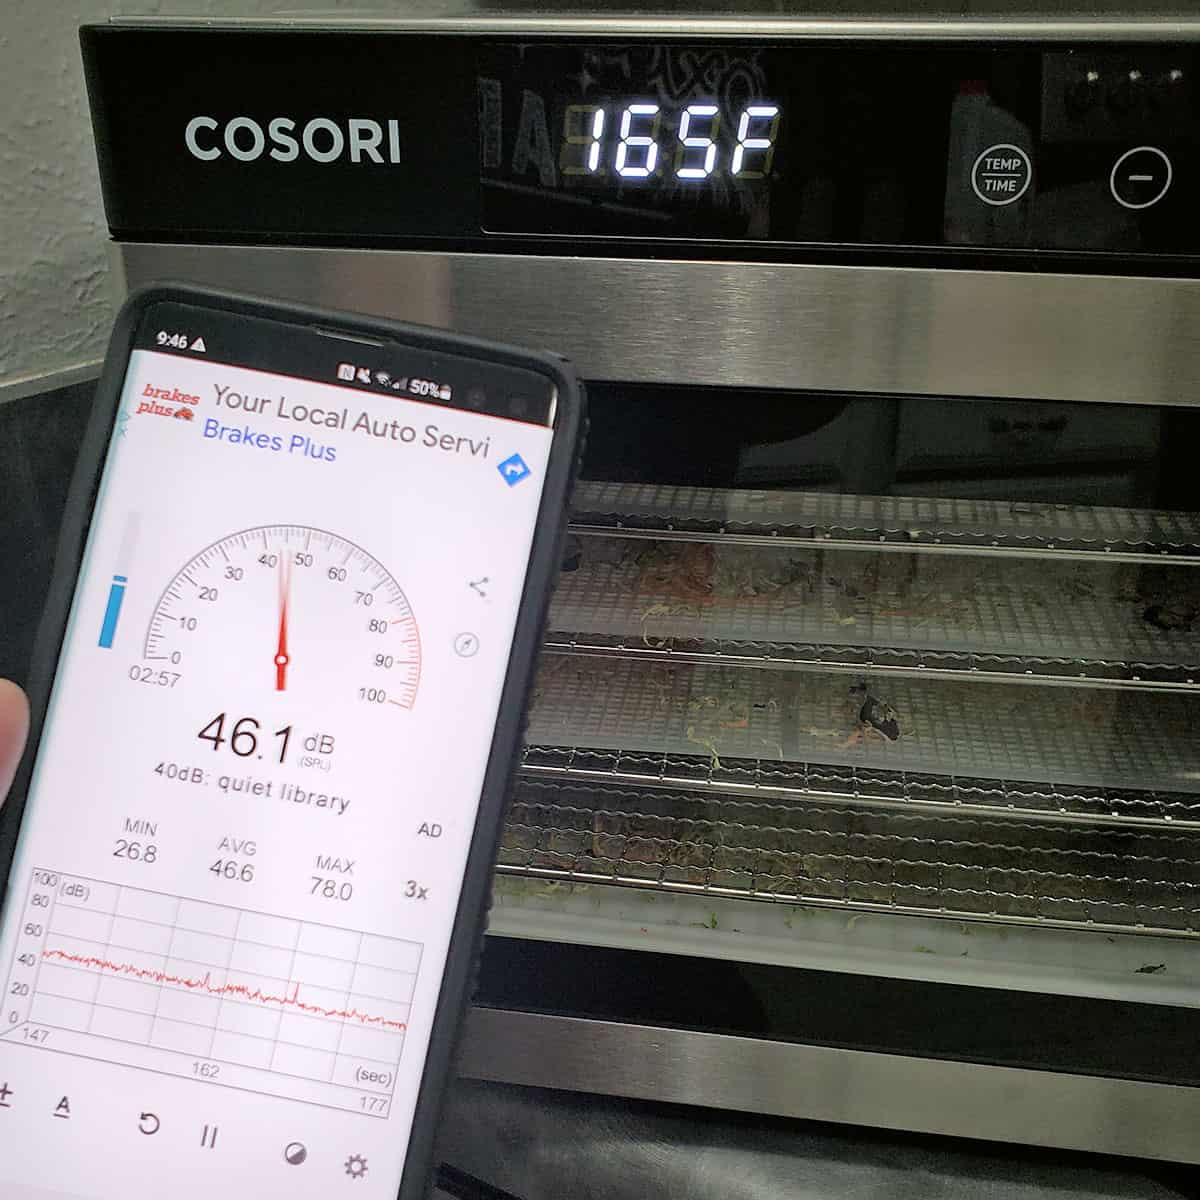
- Place mesh liners onto dehydrator trays, then load marshmallows.
- Dry at 125°F/52°C until completely dry (approximately 36 hours.
- Let a sample cool for 15 minutes before testing if marshmallow is dry (honeycomb interior).
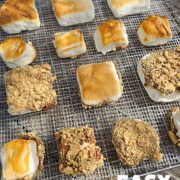
- Dip marshmallow into melted chocolate.
- Dip into graham cracker crumbs.
- Place onto a serving tray or into airtight food storage container.
Video
Darcy’s Tips
Storage:
Store in an airtight container for about a week.Darcy’s Tips
-
- Don’t burn things. Seriously. This is what it looks like when you wait five extra seconds, and then the oven goes “floomfph” and you know something is not right. Then there are big flames. Pay attention. Don’t take your eyes off those marshmallows. Using parchment paper is likely what started the fire, so don’t use it!
- If you worry about burning, you can drop the rack down to the 2nd position.
-
- Keep a high temperature. If you do a lower temperature to protect them, you may find the marshmallows melt instead of roast.
-
- Be sure to use mesh liners on your dehydrator trays. The stickiness from the roasting process will become concrete glue on your metal racks.
-
- Be sure allow the marshmallows to cool for about 15-20 minutes before testing. When still warm, they will be soft and gummy, but will harden up given time to cool.
Nutrition
Nutritional information is an estimation only. Nutrient information for dehydrated foods is based on fresh. Use 1/4 of the servicing size for the same nutrient information. Thus 1 Cup of fresh fruit has the same sugars as 1/4 dried.
©ThePurposefulPantry. Photographs and content are copyright protected. Sharing of this recipe’s link is both encouraged and appreciated. Copying and/or pasting full recipes to any social media is strictly prohibited.

You might want to clarify the notes in this recipe. The first one says not to use parchment. The fourth bullet point says to use parchment. Otherwise, it looks like a great recipe which I will try in a few weeks.
Caught the others, not that one. Thanks!