How to Make Vegetable Stock and Preserve It
This post may contain affiliate links. We may earn a commission if you purchase via our links. See the disclosure page for more info.
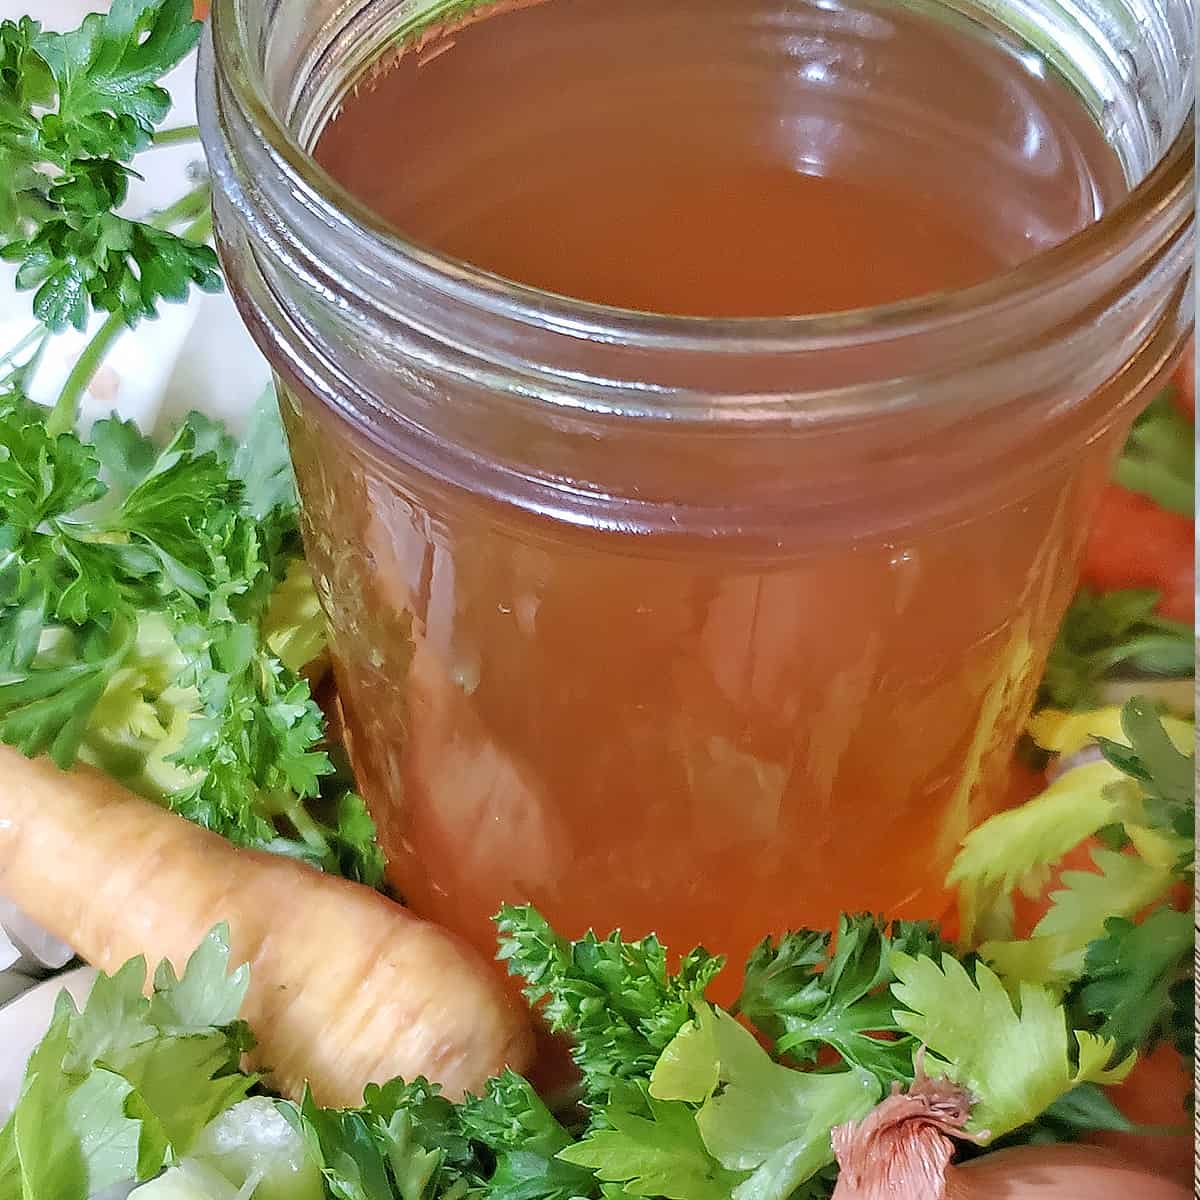
Learn to make vegetable stock, and never buy it from the store again! This easy, versatile, and completely customizable recipe will allow you to use leftover vegetable scraps to create shelf-stable stocks to store in your pantry for long-term food storage.
Do you have bags and bags of vegetable peelings, ends, extras, and things in the freezer that you don’t know what to do with? But you know you’re supposed to be saving them for some reason?
We know using vegetable scraps and peelings is great for making deep, rich, flavorful bone broth. If you don’t use a lot of meat with bones, then those veggie scraps are going to waste.
Learn how to make a fantastic vegetable stock that is so easy to do, will fill your pantry with an essential pantry staple no one should be without, and have a starter for a quick meal anytime you need it.
What’s the difference between vegetable stock and broth?
The primary difference is really only salt. Vegetable broth is without salt, stock is with salt.
When dealing with meats, there are differing opinions on simple meat bones or meat bones with vegetables. Or a first brew or subsequent brews. But for vegetables, they are basically the same.
How to Make Vegetable Stock
The most wonderful thing about making vegetable broth or stock is that there is no formula. You can make it with almost any vegetable you like, with any amount of water you have.
The biggest key is to have roughly the same ratio of vegetables so that no one particular flavor stands out.
However, no one flavor is perfect for every situation, and no one vegetable stock will be just like that last!
Here are some guidelines about what to include to get you started.
Ingredients:
Vegetables to include:
- Carrots
- Celery
- Onions
- Leeks
- Parsnips
- Mushrooms
- Parsley
Additional things to add:
- Peppercorns
- Bay leaves
- Salt – use judiciously – you can always salt your final dish to taste
- Garlic – also use sparingly as not to overpower your vegetable stock.
- Ginger – add a little ginger for an Asian dish flair!
Vegetables to Exclude:
- Potatoes – or any other starchy vegetable. They can cause cloudiness in your broth
- Broccoli, cauliflower, etc. These cruciferous vegetables can overpower the flavor of your broth.
- Beets – not only is the flavor large can overpower your vegetable stock, but it can also change the color that may not be pleasing in your dishes.
- Garlic – use garlic, but be mindful that it can overpower your broth, so use it sparingly.
- Greens – turnip, kale, spinach, etc. Greens can turn bitter and ruin the flavor of your broth
Expect Tip: Before making stock, consider roasting your vegetables or caramelizing them in your stockpot. It will add a new layer of flavor to your broth.
Ingredients for Basic Vegetable Stock
Remember, vegetable stock can be made from anything you have on hand, including those frozen leftover bits you’ve been saving in the freezer.
This is just a good basic recipe of things you can include to help you get started if you need it.
- 2 to 3 carrots (add more if your carrots are small)
- 1 large onion (I prefer white onions, but use whatever you have)
- 3 to 4 celery ribs (remember, rib is the single, stalk is the bunch)
- 4 sprigs fresh thyme (optional – use 1 TB dried if you have it)
- 8 oz. sliced mushrooms (include those stems!)
- 1 bay leaf
- 1 small bunch fresh parsley
- 1 teaspoon black peppercorns
And remember, this basic recipe is just a jumping-off point!
Directions:
- Wash and prep vegetables.
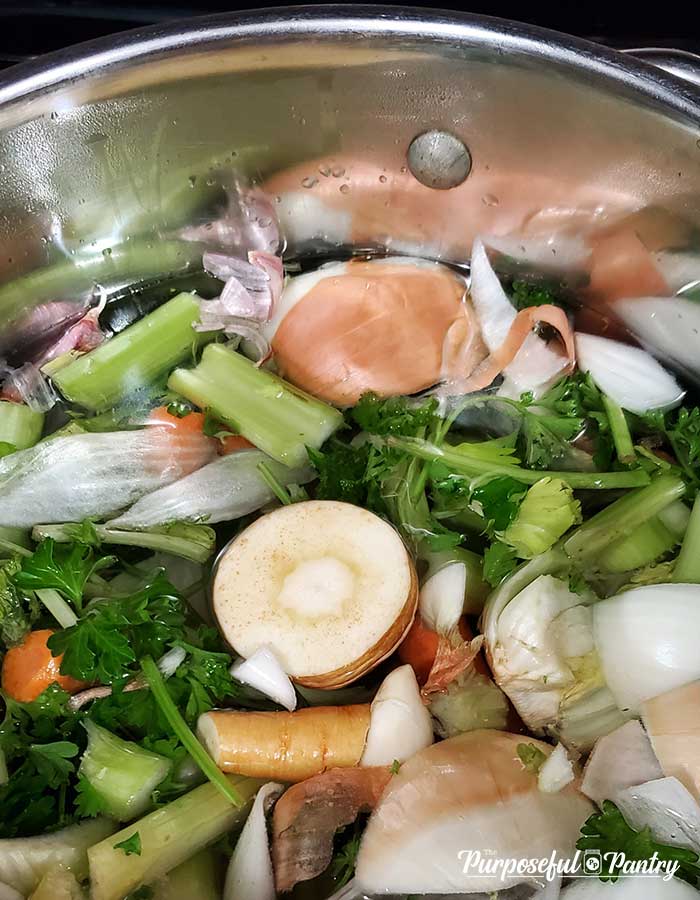
- Fill a stockpot with the frozen vegetables you have been saving or use fresh from the list above.
- If you plan on dehydrating the end product later (see this post on how to do it), go ahead and dice and prepare your vegetables now to make it easier later.
- Fill the stockpot with filtered water to within 2″ of the rim. You need enough space to stir without spilling.
- Simmer for up to 2 hours.
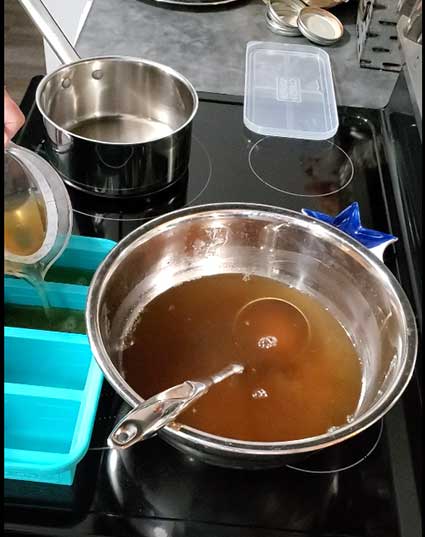
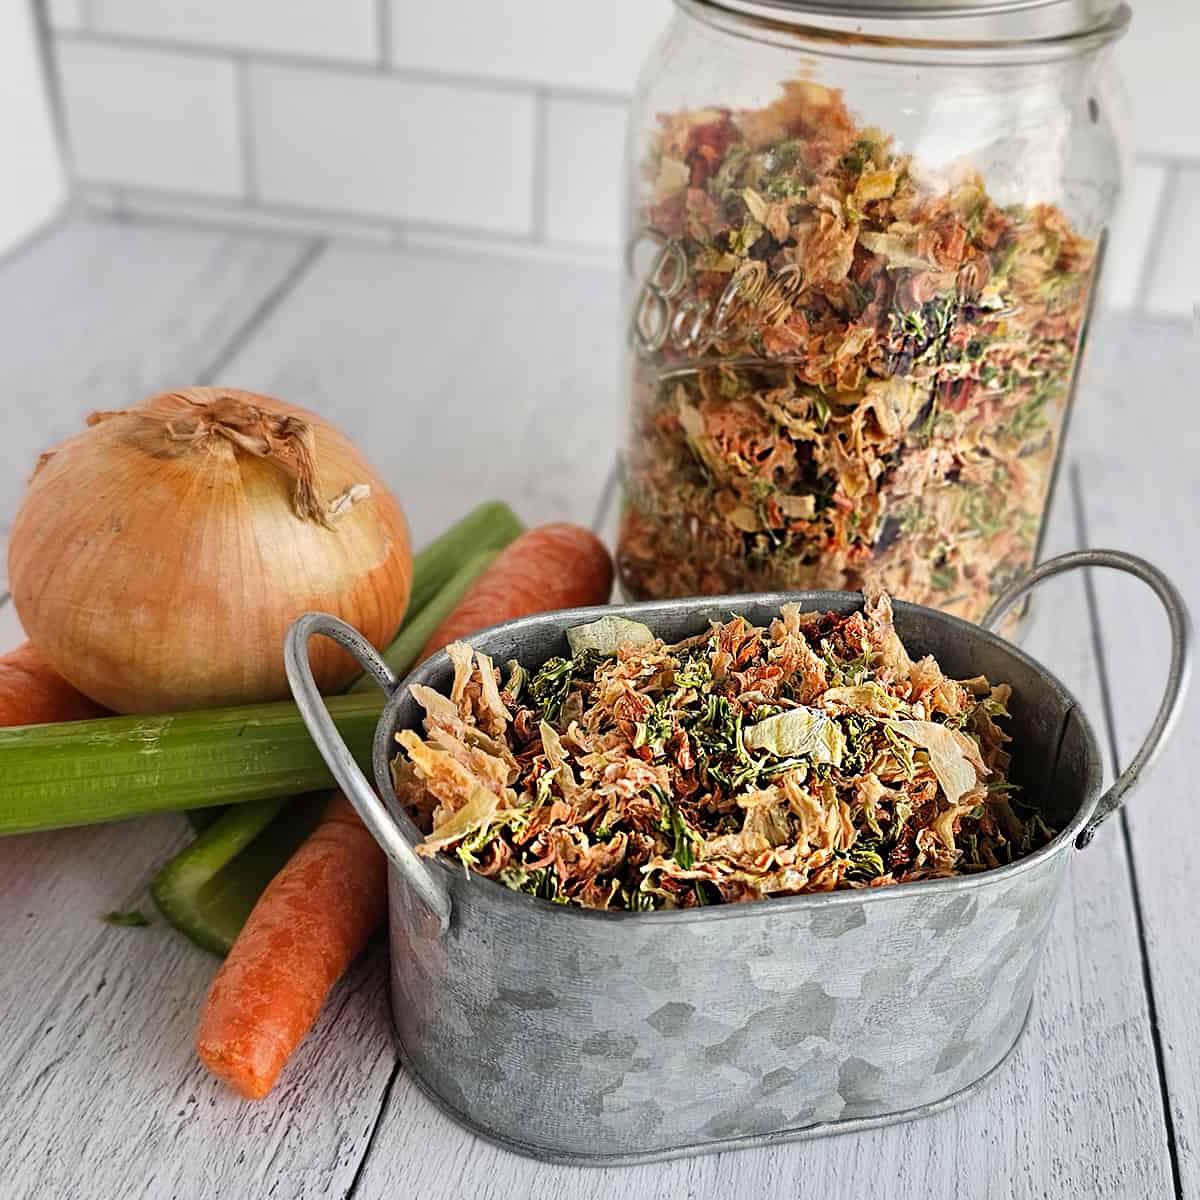
- Remove the vegetables into a bowl with a slotted spoon (save that stuff for later!)
- Strain through a fine-mesh strainer, cheesecloth, or a clean cotton tea towel if you wish.
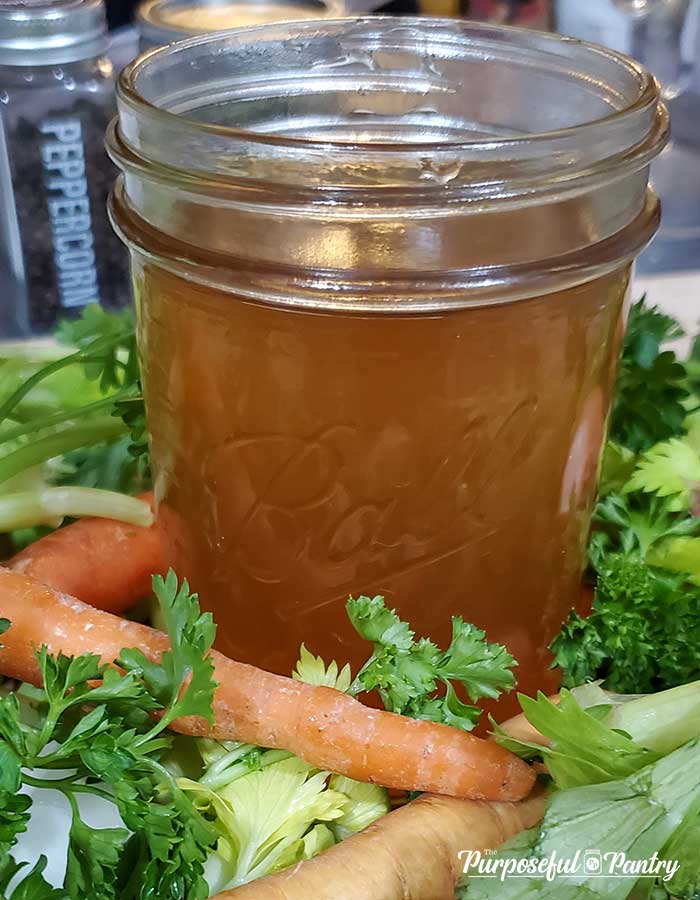
- Allow to cool.
- Store in airtight containers. You can choose any of the following storage methods.
Options for Storage
Refrigerator: Airtight container in the fridge – lasts up to 4 days.
Freezer: Lasts up to six months
- Flat-lay in zipper top freezer bags. You can use these adjustable baggie rack stands to help fill your bags without messing. My Dad gave these to me a couple of years ago, and I love them!
- Pucks – freeze in muffin tins or other containers, remove and store in a zipper top bag
- Freezer molds – these Souper Cubes or other molds allows you to store in easy modular storage. Either store in the mold or pop out to store in freezer bags which are a bit easier to do than pucks.
- Canning Jars – you can use canning jars to freeze broth or stock in. But remember, wide-mouth jars are recommended as the broth does expand. If you have to use a shouldered jar (regular mouth jar or other commercial jars with rounded shoulders at the top), give yourself 2″ of head space to allow for the expansion of the liquid.
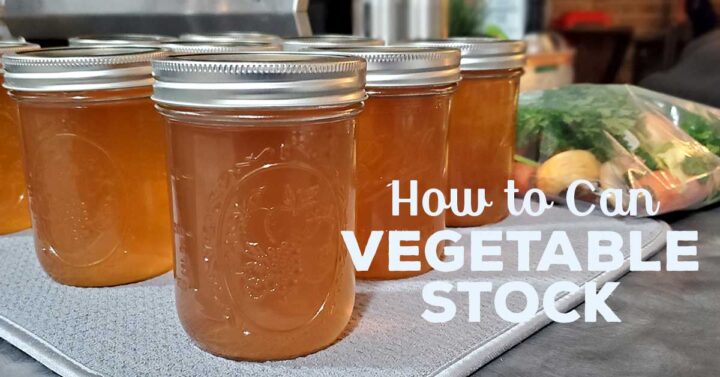
Canning: Follow proper canning procedures for safe canning of stocks or broths and get at least one year of shelf-life of your vegetable broth. I have directions for you here.
If you click on the Youtube symbol below, you can learn how to can Vegetable Stock.
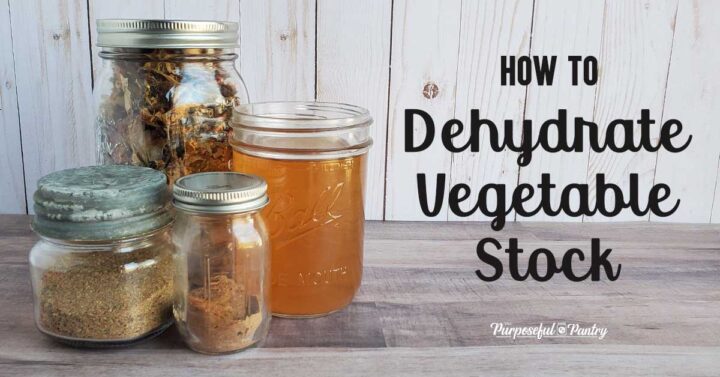
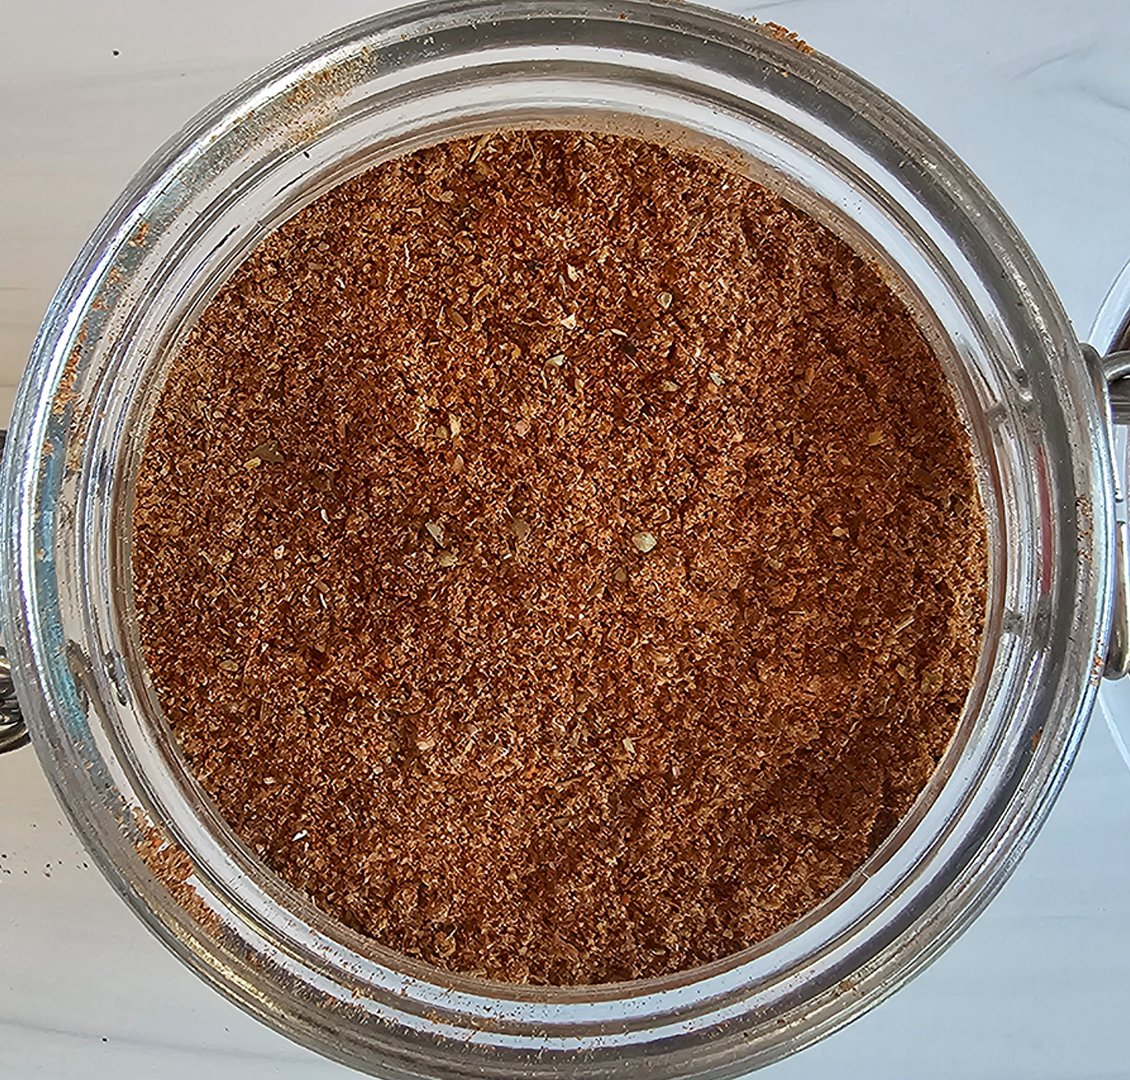
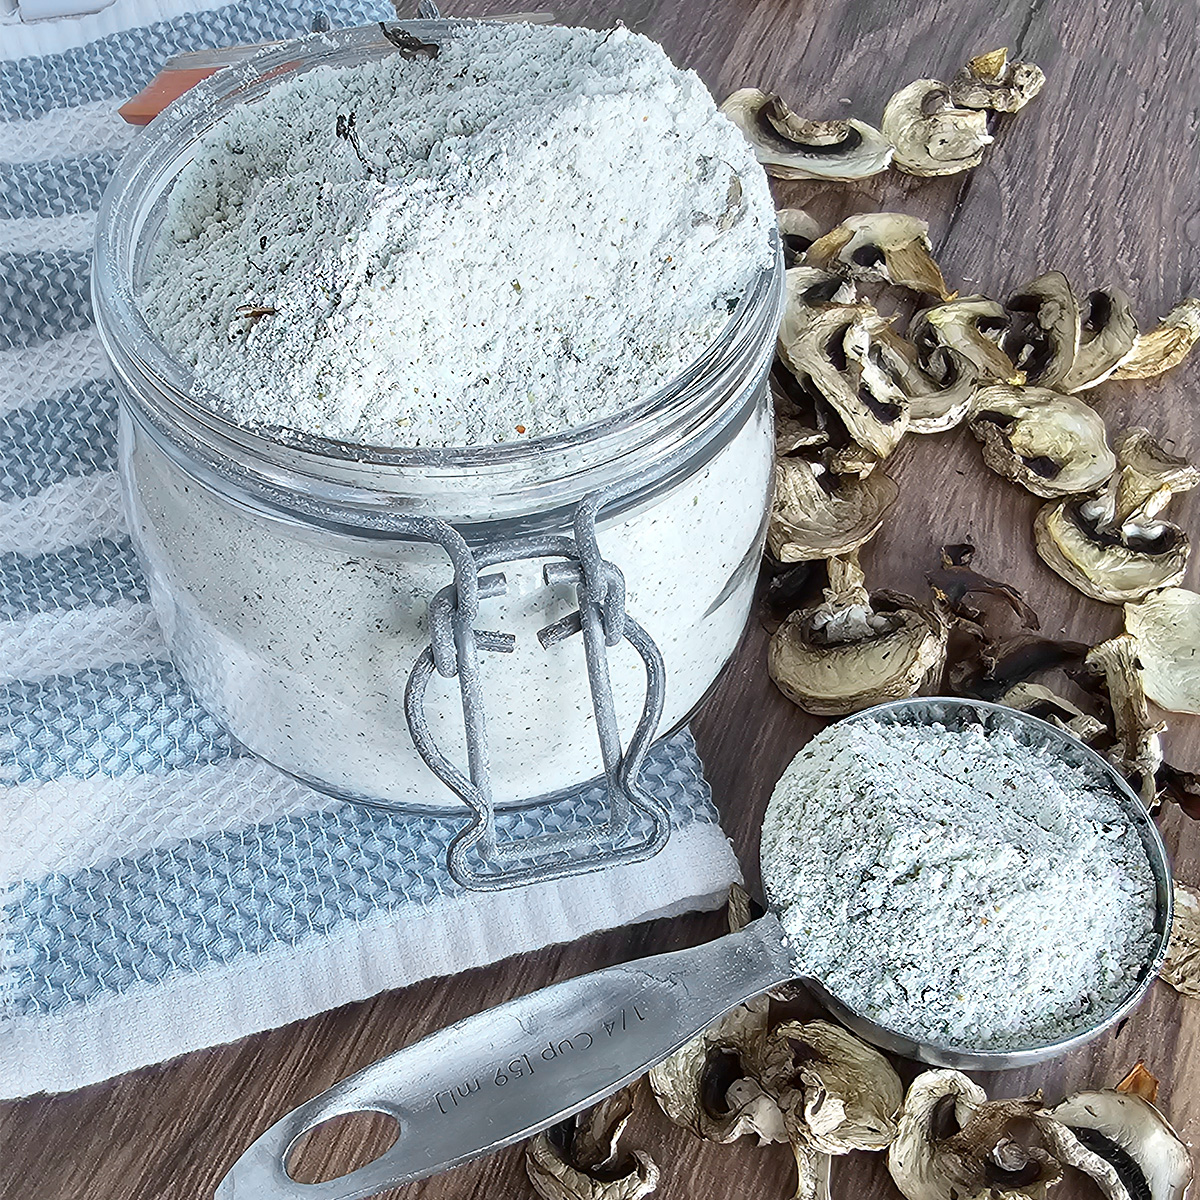
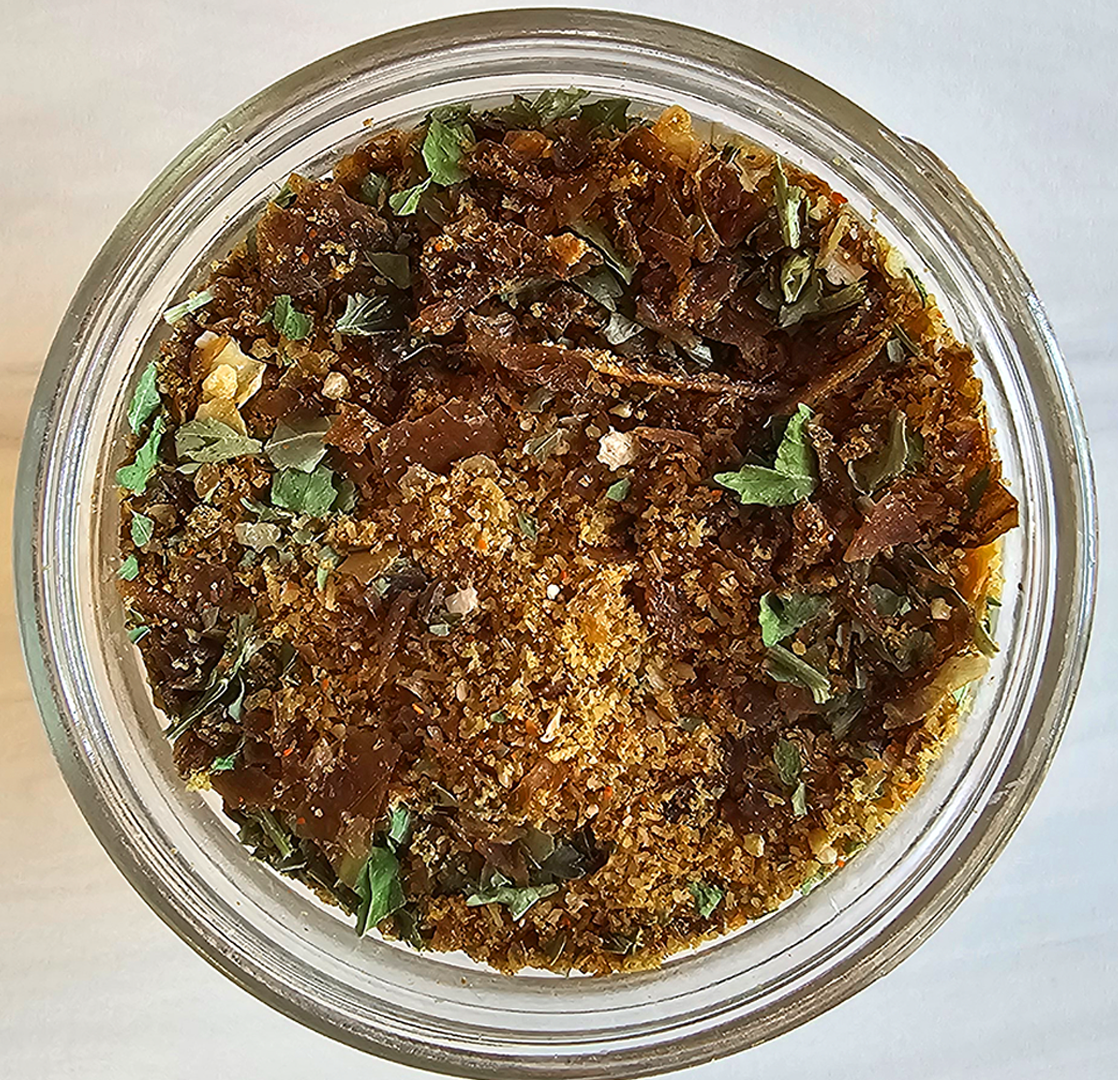
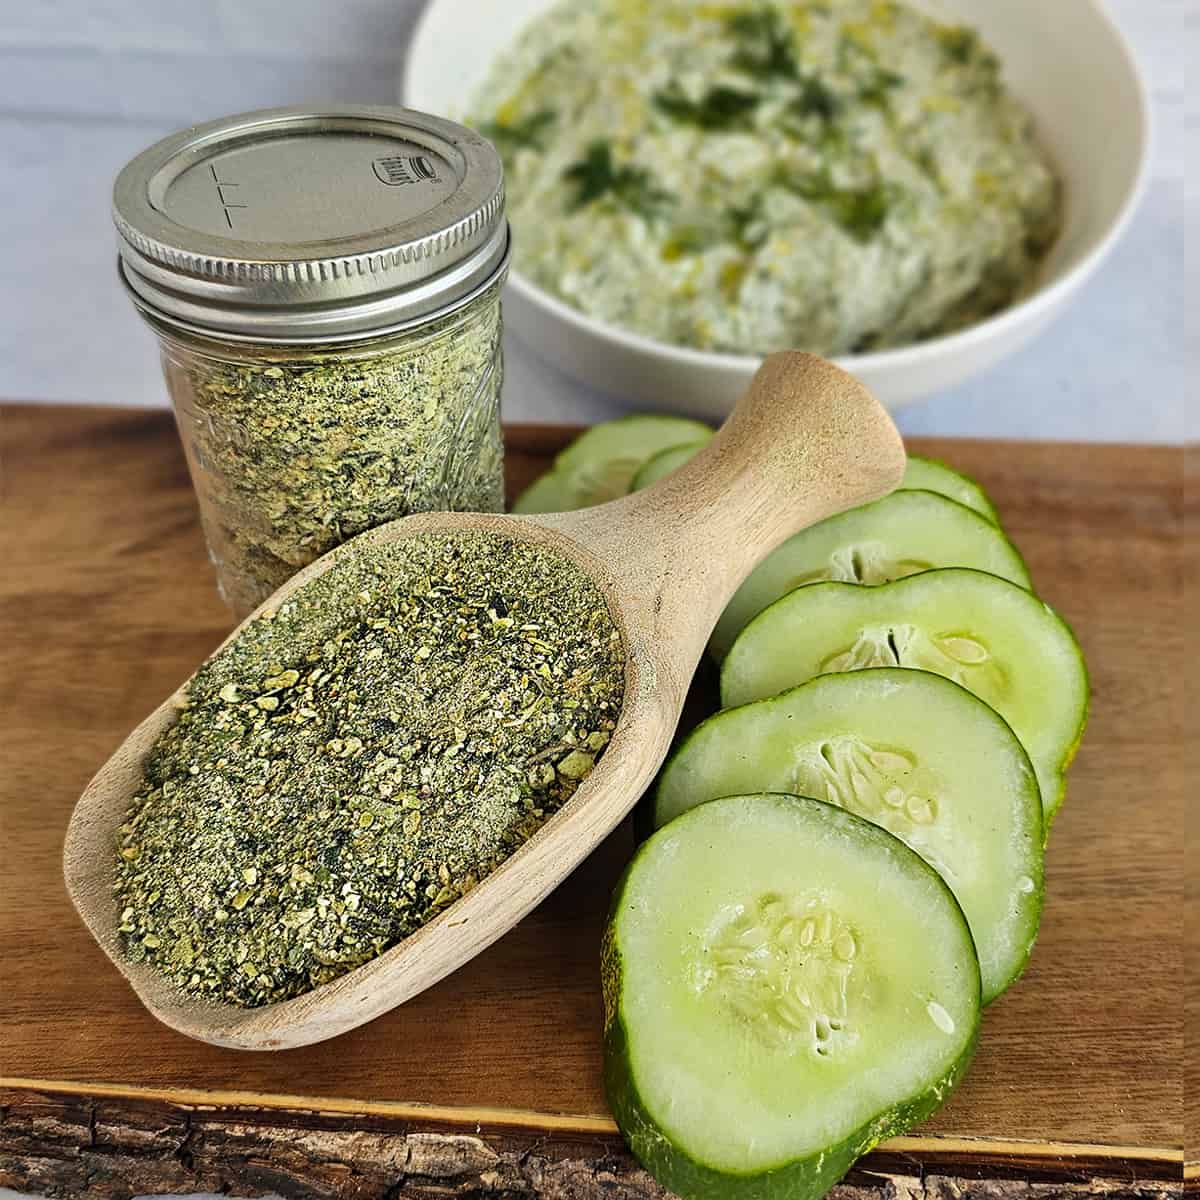
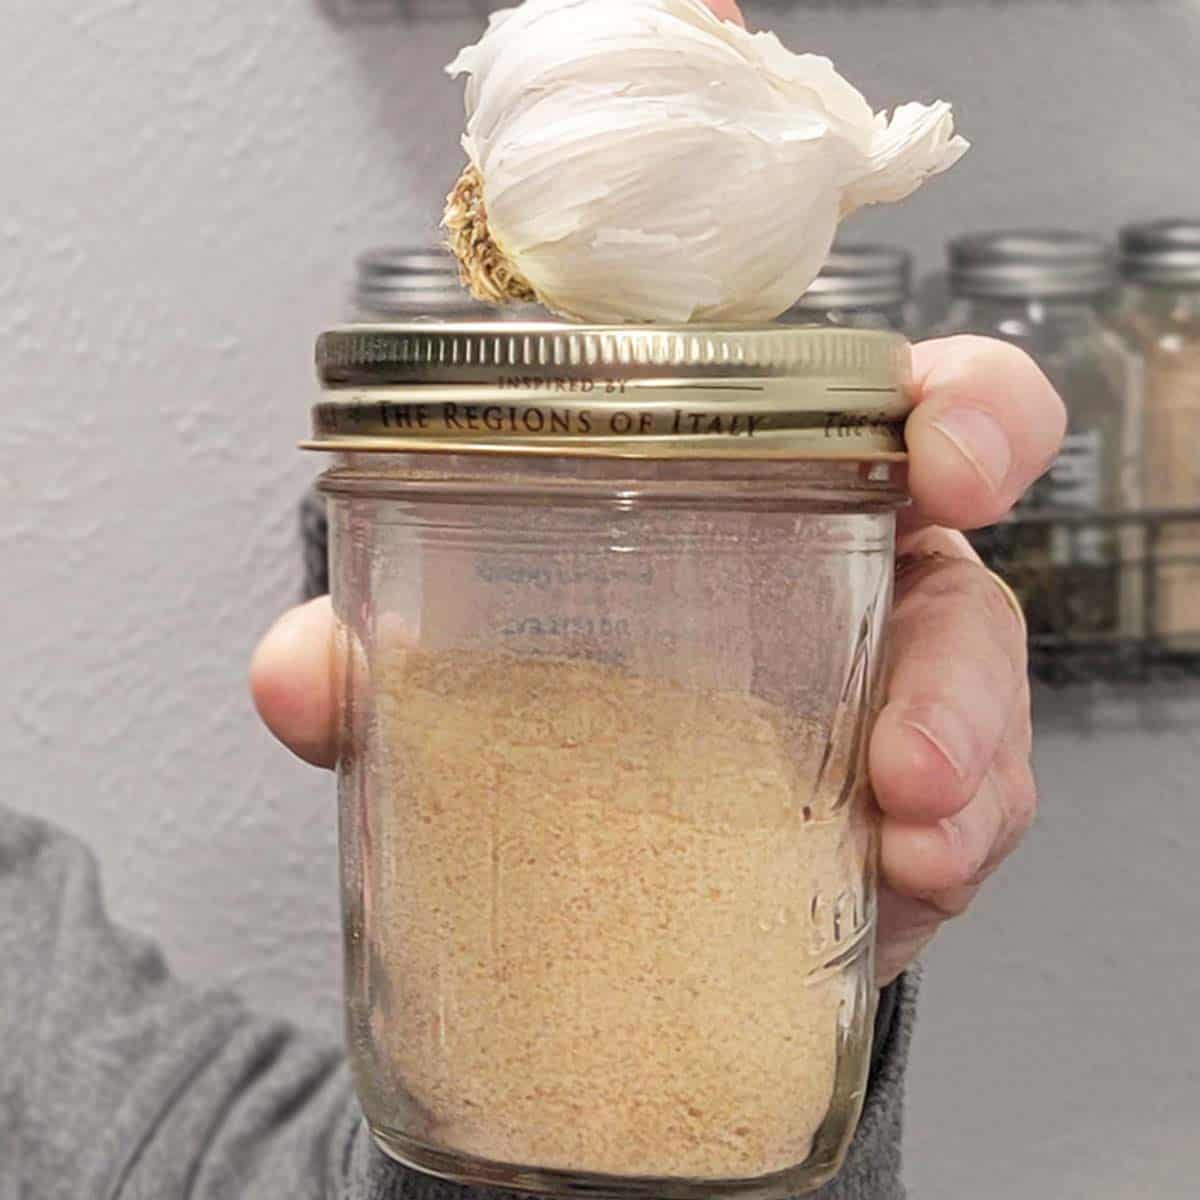
Dehydrating: Yes, vegetable broth can be dehydrated, as well as those leftover vegetables! While most of the nutrition has been transferred into the broth, you can still use those bits to create vegetable powder that has some nutrients left, as well as the fiber. And it tastes like soup!
Frequently Asked Questions
How can I use vegetable broth?
There are so many ways you can use vegetable broth in cooking. Think of using it like chicken broth!
- Soup base – use vegetable stock as a soup base instead of plain water. It gives added flavor and extra nutrients.
- Cook Rice – use it in place of water to cook rice, couscous, quinoa, or any other grain
- Canning liquid – give an extra boost of flavor to things you are canning and need extra liquid
- Drink straight – no chaser needed, except you may want to season it a bit more. It makes a soothing warm drink on a cold night or when you aren’t feeling your best.
- Replace water in a recipe. Other than making soup or cooking grains, you can use vegetable broth to replace water as a cooking liquid in casseroles, stews, etc.
- Need even more ideas? Check out this list of ways to turn vegetable broth into dinner!
How long can I store vegetable stock?
- In the fridge: up to 4 days
- Freezer: up to six months
- On the shelf
- Canned: Up to a year
- Dehydrated: Up to nine months
So – are you ready to give those baggies of frozen veggies in the freezer a new life? How will you use vegetable stock?
Want to learn how to can it? Check out my tutorial on how to can vegetable stock!
And take it one step further! You can dehydrate vegetable stock and your leftover stock vegetables!
How to Make Vegetable Broth
Ingredients
- 2-3 large carrots
- 1 large onion
- 3-4 ribs celery
- 4 sprigs fresh thyme Use 1 TB dried, alternatively
- 8 oz mushrooms, roughly chopped
- 1 bay leaf
- 1 teaspoon black peppercorns
Instructions
- Wash and prep vegetables.
- Fill a stockpot with the frozen vegetables you have been saving, or use fresh from the list above
- If you do plan on dehydrating the end product later (see this post on how to do it), go ahead and dice and prepare your vegetables now to make it easier later.
- Fill the stockpot with filtered water to within 2" of the rim. You need enough space to stir without spilling.
- Simmer for up to 2 hours.
- Remove the vegetables into a bowl with a slotted spoon (save that stuff for later!)
- Strain through a fine-mesh strainer, cheesecloth, or a clean cotton tea towel if you wish
- Allow to cool.
- Store in airtight containers. You can choose any of the following storage methods.
Darcy’s Tips
VEGETABLES TO INCLUDE:
- Carrots
- Celery
- Onions
- Leeks
- Parsnips
- Mushrooms
- Parsley
ADDITIONAL THINGS TO ADD:
- Peppercorns
- Bay leaves
- Salt – use judiciously – you can always salt your final dish to taste
- Garlic – also use sparingly as to not overpower your vegetable stock
VEGETABLES TO EXCLUDE:
- Potatoes – or any other starchy vegetable. They can cause cloudiness in your broth
- Broccoli, cauliflower, etc. These cruciferous vegetables can overpower the flavor of your broth.
- Beets – not only is the flavor large can overpower your vegetable stock, but it can also change the color that may not be pleasing in your dishes.
- Garlic – use garlic, but be mindful that it can overpower your broth, so use it sparingly.
- Greens – turnip, kale, spinach, etc. Greens can turn bitter and ruin the flavor of your broth
Nutrition
Nutritional information is an estimation only. Nutrient information for dehydrated foods is based on fresh. Use 1/4 of the servicing size for the same nutrient information. Thus 1 Cup of fresh fruit has the same sugars as 1/4 dried.
©ThePurposefulPantry. Photographs and content are copyright protected. Sharing of this recipe’s link is both encouraged and appreciated. Copying and/or pasting full recipes to any social media is strictly prohibited.

Thanks for your recipe. Maybe I’m missing it, but how much does this make? I’ll be filling both pint and quart jars and would like to plan.
However much you want to make. I didn’t do this for a quantity – but taught the technique and you can make it as much as you’d like or as little as you’d like.
Hi, Can you please tell me how long you can keep the powdered veg stock for.
Thanks
Leanne
Most powders are between 6-12 months for optimum storage, but you may get much more time out of yours.
I am a bit confused & would love a definitive answer. I read/hear that root veggies should be peeled before canning, but also hear that peelings can be used o. Vegetable stock.. This doesn’t make a lot a sense to me. Can you tell me which one of these is correct or are both correct. I appreciate all that you do!
If you were canning the whole vegetable with skins, the risk occurs from the nooks and crannies in the skin where those bacteria can hide then thrive in a moist, low-acid, oxygen-depleted environment. Because the liquid has no solids, it’s been boiled to a high temperature to kill off everything, and there is no place for that botulism to hide, what I did was fine. Of course, you have to make that decision for yourself. The produce was scrubbed and washed well before I used it.
If you want further reading, I dug this up for you: https://ask.extension.org/questions/360924#:~:text=Instructions%20for%20canning%20chunks%20or,would%20allow%20pathogens%20to%20survive.
Love this and have been doing it for years, I use my instant pot 18 minutes with 20 NR. Can you explain the dehydration process more? Thank you!
It’s coming -;) Takes a little longer to do than canning.