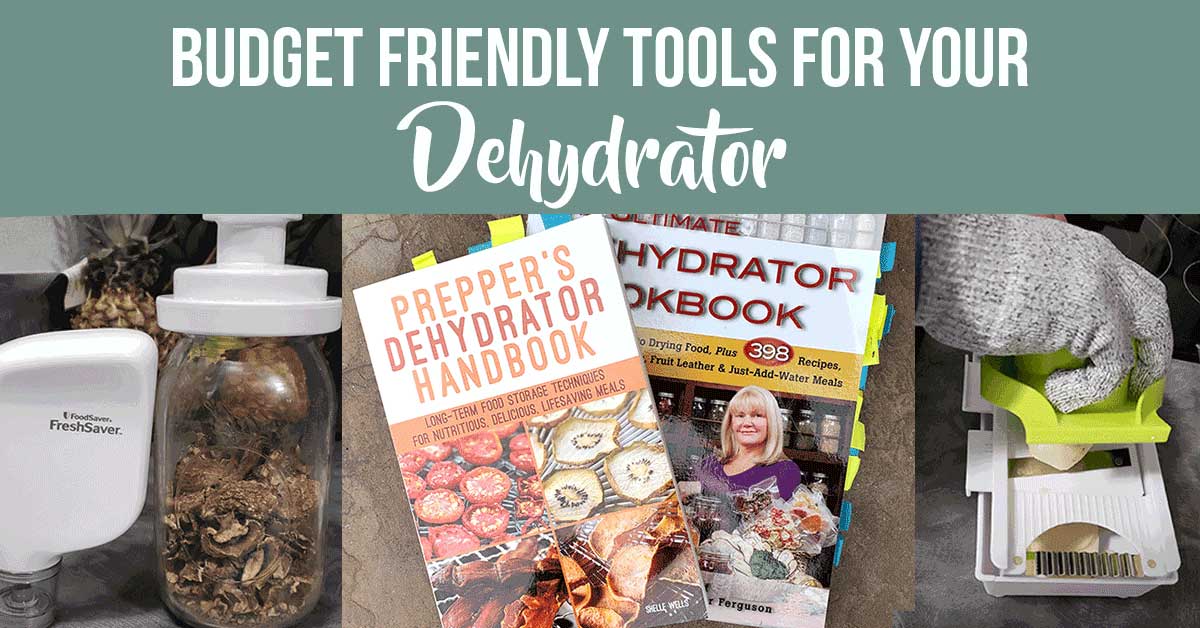
Budget Friendly Dehydrator Tools
This post may contain affiliate links. We may earn a commission if you purchase via our links. See the disclosure page for more info.

Did you just buy a new dehydrator? Or are you surprising your spouse or mom with one? Here are some budget-friendly dehydrator tools to make your job much easier while saving you a ton of money!
Now, before we start out, NONE of these tools is necessary to get you started dehydrating.
Basic Dehydrating Tools You Need
All you need is a:
- Knife
- Cutting board (because you don’t want to wreck your countertops)
- Fresh, clean food
- Dehydrator (and heck, even if you don’t have a dehydrator, you can do this in the oven for most foods). If you need help picking a dehydrating, this handy resource of the best dehydrators for any budget will help.
If you’re looking for my recommendations for the tools I use in my kitchen, you can check it out my Amazon Store here.
I find that these tools make dehydrating so much easier on me to have, but don’t break the bank trying to grab them on. This is a process. You might already have some of these tools in your kitchen – or something that could substitute for them.
But if you’re ready to take the leap on dehydrator specific tools, here is a list of budget-friendly tools you might want to invest in.
Budget-Friendly Dehydrator Tools
Dehydrator Cookbooks
The internet is an awesome resource. There is always so much available at our fingertips with a quick search. But I love having something in my hands to browse and tag and plan for dehydrating. Thus, I think a few dehydrating books are a necessity for quick grab and go references.
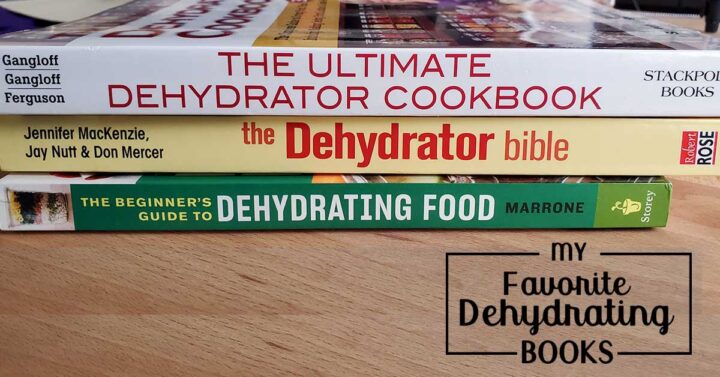
I recommend these two:
- The Beginner’s Guide to Dehydrating Food – This book has quickly become my favorite for beginners as it includes photos of every tutorial.
- Ultimate Dehydrating Cookbook – the most popular book on the market (Yes – see all those bookmarks? It’s the modern-day classic book for dehydrating and has been my go to all these years.
I’ve used both of these books and love them as you can see here 😉 Both have a wealth of information that is perfect for the beginning dehydrator. They’d be good for someone who is experienced, as well, if they love collecting cookbooks. There are also websites and loads of information to be found on Pinterest for free, and inexpensive e-books, so don’t worry if you can’t get these now.
If you just need a handy Q&A reference, I have a series of videos on Youtube that walk you through all of them called Learning to Dehydrate: Tips Tricks and FAQ’s. It’s 31 videos to answer the most often-asked questions. if you just don’t have time for that, I’ve compiled them all into this handy e-book.
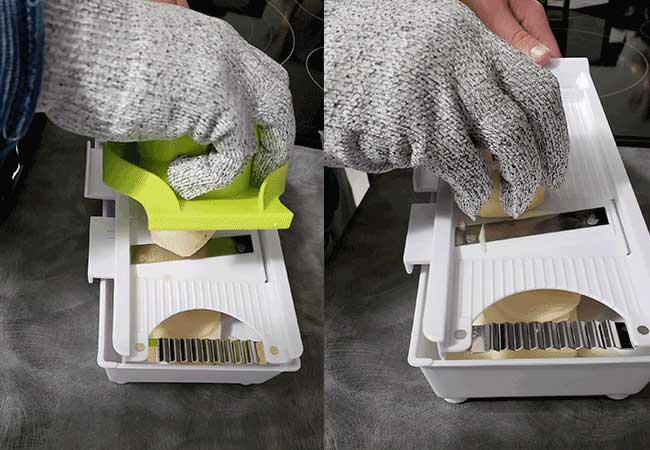
Mandoline Slicer
A knife is a great tool, but having a tool that helps you slice your food evenly, with little effort, is an even greater thing when you’re preparing a lot of food to dehydrate. There are SO many models available, but you want something that is solid, doesn’t rock, and has a hand-guard.
But to be honest, it’s hard to find a mandolin that I can recommend that is under $25. The hand-held mandoline I do recommend is a little higher in price. However, if you’re trying to keep the price down, this is a version of it that is under $20 that you might get as a starter model if your budget is low.
Here’s a tip, though – if you have a box grater like this one, you already have a small version of a mandolin on the side! Just PLEASE wear protective cutting gloves when using it. It’s so easy to slice off a chunk of your finger – you don’t want to dehydrate that.
Alternatively, there are a couple of smaller hand-held mandolins that might work for you:
- OXO Handheld Mandoline/Slicer
- OXO Good Grips for garlic & ginger or other small pieces of food
Cutting Gloves
If you’re going to use a knife or a mandolin or a grater … use some protection. A good pair of cut-resistant gloves is necessary.
No matter how good your knife skills are, when you begin to fatigue from 40 pounds of mushrooms, you will slip up. When you think you can do that last piece of carrot on the mandolin .. you’ll slip.
ETA – I’ve moved up from the ones in the photo to ones that are more ‘chain-mail’ in construction and a more dense weave. Unfortunately, after my last batch of raw sweet potatoes, I noticed the tips of my cloth cut resistant gloves didn’t resist well enough and were missing! So, I graduated to these gloves, instead.
Canning Jars or other airtight containers
Since storing dehydrated food correctly is so important, let’s talk about what you store them in!
There’s no need to go out and buy fancy storage equipment for dehydrated products, especially if you have a plethora of mason jars or other airtight containers sitting in your home in need of a job to keep them occupied. They are staples for pantry storage and work great with a few other tools to give you all you need for stocking your pantry with your dehydrated goodies.
TIP►► Best Containers for Dehydrated Food Storage
Silicone / Teflon non-stick mats
One thing that you can never have enough of are non-stick mats for your dehydrator. They’re perfect for making fruit leathers, lining trays for foods that might be a little messy, lining the bottom of your machine to help keep clean-up easier, and can help when you have food that dehydrates down smaller than the mesh can catch. These liners are less than a couple of Starbucks coffees for 9 sheets, and can be cut to fit just about any machine out there, though they are made for the Excalibur-sized trays.
Food Saver Jar Attachments
I cannot sing the praises of these beauties, enough. Vacuum sealing canning jars for food preservation is a must for folks who are serious about stocking their pantries. Not only for things you’ve dehydrated yourself, but food you are putting by for your family. That extra vacuum seal helps to keep foods fresher, longer.
Hand-Held Vacuum Sealer
If you’re just starting out, or wanting to give a gift to someone to help encourage them to preserve foods for their pantries, a vacuum sealer may be out of your budget. Even the most budget-friendly good machines start at around $50. But this hand-held unit from Food Saver is marvelous to do quick jobs. And being under $22, it’s an easy investment even on small budgets.
Plus, the awesome thing, it works with your FoodSaver Jar attachments!
►► You aren’t panicking, are you? Just double checking to make sure you aren’t feeling overwhelmed at a list. Just use this as a guide, not a necessity, okay?◄◄
Jerky gun
Some dehydrators come with a jerky gun, but not all do. For me, I was more interested in the best machine I could buy, and the jerky gun could come later. Here’s a model that might fit your budget.
Fruit Slicers, Peelers & Corers
Different than a mandolin, these tools will help with particular fruit issues for preparing for dehydrating, canning or everyday cooking
- Apple Peeler or apple corer – of course, you can use a regular peeler for this job, but if you’ve got a crate to do, these tools can make it easier.
- Pineapple Corer
- Cherry Pitter – you can see how I use it when dehydrating cherries on this post.
- Egg Slicer – this particular piece not only slices eggs for salads, but it can also slice strawberries, kiwi, and mushrooms for dehydrating!
Canning Jar Funnel
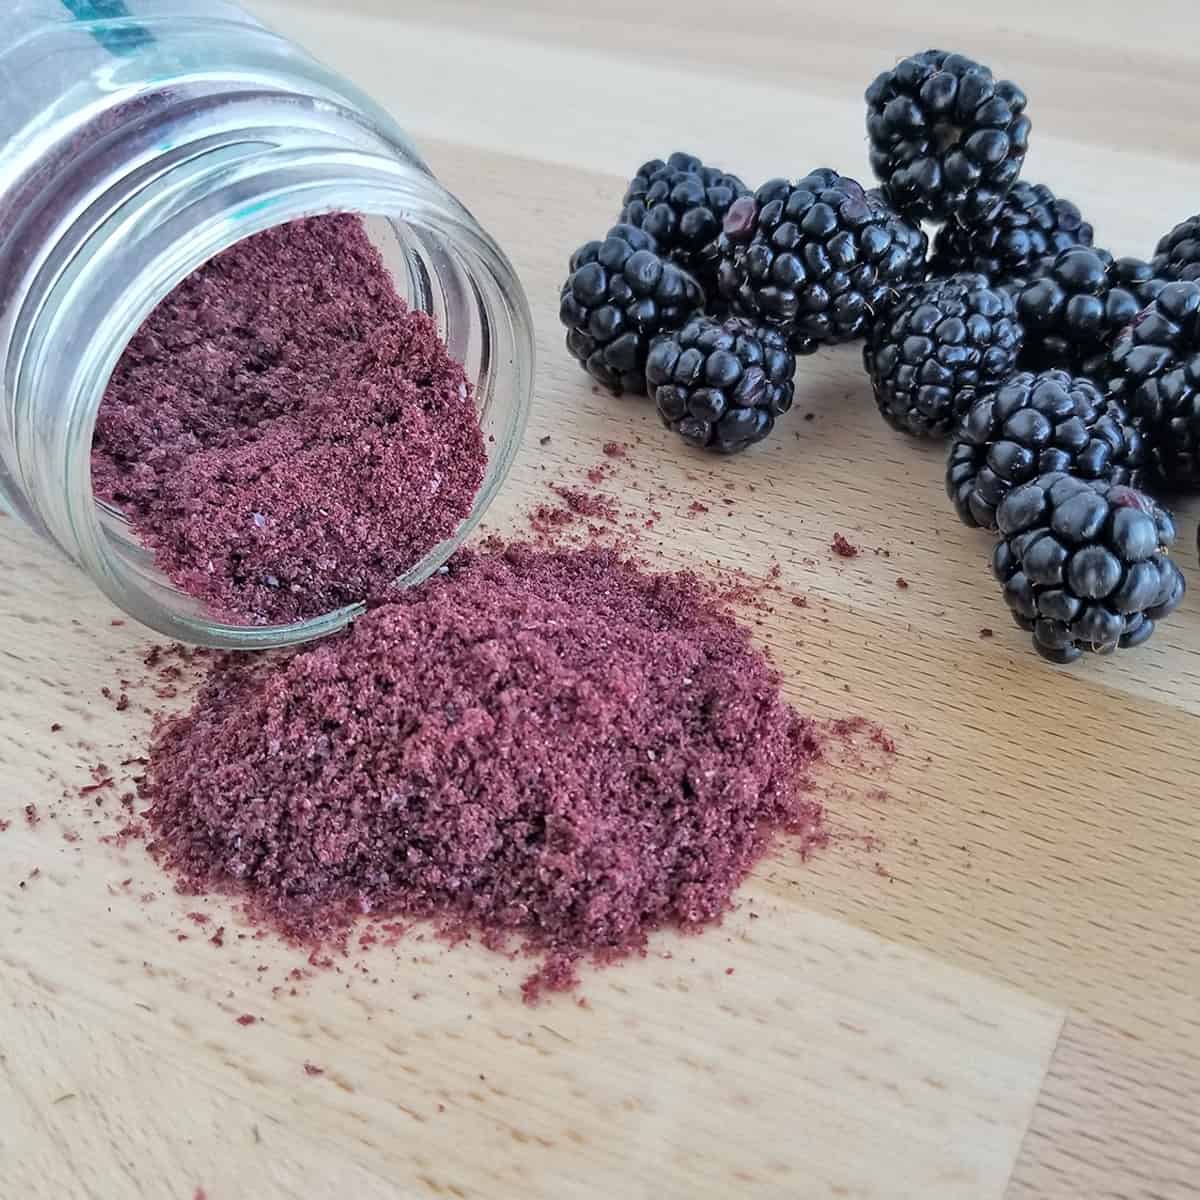
I love my wide-mouth canning jar funnel to help fill jars more efficiently. I make much less mess than just trying to empty trays into a jar alone. Have the strainer made for the funnel helps when storing powders, too!
Art Brushes
There’s nothing worse than doing a powdering project on something you’ve dehydrated, and having all that powder stick to your blender or your coffee grinder, and having no real way to get it out! Art paint brushes to the rescue!
Oven Thermometer
A good oven thermometer can help you determine the actual drying temperature of your dehydrator.
Desiccant Packs, Oxygen Absorbers
These are tools to use for long-term storage, not if you’re keeping things just for quick snacks.
- O2 Absorbers help remove excess air from storage containers to maintain the life of food. You would toss these in if you are storing something for a few months.
- Desiccant packs are the small packs that help remove moisture from the container (much like those packs you get in shoes). You might use these in jars of dehydrated fruit, or in jars you get in and out of often and live in a humid climate.
- Mylar bags – you don’t need to use mylar bags only with vacuum sealers. There are self-sealing ones that offer more protection for storage than simple zip-top bags can offer. People use them for spices often, or small quantities of dehydrated items.
- Vacuum Sealing bags – these are the bags you’ll use with a vacuum sealer to store food for long-term (or you might use to freeze foods with). There are so many varieties available, but most will work with any brand machine. Pre-cut bags will make your life easier until you’re ready to use rolls where you can cut your own size.
Spice Jars
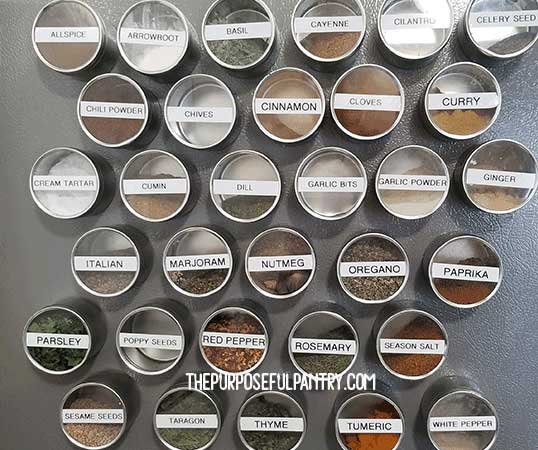
Little glass spice jars are all the rage and can be made from small canning jars or specialty jars. You can get these glass jars that resemble the Organic brand spices you find in Target and Aldi. You’ll find, that over time, you’ll go to larger canning jars to store, but it’s nice to have some pretty small ones to display at your cooking station or on your fridge as I did with these metallic tins.
Label Maker
Old school labels like masking tape are a frugal and useful dehydrator tool for storage. But if you want to take it up a notch and gift a new dehydrator with a way of creating fancy labels for her jars (or his!), a label machine that does cute little labels would be awesome.
What are some tools that you love to use for dehydrating fruit and vegetables to stock your pantry?
I’d love to hear your ideas in the comments below. Remember..we’re talking budget-friendly tools.
Want more?
If this intrigues you to start more of your own dehydrating projects at home, be sure to check out the dehydrating section here on the blog, and subscribe to my newsletter where you’ll get more projects delivered to your mailbox each week, I’m also posting tutorials on my Youtube channel, and would love for you to join my Dehydrating Tips and Tricks group on Facebook for more immediate help and ideas!

excellent list
GLad it could help!