The Must-Have Dehydrating Tools You Really Need
This post may contain affiliate links. We may earn a commission if you purchase via our links. See the disclosure page for more info.
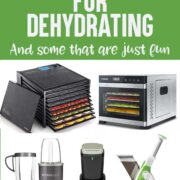
Are you interested in dehydrating, but don’t know the dehydrating tools that you really need? Not as many as you may think! Here’s a list to get you started!
Kitchen gadgets are fun to buy, aren’t they? They promise they’ll make life in the kitchen simpler, make meal prep easier, and make your life happier.
So let’s discuss those tools that you need, are great to have, and those you probably don’t need at all!
To make it easy, you can shop this post now!
Must-Have Dehydrating Tools
Knife
A good sharp knife will get you a very long way in your dehydrating journey. Along with it, a good cutting board is awesome.
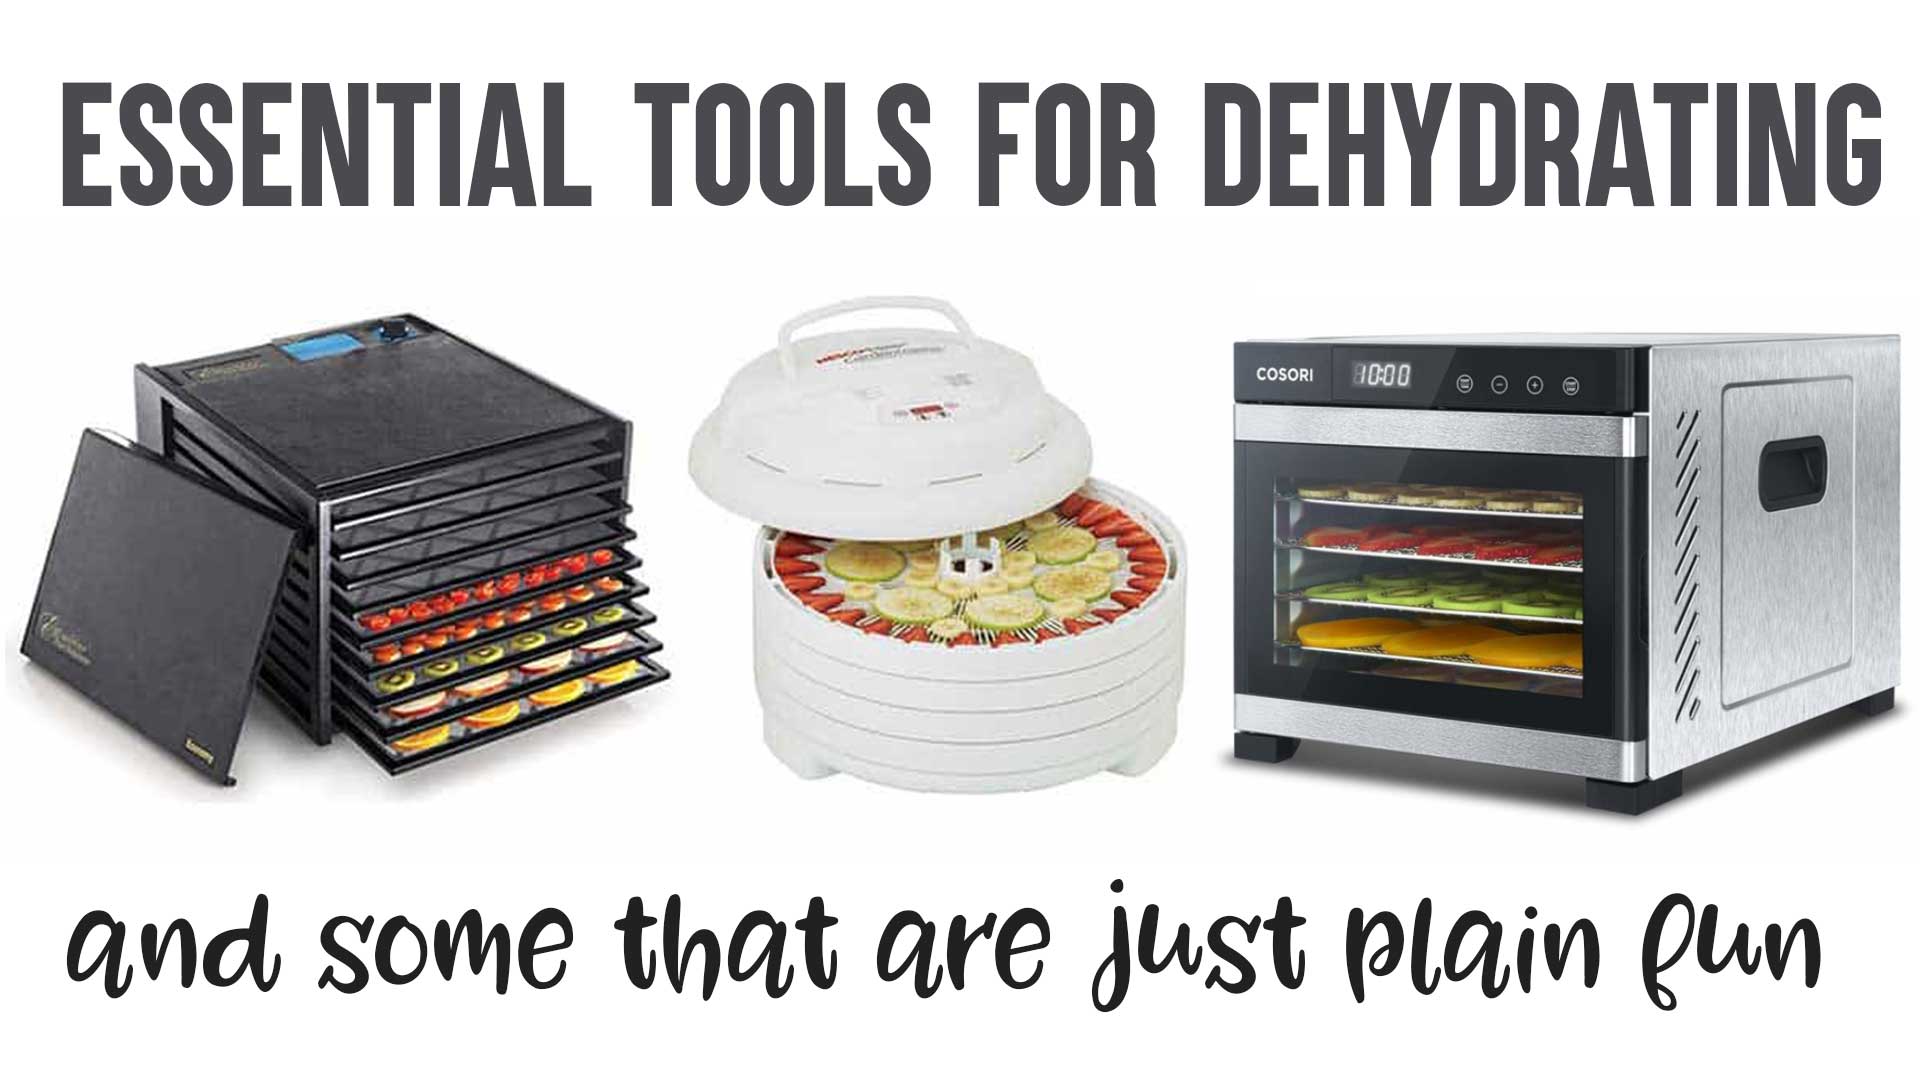
Food Dehydrator
A dehydrator with a temperature gauge is all you need. It doesn’t have to be big and fancy, stainless steel, or even an Excalibur.
Here are my recommendations:
- Excalibur Dehydrator 3900 because it has a large capacity, does not have digital components, is fast, and Excalibur has an outstanding reputation in the field of dehydrators. However, I also love this new Excalibur 6-tray Performance Digital Dehydrator. It’s the same size, but stainless, quieter, and has a great window on top!
- Magic Mill – the 7-tray 1000-watt dehydrator or the 10-tray dehydrator.
- Nesco is a tried-and-true brand that is budget-friendly and works well. Whether you want a budget-friendly model or an expandable, 1000-watt model, Nesco will work for you!
I’ve created a handy resource to help you choose a dehydrator that is right for you.
Just know that the best dehydrator is the one you’re using to store food in your pantry. Enjoy!
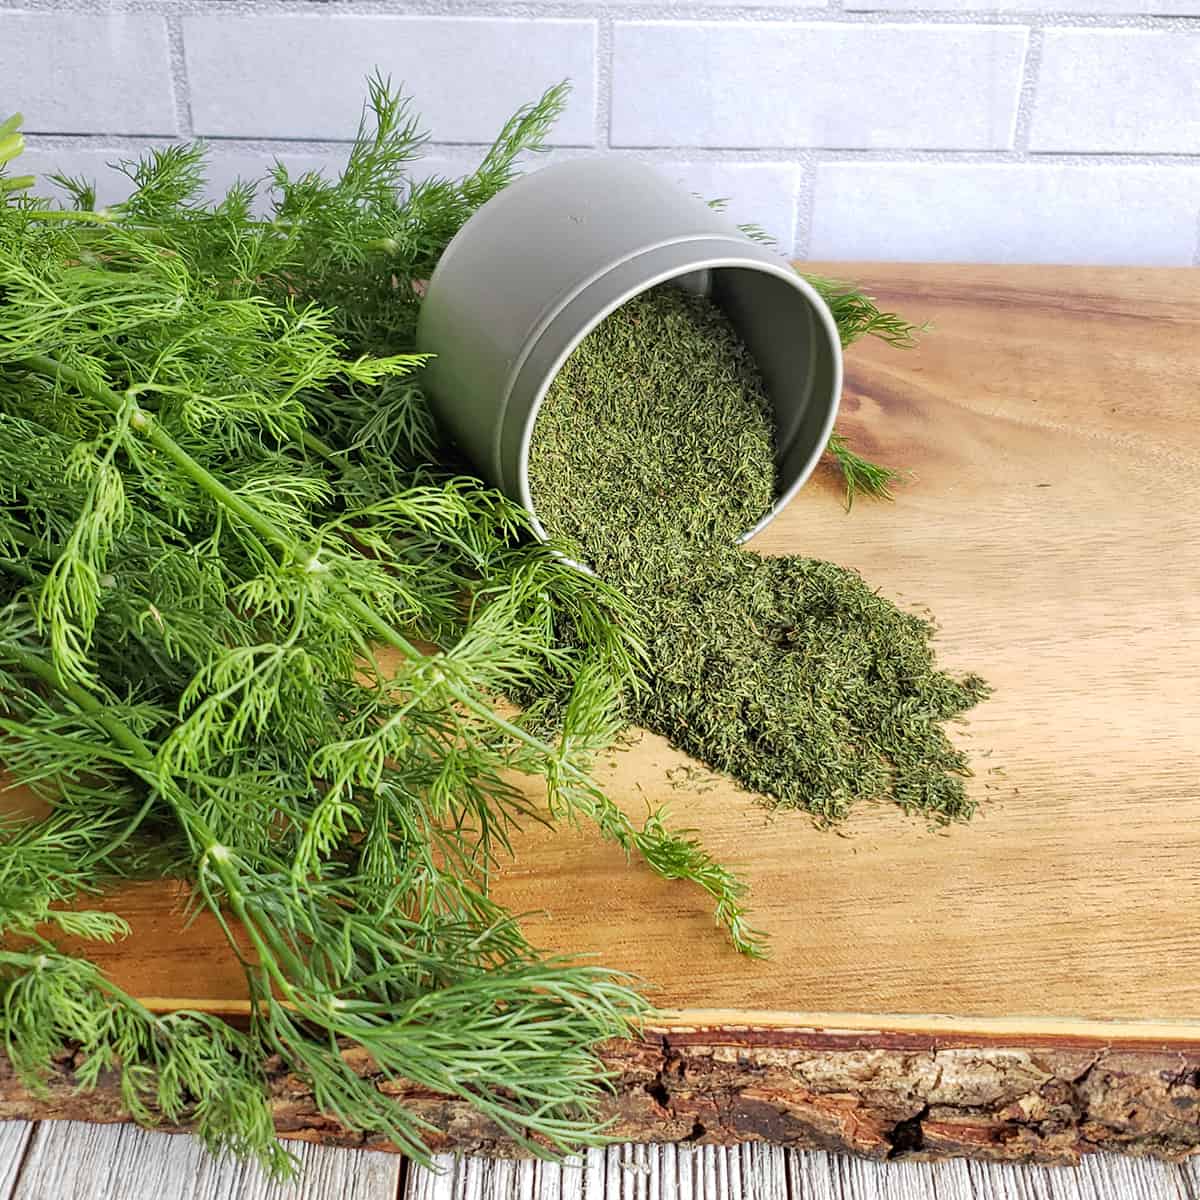
Dehydrating Mats / Fruit Leather Sheets
While your dehydrator may come with these, it might not, so you’ll want to make your own, or use a substitute, or invest in ones that fit your machine.
I find these a necessary tool for running my dehydrator efficiently.
- Mesh Sheets – These silicone or plastic mesh sheets allow food to get a good airflow for efficient drying, as well as prevent food from sticking to plastic or stainless steel trays. They are a must-have in my dehydrating process.
- Fruit Leather Sheets – These range from inexpensive generic fruit leather sheets by Homey (which can be cut down to fit any dehydrator tray size) to pricey brand-specific silicone sheets. Keep an eye out for the lipped silicone fruit leather trays that make doing fruit leather even easier!
- Parchment/baking paper is enough for any need. It helps with fruit leather and keeps small pieces from falling through your trays.
The above options are the ones I use personally, but there are a great many varieties of sheets and mats available to fit any dehydrator.
And if you don’t want to buy a lipped tray that you’ll rarely use, try this hack for creating a liquid tray from your regular fruit leather sheets or parchment paper.
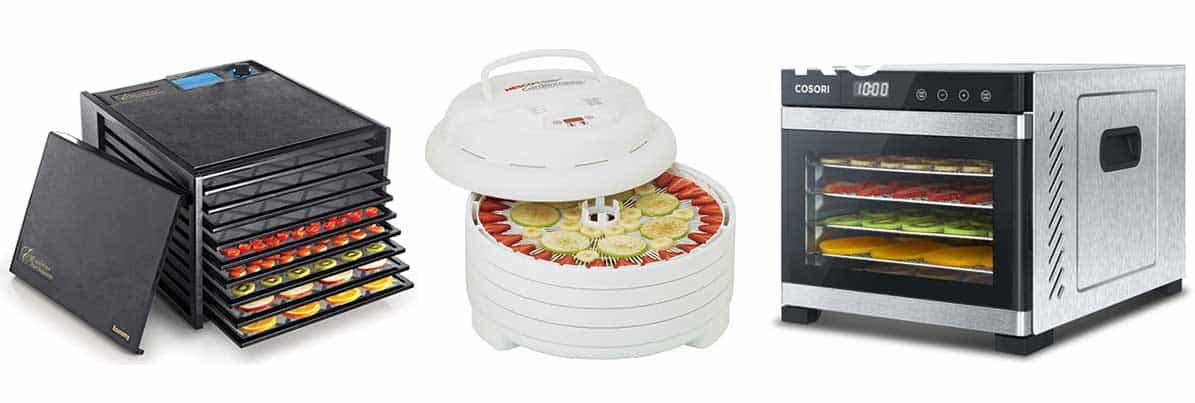
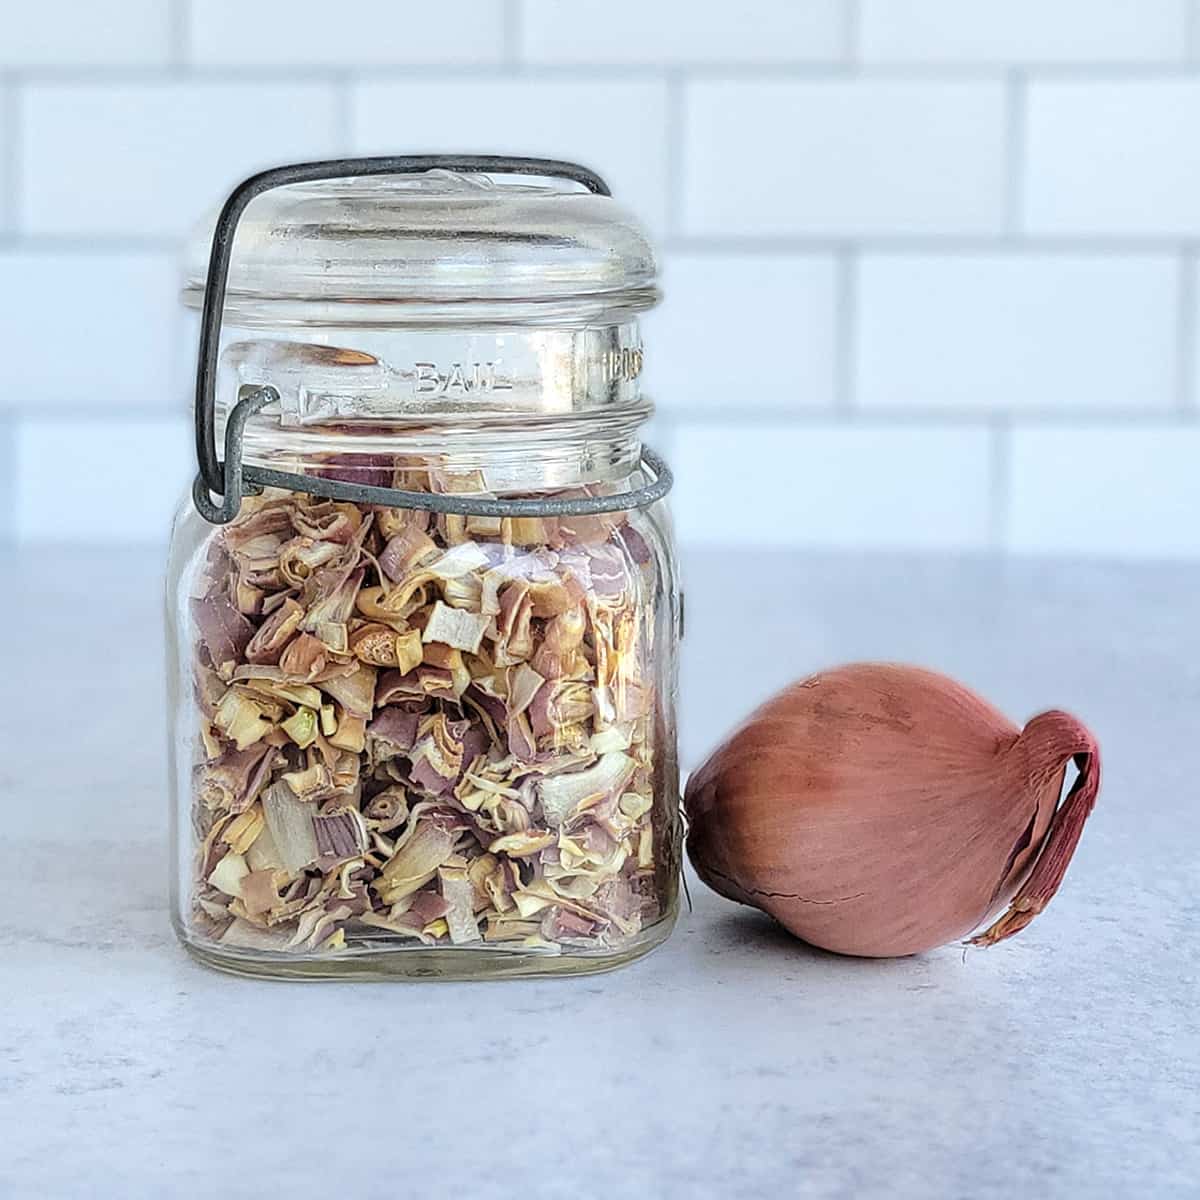
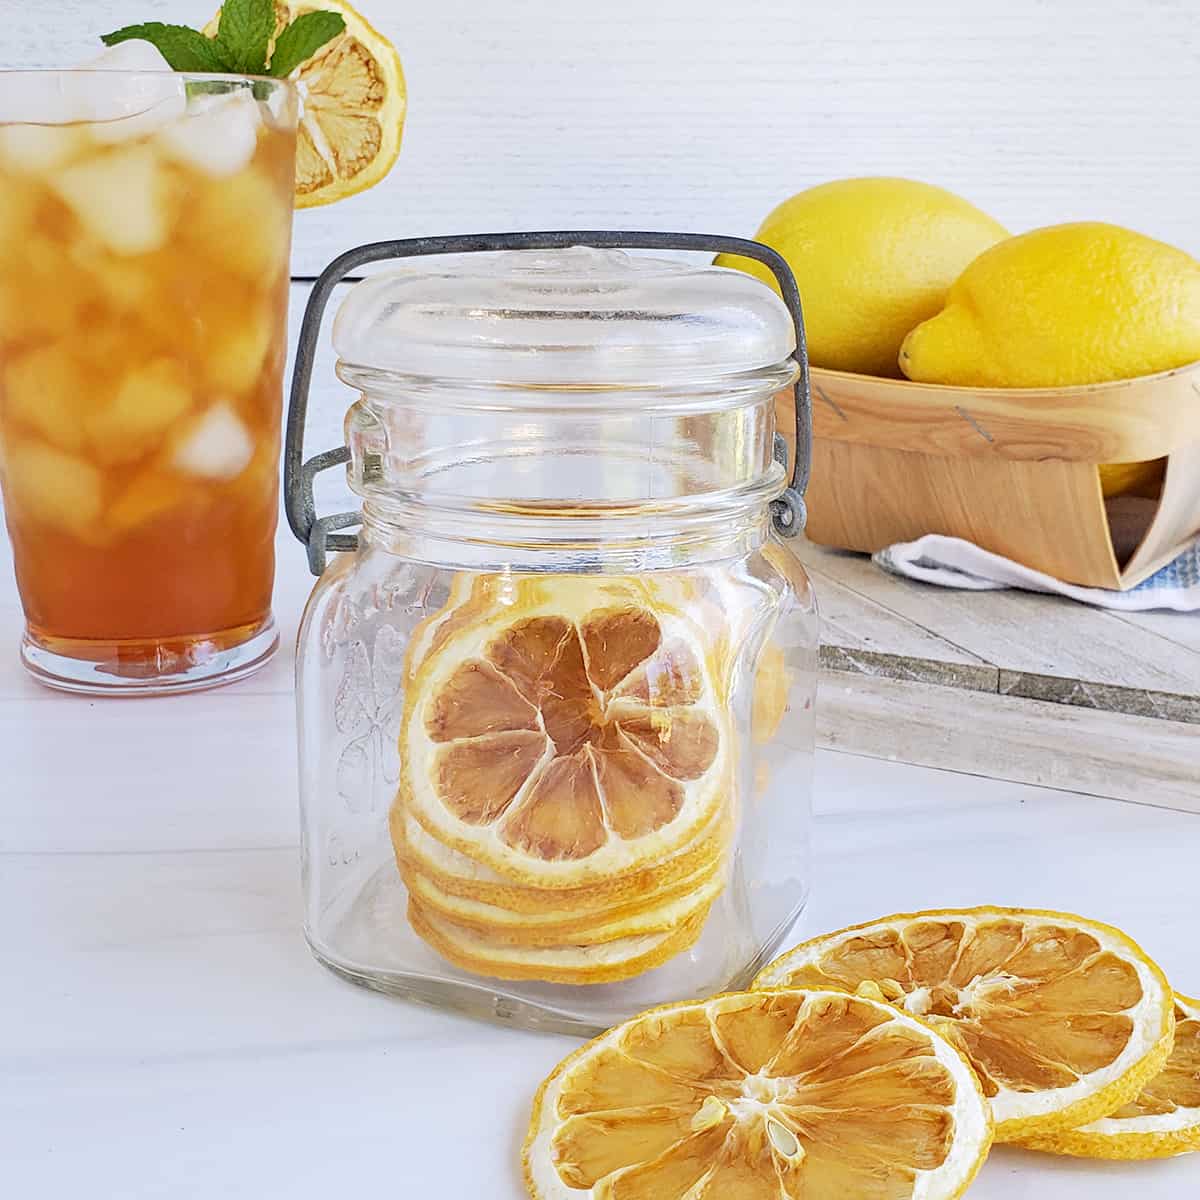
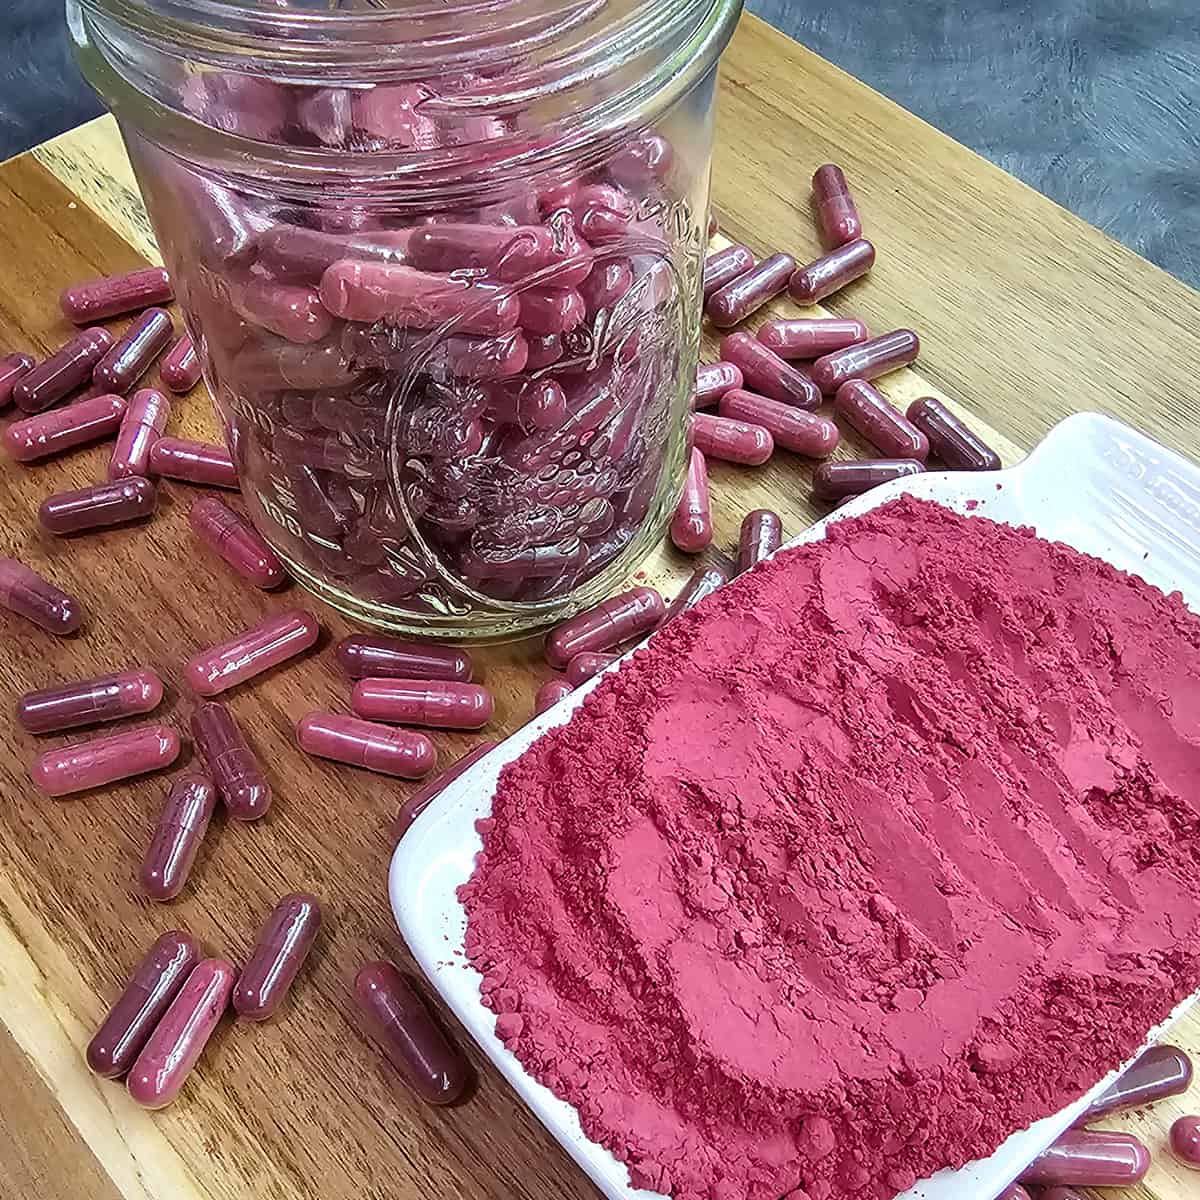
Airtight Storage Containers
No matter what container you choose to use, airtight containment is mandatory for the storage of dehydrated foods. There are many options, so find the one that works best for you.
Remember, you want to pick a container that is similar in volume to the amount of food you have to store. If you want more information on the kinds of containers and why they are useful, I have some helpful tips for choosing the best containers for you.
- Canning Jars – this is the best choice for everyday use.
- Commercial glass jars with tight-fitting lids – spaghetti sauce jars, salsa jars, etc.
- Plastic Containers – think Rubbermaid, Prepware, OXO, Tupperware, etc. – those with awesome seals.
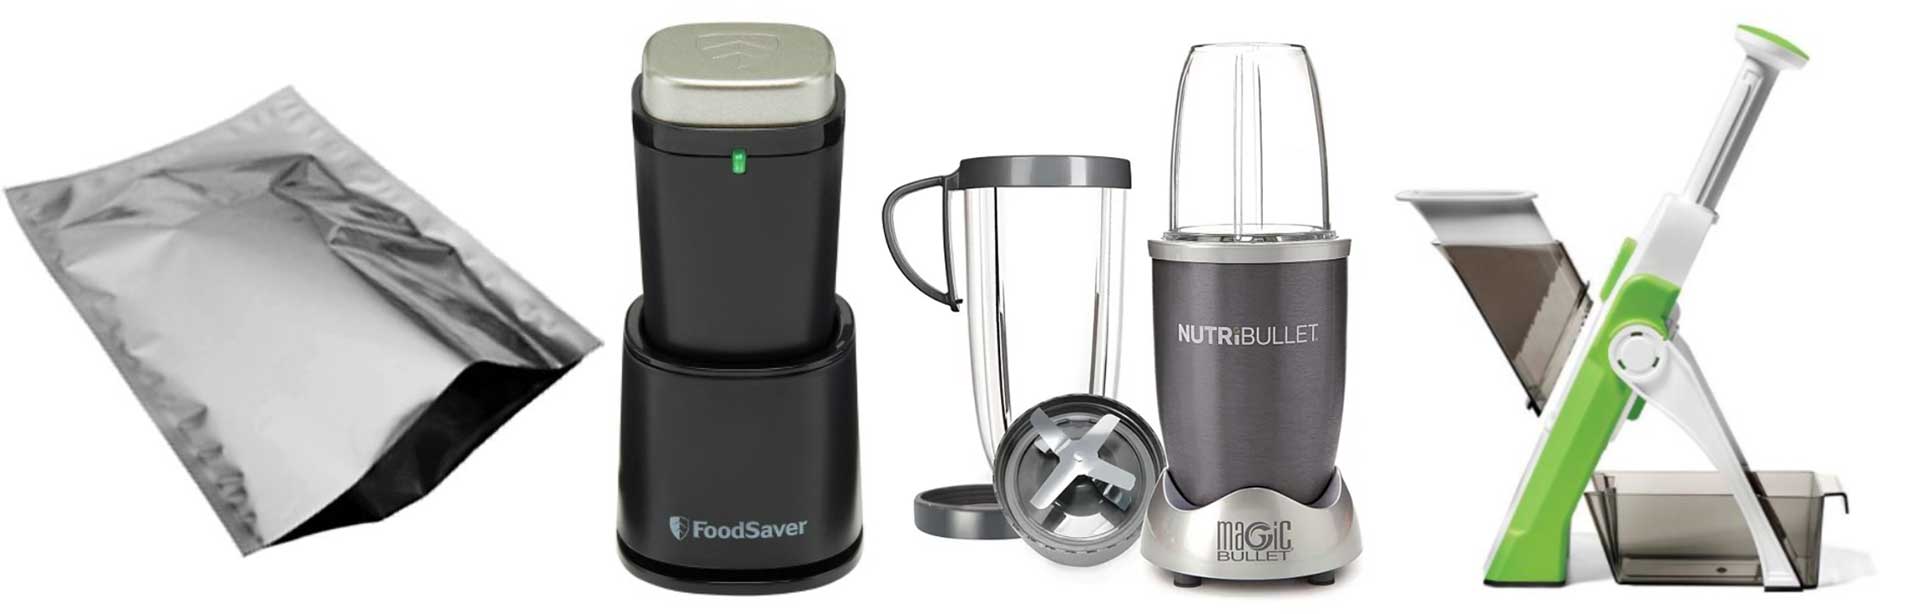
- Mylar bags – not the kind with the zippers or windows as those will be air-permeable over time.
Learn More: Proper Storage of Dehydrated Goods
Helpful Dehydrating Tools
These tools, while not necessary, can make your job of preparing or storing dehydrated foods easier.
Tools for Dehydrating Prep
Slicers/Choppers
If your knifework skills are less than stellar, or you have fine motor skill issues, having a tool to help you do prep work of slicing, dicing, peeling, cutting, etc., is really helpful.
These suggestions are assuming you do not have a food processor. It’s a great all-in-one tool.
- Mandoline – dozens on the market are good. I use an OXO mandoline, but this “safe” standing mandoline gets high praise, too.
- Chopper—A vegetable/onion chopper that slices, dices, swirls, and collects everything is great. This chopper is an excellent tool for prepping onions without tears and making shreds of apples and cranberries alike!
- Protective cutting glove – even if you are using the handguards on mandolines. I have beefy hands, and this pair works great for me (I ordered medium).
- Stainless steel funnel – This can be invaluable in putting powders into jars.
- Salad Spinner helps remove excess moisture after washing produce. There is also a collapsible salad spinner for easier storage.
Grinders for Powdering
Powders make the world go-’round in the kitchen. They are a beneficial way of using all of your dehydrated products in a way that introduces flavor without bulk, doesn’t intrude on the finicky palette, and can help you integrate a ton of nutrients into everyday cooking – even if you hate those vegetables.
Here are my suggestions based on volume, but I find that the bullet blender is my go-to in most circumstances these days.
- Coffee Grinder – while a removable steel bowl is beneficial, it just about doubles the price of a grinder. This basic model works just fine.
- Bullet Blender
- Large Blender – I used a Ninja Kitchen System for years which had the components for bullet blender, food processor, and large blender together. But I finally killed it and moved up to a Vitamix. Though, in hindsight, I wish I had gotten a mid-budget blender and a food processor.
Dehydrating Tools for Storage
Vacuum sealer – Whether you choose a full-sized vacuum sealing machine, a handheld vacuum sealer, or even a brake bleeder, vacuum sealing is a helpful way to ensure the shelf-life of your food.
- Vacuum Sealer Jar Attachments
- Hand-Held Vacuum Sealer – requires the jar attachments, but lets you make quick jobs of vacuum sealing jars for everyday use. Watch how it works.
- Brake Bleeder– this is a powerless device used to flush brakes in cars, but works perfectly for vacuum sealing your jars. Learn how to use it here for vacuum sealing here. You still need the Foodsaver Jar Attachments, just not a powered vacuum sealer. But remember, they can take quite a bit of manual hand strength.
Watch more: Quick Guide to Using a Vacuum Sealer
Optional Dehydrating Tools
Dehydrating Books
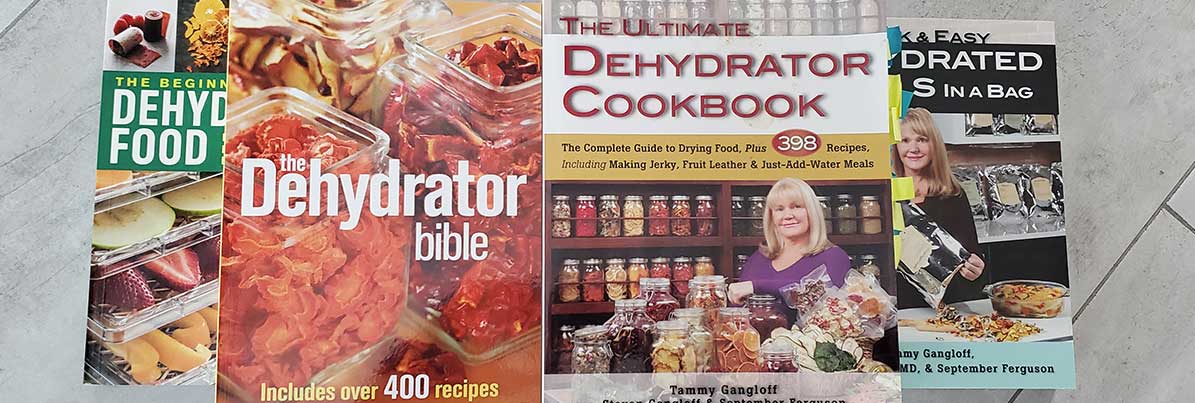
With the vast wealth of knowledge available here, on Youtube, in the Dehydrating Tips & Tricks Facebook group, and on the rest of the internet, you may not need to spend money on a book.
But if you’re like me and like to sit in a big comfy chair, have a pen, some sticky notes, a notebook, and browse, read, and plan, books are a tremendous tool for your dehydrating toolbox.
In no certain order, here are some books that I have, used, and can recommend:
- The Beginner’s Guide to Food Dehydrating by Theresa Marrone
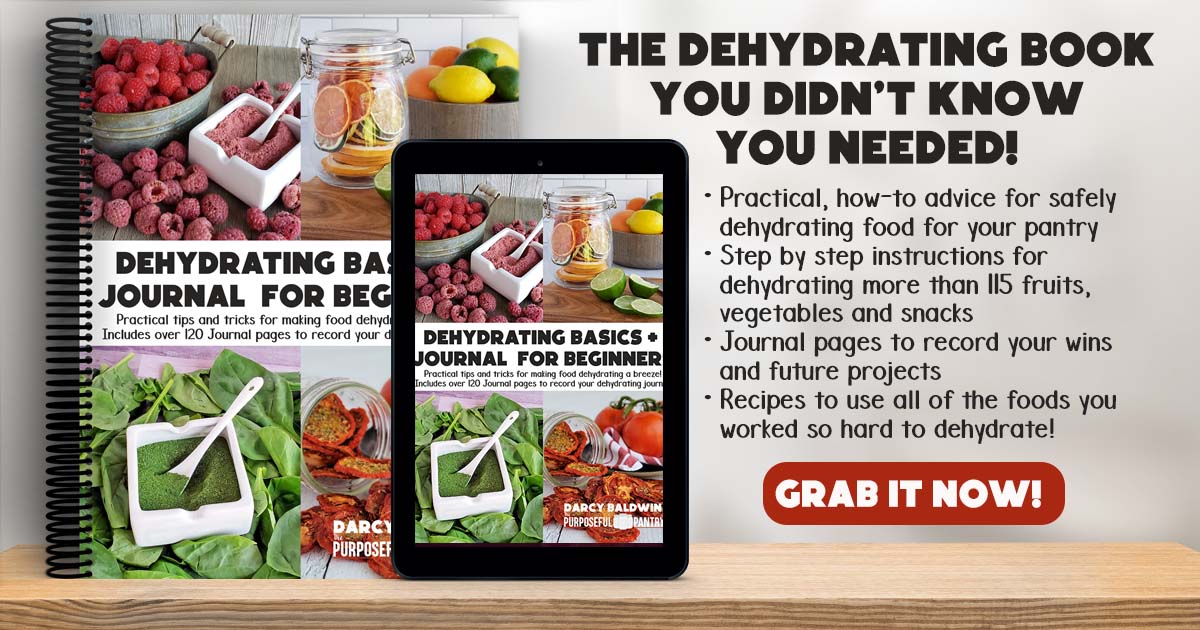
- Dehydrating Basics & Journal by Darcy Baldwin
- The Ultimate Dehydrator Cookbook by Tammy Gangloff
- The Dehydrator Bible by Jennifer MacKenzie
- Mary Bell’s Complete Dehydrator Book
Fun Dehydrating Tools to Make Your Job Easier
These tools are fun to have but are definitely NOT necessities. They can make small tasks easier or just are helpful to have:
- Mushroom, Strawberry & Egg bladed slicer
- Mini-mandoline is great for garlic, ginger, and other small slices.
- Desiccant packs – & O2 absorbers — with proper drying, conditioning, and storage, these aren’t necessary but can be helpful in some circumstances. Learn more about how to store dehydrated foods.
- Apple Peeler or apple corer – of course, you can use a regular peeler for this job, but if you’ve got a crate to do, these tools can make it easier.
- Pineapple Corer
- Cherry Pitter – you can see how I use it when dehydrating cherries. However, if the Prepworks pitter is out of stock, the OXO cherry pitter is a good alternative.
Final Thoughts:
Of course, you may have tools that you find essential in your dehydrating journey or may find the ones I’ve listed are just silly take up space in the kitchen, and are money-wasters.
Let us know those tools that didn’t make the cut — or that you think are just not worth having!


This is a rookie question (because I am one). I’ve dehydrated, put in jars, sealed, opened and used the product. Do I need to use the food saver and seal again or simply date the jar with the date opened and use until expired?
It’s up to you. You can open and re-vacuum seal as often as you’d like. But it’s not necessary to do.
I have two questions:
First, if I use the grinder for both coffee and spices, will the coffee affect the flavor of the spices?
Second, my oven has a dehydrating function. Can I use my normal cookie sheets/silicone mats to dehydrate food in the oven? And are the times/temperature the same for the oven as they would be for a separate dehydrator? Thank you.
You do not want to use the same grinder you use for coffee for creating powders. Get a dedicated one. Yes – everything will be the same for temperature – times are never something to rely on – dry things until they are dry. Your oven may perform different than a dehydrator for time.
I saw a video where someone said a pastry blender gadget could be used to slice strawberries and hard boiled eggs. Have you tried it? Is it sharp enough? Would it be easy to hold while slicing?
No, I’ve never tried it. I use the mushroom slicer mentioned.
Great article. You didn’t mention that some things need to be blanched. An instant pot can make quick work of it if you have one….
A very interesting article, many thanks.
A technical question :-). My Nightime Electricity costs about a third/quater of Day Time Electricity and there is a significant amount of electricity used over the course of a session. I have used my Excaliber machine under a timer. Put the unit time a long way around and then use the separate timer to switch on/off. I have tended to use this method as a delayed start rather than start/stop and judge the progress in the morning but I wonder if the drying process can take place over a couple or three 7 hour overnight sessions?
only if you remove the food product and place it in the fridge during the time you are not drying it by safest dehydrating food handling standards.