How to Condition Dehydrated Food
This post may contain affiliate links. We may earn a commission if you purchase via our links. See the disclosure page for more info.
Have you learned to condition dehydrated food? Learn how easy it is to take the necessary next steps after drying your favorite fruits and vegetables.
Ever have that moment when you open your jar of dehydrated strawberries and find mold inside?! Learn the easy steps to condition dehydrated food to ensure your hard work doesn’t go to waste!
What is Conditioning?
Conditioning dehydrated food is a process to check your foods for equal moisture levels and to alleviate the risk of mold growth in long-term food storage.
Why do I need to condition dehydrated food?
When dehydrating, not all food dehydrates the same. So you may check a few of your pieces, and they are fully dehydrated, but you might find that others aren’t quite dry.
Traditionally, herbs and vegetables have 10% or less humidity once fully dried. Fruits have less than 20% less humidity after being fully dried.
What causes food to not dehydrate at the same time?
- Different pieces of fruit or vegetables contain different amounts of moisture
- Your machine may not dry equally, and you aren’t rotating trays.
- Pieces have been cut at very different sizes.
So, with these things in mind, you need to condition your foods to make sure that your residual humidity levels are spread throughout your finished product. Also, you want to test it all to ensure there aren’t issues that could cause you to lose everything later.
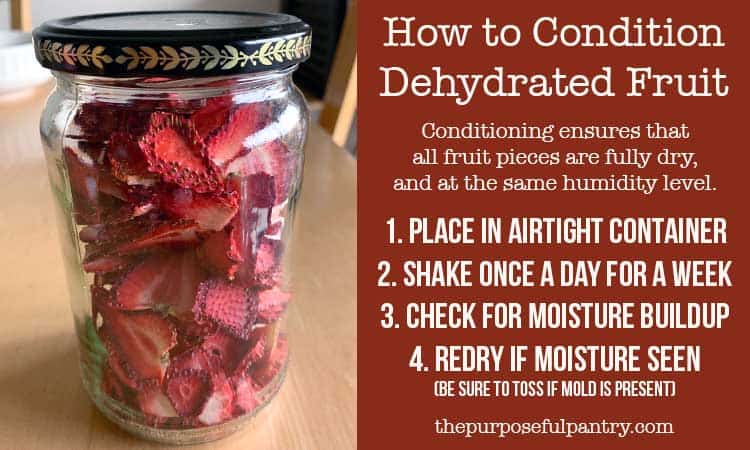
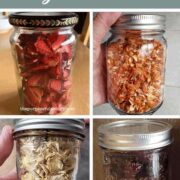
How to Condition Dehydrated Food
1. Fully dry your produce
The first step is always completely drying your food, whether it is fruit, vegetables, herbs, or jerky. Go by the times posted in my posts, in the best dehydrating recipe books, or other information you find on the internet. But know that those times are relative. You need to ensure that your batch is dry and allow it to come to room temperature.
2. Place in an airtight container with space
This does not have to be the container you plan on storing your food in your pantry. You need a little extra space to shake the jar and move the food around a bit. Jars are easiest, but any airtight container will work that gives them space. You just don’t want a considerable amount of room, as extra air can introduce even more moisture.
You do not have to vacuum seal at this point.
3. Shake once a day for five days
You want to move the produce around so that there are no sticking areas and give all of the surfaces a chance to be free
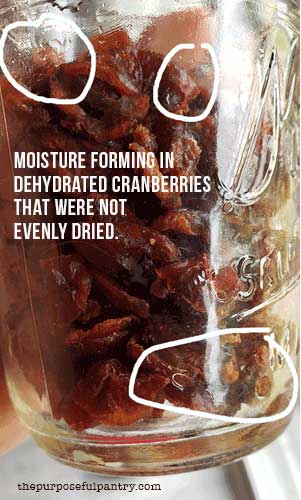
What to look for:
- Moisture beads on glass – put them back into the dehydrator
- Food sticking to the sides or bottom of the glass – shake gently – if the food comes off, you’re fine. If it requires a larger shake to get it off, return it to the dehydrator
- Food sticking together – a gentle shake should break clumps of sugary food (carrots, onions, fruits). If it takes effort to break them up – put it all back in the dehydrator.
What if something sticks?
Sticking is likely caused by either compaction (weight of items putting pressure on bottom layers) or static. In either case, if you can easily shake the produce off, it’s fine. If it takes work to shake it off, then put it back.
4. Discard all produce if you see mold
Any mold at all, even the smallest bit, is simply the spores finally blooming enough to make them visible. The remaining moisture in your food is a home for mold to grow.
Simply discarding the portion of food with mold on it is not enough. Those mold spores are visible in that spot, but are likely growing elsewhere, too.
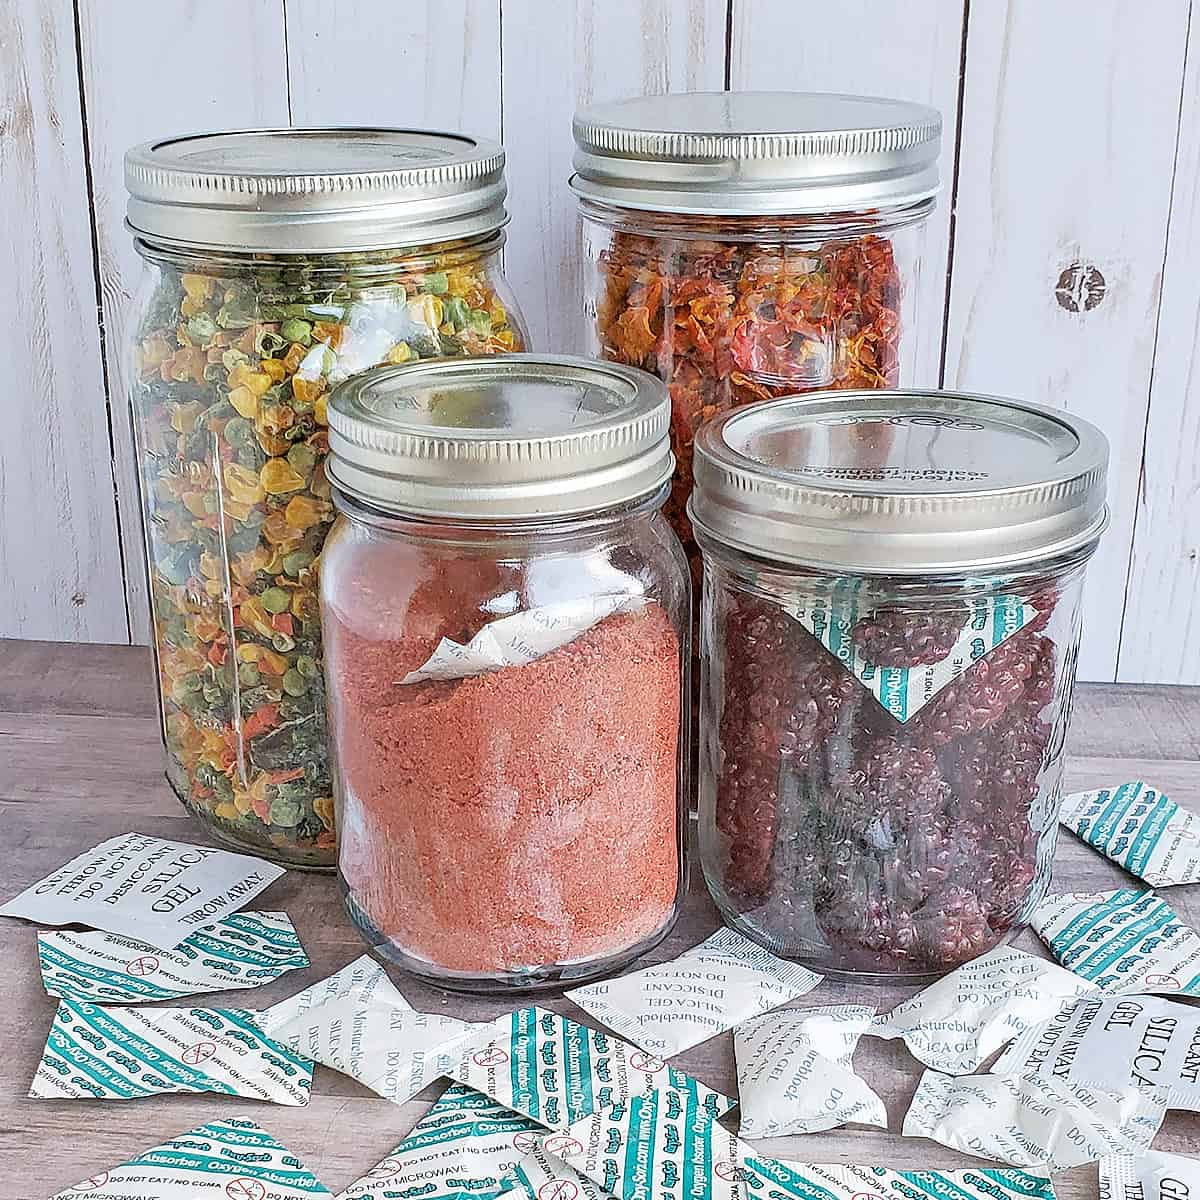
5. Store in appropriate airtight containers
At the end of your 5-7 days, feel free to store your dehydrated food in airtight containers as you normally would.
You do not need to use vacuum sealing, moisture absorbers, or oxygen absorbers, but feel free to if that is your preference.
Which Containers to Use for Conditioning?
The container you choose should be easy to handle and airtight. You might use:
- Glass or enamel bowl covered with plastic wrap
- A pot is fine so long as it is stainless steel and airtight.
- Glass jars with tight-fitting lids (canning jars, commercial spaghetti jars, etc.)
- Clear, plastic food-grade containers with airtight lids
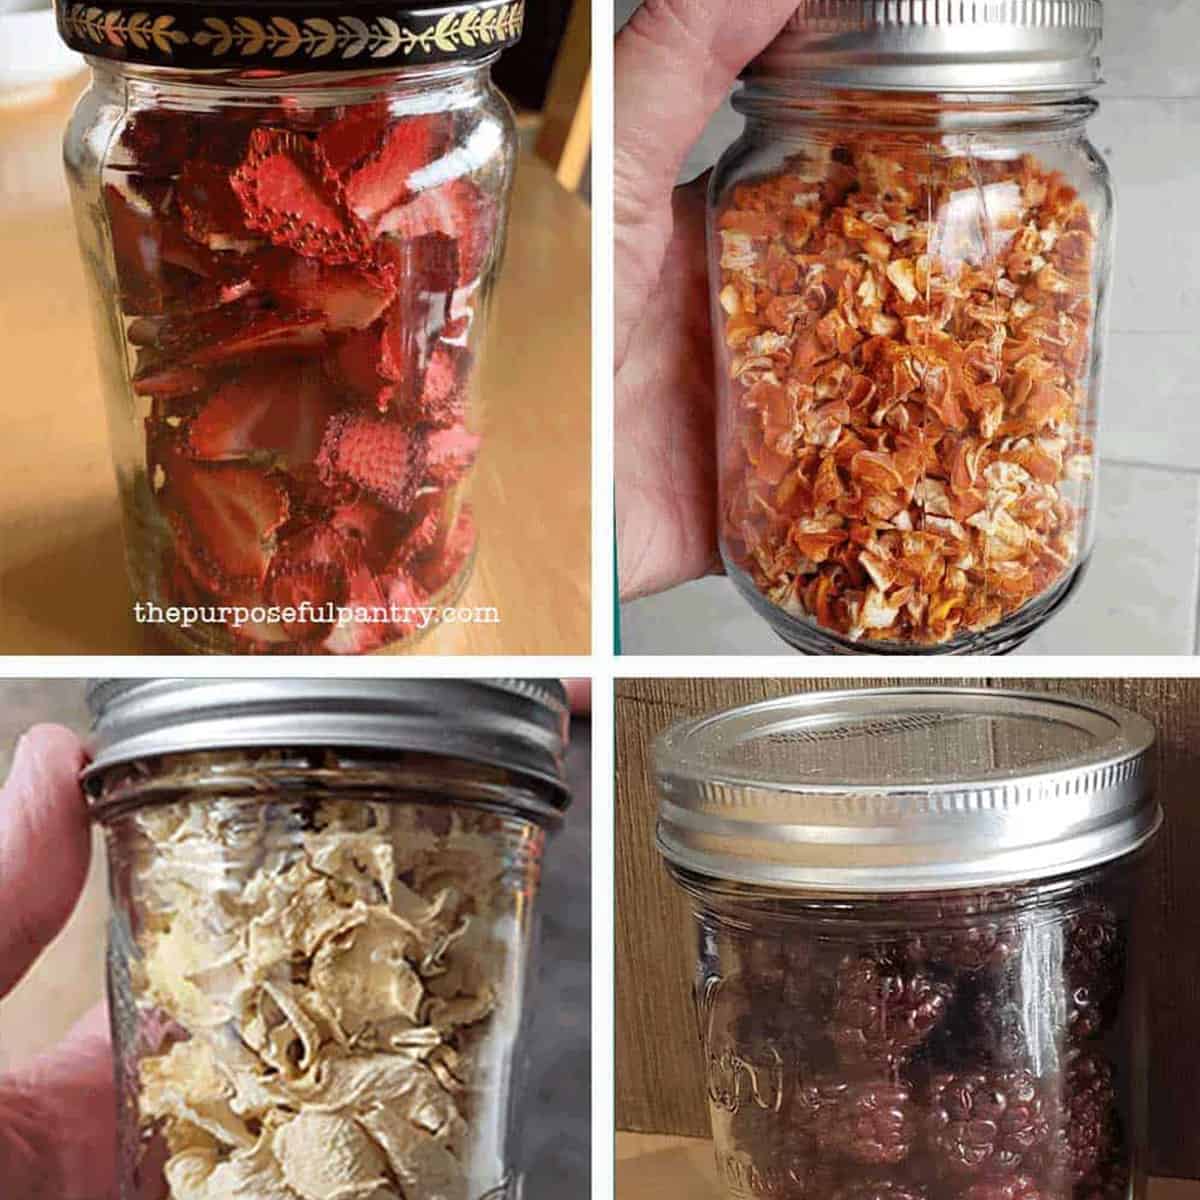
Which Foods Need to be Conditioned?
Fruits – Always
Dried fruits are the primary food that needs to be conditioned after drying. With a relative humidity of 20% after drying, fruits already offer a higher humidity level than vegetables.
Also, fruits tend to be prepared in larger pieces than vegetables by most people. So the risk of 3-4 pieces not being properly dried while the rest increases the risk.
In general, fruits are dry when they do not stick together and no beads of moisture form when they are squeezed together.
Properly dried fruit will have about 15-20% moisture content. That can be hard to obtain evenly in the home dehydrator, and some pieces will have more than 20% moisture, there is no sure way to test at home.
To get it under that point, dry your fruits until they are crisp for the best storage when possible. If you are drying for snacking, conditioning is not necessary, but store in the fridge and eat within 3-4 days.
Vegetables – Always
Vegetables are easier than fruit to determine dryness. With time and experience, you may be able to tell which pieces just need more drying time before they are fully dry.
Because vegetables should be dried to the point of easily breaking or making a clicking sound when they hit a solid surface (versus a duller thud), you will know when vegetables are dry.
Expert Tip: Sharing my story
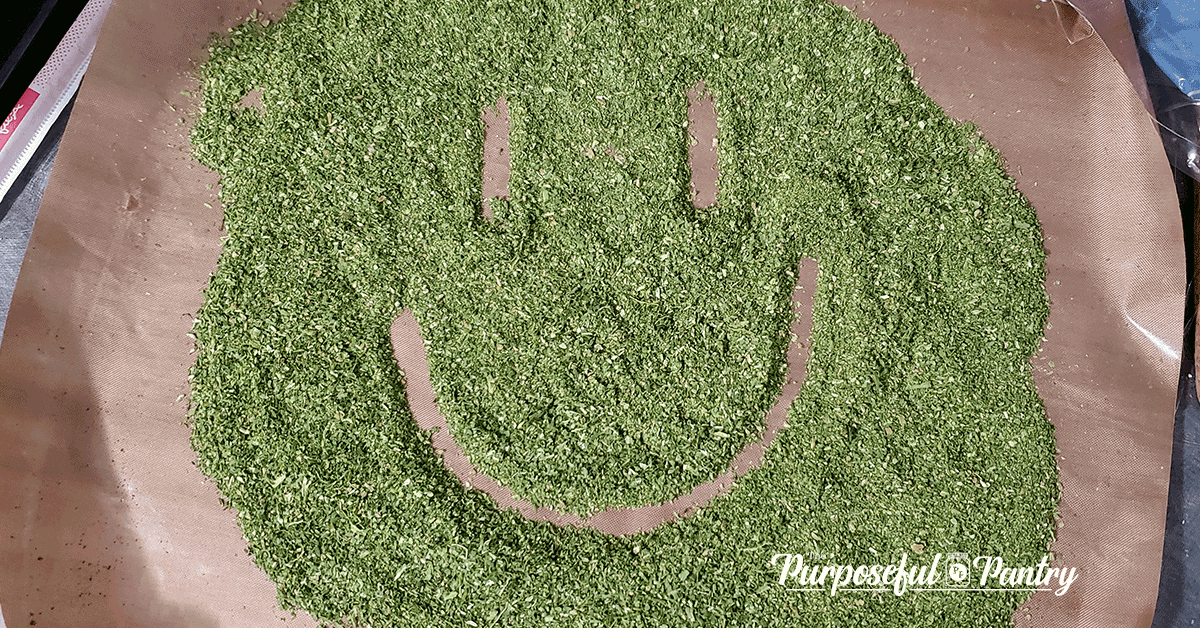
After drying a few rounds of lettuce a few years ago, I found that some of my lettuce had not fully dried. I realized the culprit was a particular kind of lettuce leaf in the spring mix I was working with. A few pieces had not dried and could have ruined the whole batch had I not processed them immediately, realizing there was an issue.
I probably would have lost the whole batch if I had just put the leaves into a mason jar for later use.
Herbs – Sometimes
Because herbs are easy to see if they are not crispy when crushed for storage, you should be fine.
The only time you really need to worry about excess moisture is if you’re doing mounds of herbs with stalks. You need to be sure those stalks are dehydrated to the same humidity level as the leaves. Over time, and with experience, you may understand what a snapping stalk should feel like. So in most cases, this is not needed.
Jerky – no
Jerky is one of those foods that should be stored in the refrigerator. This puts off any issues of moisture and mold growth, as long as you have practiced safe dehydrator procedures.
Snacks – no
Since you’re going to be eating it within the week, eat it and enjoy 😉 This includes dried fruit, too.
Watch the Video on Conditioning
If you’re visual, you can watch this video on how to condition food!
How do I Know When Fruit is Dry?
Fruit is dry when the surface is dry. If it is sticky, you need more drying time.
- Easily breaks in half for fruits like citrus, strawberries, and apple slices
- Is dry, leathery, and pliable for things like peach slices, mangos, etc.
- Are shriveled and plink when you drop them for grapes, berries, etc.
For more information on individual fruits, check out the National Center for Home Preservation’s handy list of when fruit is dry.
EXPERT TIP: Sticky vs tacky. If fruit is still sticky (like a postage stamp), it needs more drying time. If it is tacky (like a post-it note), it is likely just the surface sugars reacting to humidity in the air and is fine.
How do I Know When Vegetables are Dry?
Vegetables are a little easier to know when they are dry than fruit. All should be dry and leathery to the touch. Use these additional tips for specific cuts of vegetables:
- Slices – dry, crisp, and break easily, such as vegetable chips, potato slices, etc.
- Cubes – small, hard, and plink when dropped (think potato cubes, carrots, etc.)
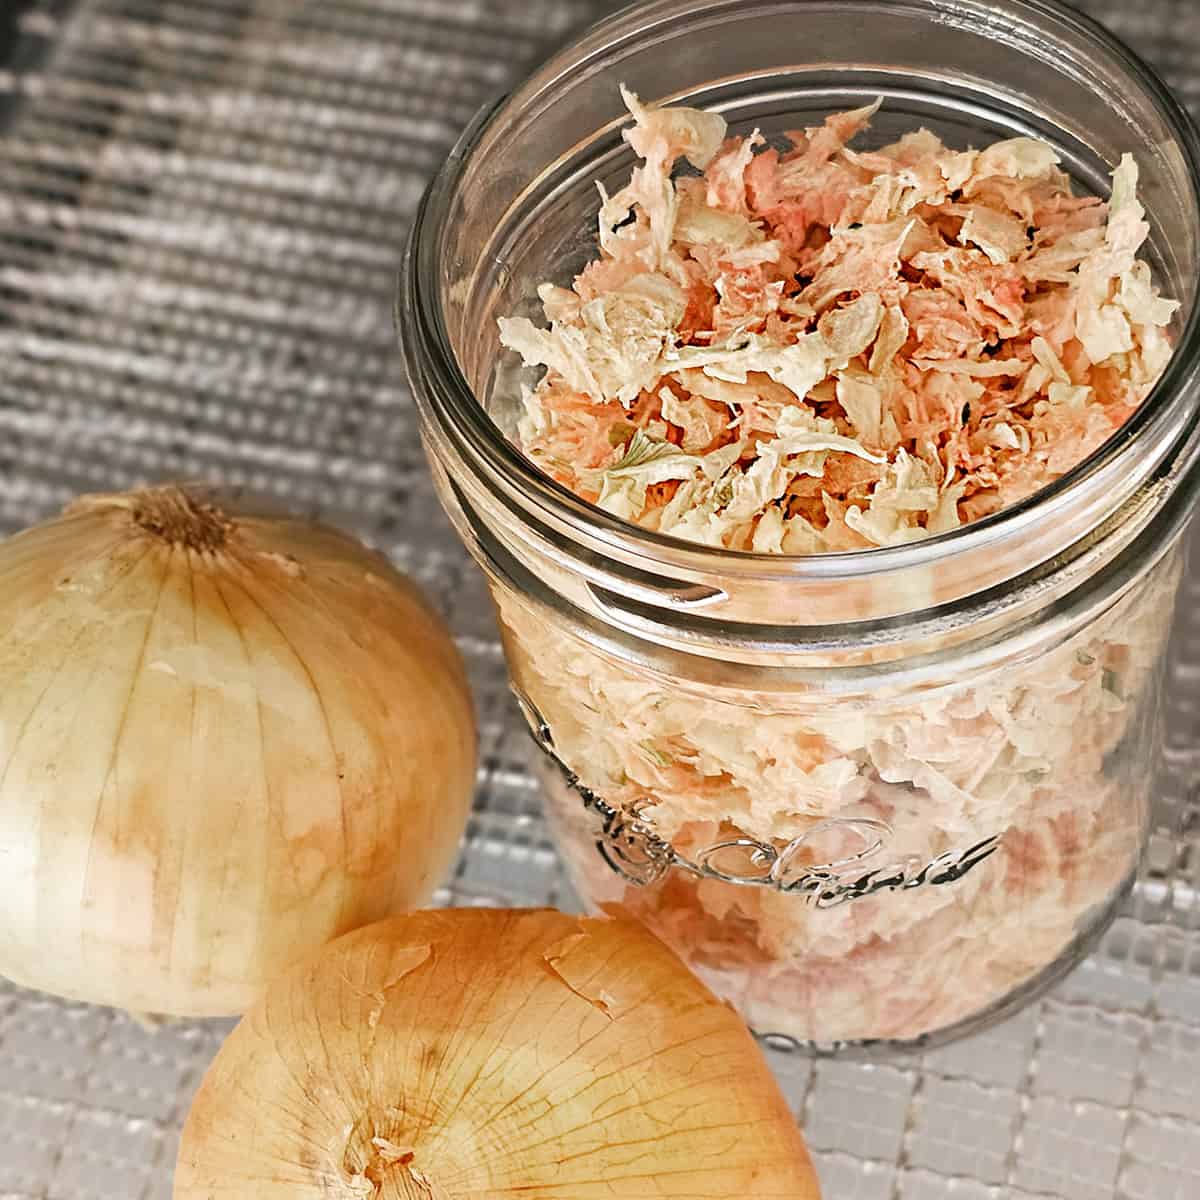
- Small pieces such as onions, garlic, zucchini shreds, and more – should be dry to the touch and not clump together.
Get more information on individual vegetables with this handy list from the National Center for Home Food Preservation.
How Do I Know When Herbs are Dry
Herbs are probably the produce to dry. The leaves should crumble in your hand, and the stems should easily break.
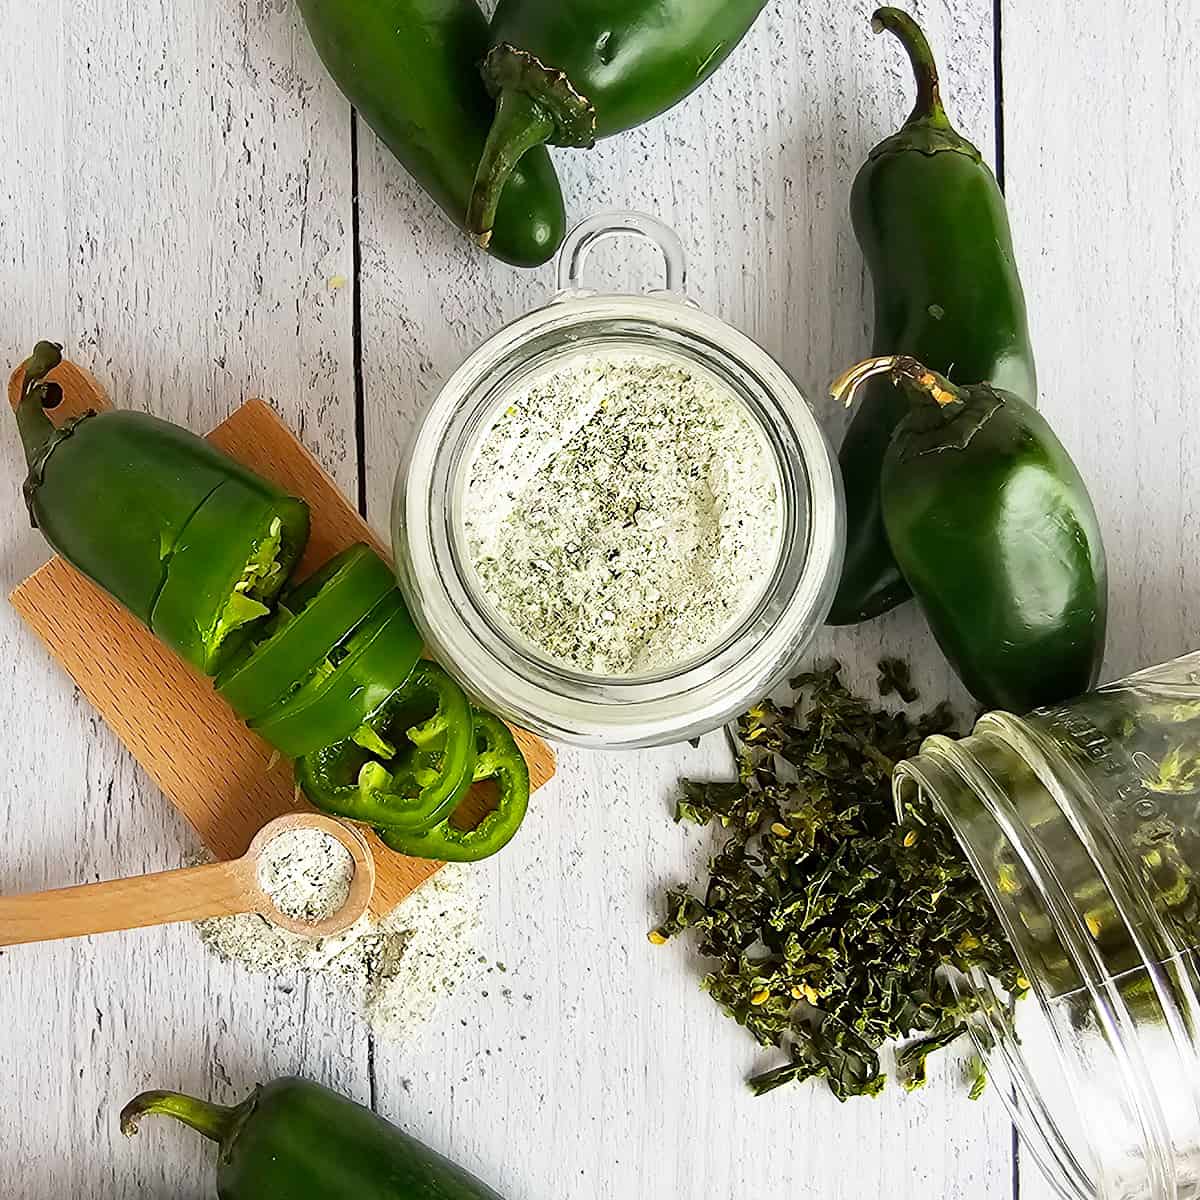
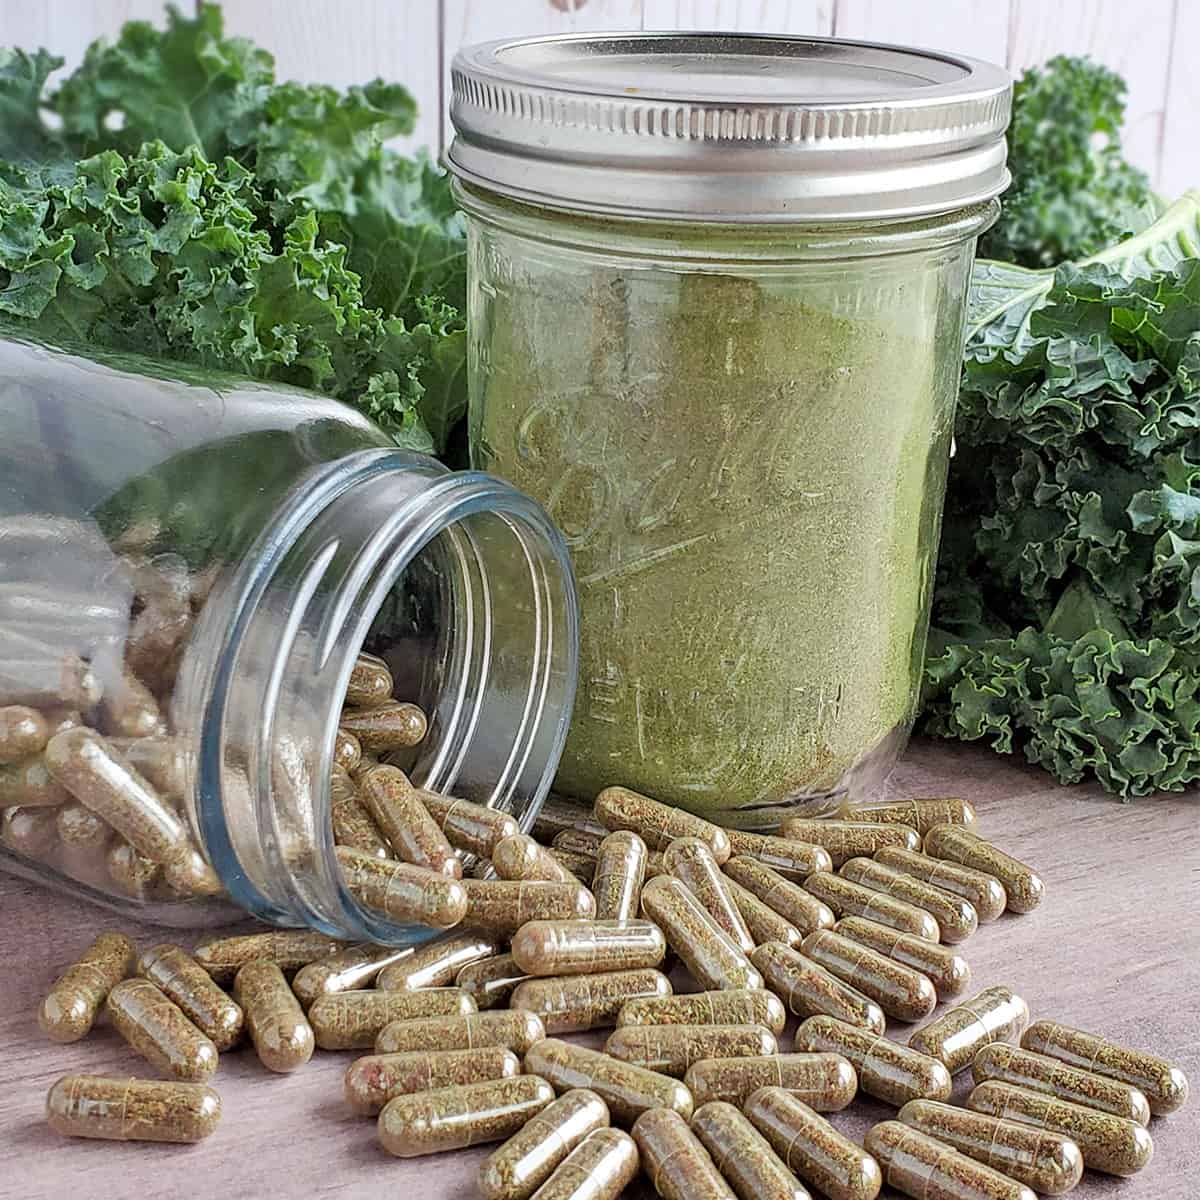
This also applies to any dark leafy greens such as kale, spinach, dandelion, and more. Why dry these things? Find out more with my tutorial on how to make green powder
What if I Don’t Condition Dehydrated Foods?
Well, maybe nothing.
Or maybe you notice your fruit is looking pretty moist again a day or two later.
And then…maybe you’ll lose it all because it molded within a few days since the one or two pieces that didn’t quite dry properly had enough moisture to create a mold problem.
So, let’s skip that worry and learn how to condition that food you’ve worked so hard at preserving!
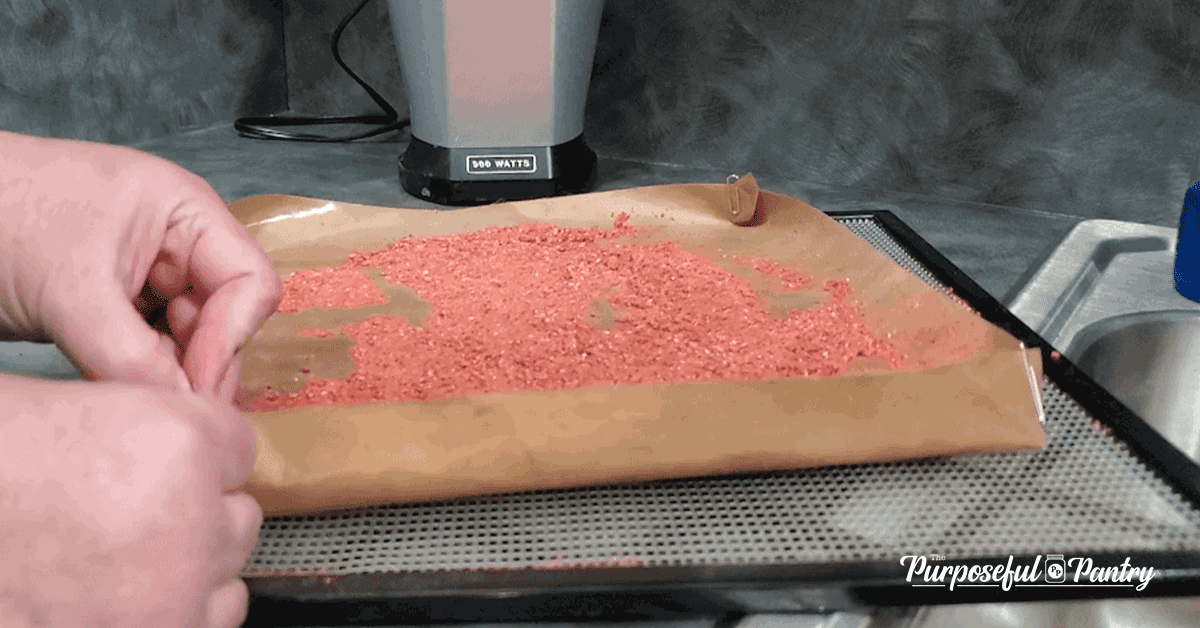
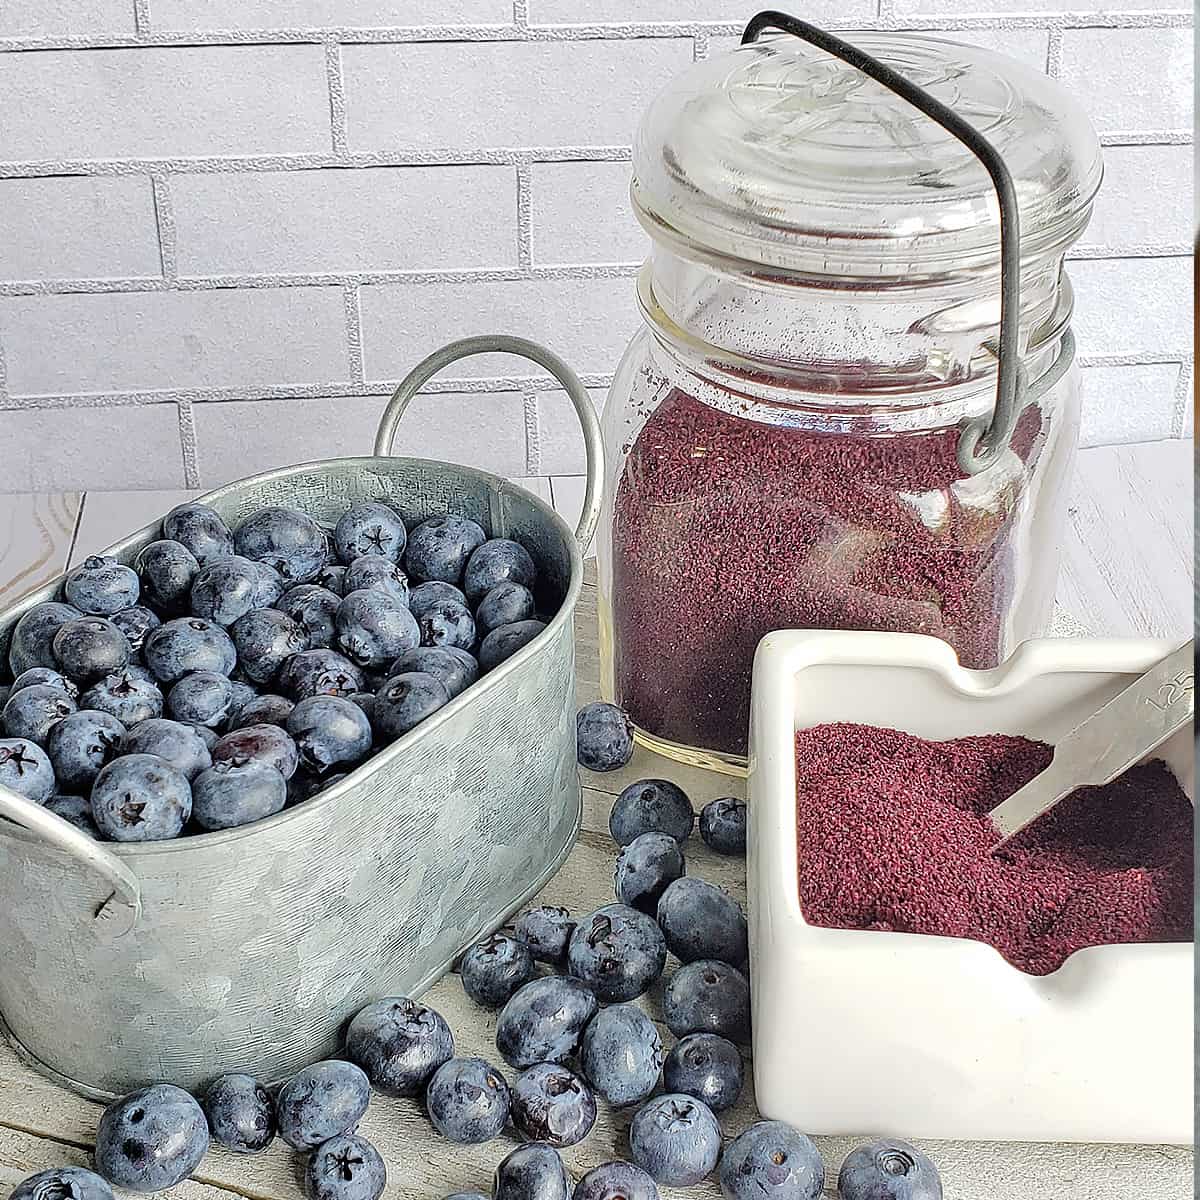
How to Condition Dehydrated Powders
Powders, like dehydrated foods, need time to release any moisturec collected in the grinding and cooling process. Powders are even more prone to moisture as there is more surface area to collect moisture.
Oven Directions:
- Heat your oven to its lowest temperature, then turn it off.
- Place powder in a thick layer on a cookie sheet.
- Allow powder to sit in the dry heat for 20-30 minutes.
- Cool.
- Store in an airtight container. You might also follow these steps to avoid other clumping issues.
Dehydrator Directions:
- Place powder into muffin papers, coffee filters, a shallow bowl, a lipped tray of some sort. Alternatively, you can place your powder on a fruit leather sheet and place a piece of weighted parchment on top.
- Close your machine. This is an important step to save the powder from flying out everywhere.
- Turn on your machine to its lowest setting, and run for 20-30 minutes.
- Wait for the fans to stop completely before opening your machine to check on powder.
- Cool.
- Store in an airtight container. Use these follow-up steps to avoid clumping if necessary.
Is Pasteurizing the Same as Conditioning?
Pasteurizing is the name for heating food to the point of killing off all unwanted bacteria, including the good vitamins and nutrients we want.
You may have heard the idea of storing your bags of grains and flours in the freezer for a few days to kill off any bugs that may have introduced themselves during the storage process in warehouses and stores.
However, for food storage, you place foods into the freezer to kill off any unwanted bugs and bug eggs that may have introduced themselves into your food during the drying or storing process.
Do I need to Pasteurize Dehydrated Foods?
Unless you dehydrate in the open, outdoors or are in the habit of leaving your food sitting on your dehydrator trays while it’s not running, this kind of pasteurization is not necessary, nor does it replace the need to condition your food.
Conditioning Cautions
Luckily, there is little that can go wrong.
- Humidity will affect this process, so if you live in a humid climate, condition in an airtight glass or plastic container.
- Don’t use an aluminum container when you are drying fruits, it will react with the acid in them.
- Wood bowls are not a good idea, because they are porous and can retain moisture.
- If food has evidence of mold, dispose of it. If you can see it in one place, it is likely growing unseen in another.
Be truthful
Do you condition your fruit after dehydrating? Come on, tell us the truth !!
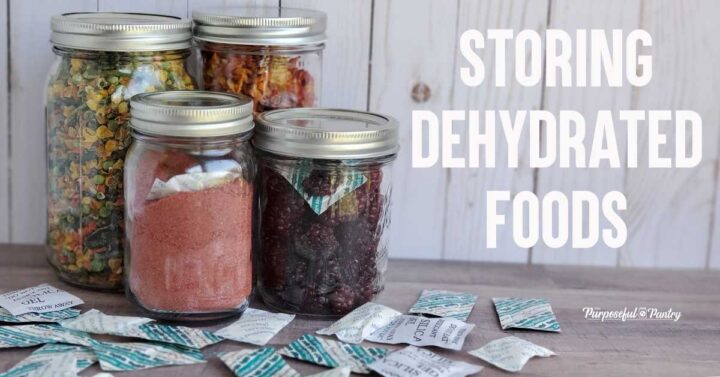
Now what?
After you’ve properly conditioned your food and know it’s fully dry – it’s time to learn how to store dehydrated foods in airtight containers!
FAQ’s
Fruit is dry when the surface is dry. If it is sticky, you need more drying time.
It should easily breaks in half for fruits like citrus, strawberries, and apple slices
It is dry, leathery, and pliable for peach slices, mangos, etc.
It shriveled and plinks when you drop them for grapes, berries, etc.
Vegetables are a little easier to know when they are dry than fruit. All should be dry and leathery to the touch, easily break in half for slices, and not stick in clumps for things like shreds and small pieces.
This could be from compaction (pressing down), from static (small pieces stick to the side), or moisture (not fully dry). If your food easily shakes off the jar, you’re fine. If it takes work to break the clumps a part, you need to dehydrate your produce more.
Want more?
Get a free printable PDF of this page to tuck into your preserving notebook.
Is it ok to open the container while conditioning, or does it need to be kept completely closed?
If you open it, you introduce moisture. If you’re using it for snacking for stuff you’ll eat quickly, there is no need to condition it. Conditioning is for storage.
What would be the longest, time to safely eat our snacks.
If I am giving them to friends to let them know when to eat them by?
Thank you
What did you give? I can’t give a good answer without knowing what you made – but within a year for most dehydrated fruits is fine
I just freeze my dried foods so I don’t need to condition and that is fine?
Sure.
Would you recommend oxygen absorbers in dehydrated foods? Would this eliminate the need to condition?
No – because O2 absorbers have nothing to do with moisture control.
Hello and thank you so much for all your wonderful knowledge. Can I add both an oxygen absorber and moisture absorber for long term storage in the same jar? Thanking you.
Sandy
Sydney Australia
No – don’t use them together – here’s why: https://www.thepurposefulpantry.com/how-to-store-dehydrated-foods/
I love your excellent information and I’m so excited to start filling my pantry!!. I just did my 1st batch of dehydrated potatoes and using your instructions, they are beautiful!! I used my mandolin to cut up all 15 lbs, and I stored half of the blanched taters in the fridge, overnight, while my 1st batch cooked. Luckily they all turned out perfect! So I have a question…can I do this with other veggies/fruits? ie: Cut them all up, blanch if needed and store in a covered dish in the fridge while they wait for their turn in the dehydrator?? I have cauliflower, onions, apples, pears and pineapple to do next. Thank you so much!!!
Yes – but with some of those foods, you don’t want to leave them too long prepped. I’d do the pears and pineapple last.
My dehydrated celery is slowly turning brown. It still tastes ok, but do you know why that might be?
Two things. If you didn’t blanch ahead of time, it might turn in storage. Sometimes, the white parts also turn a little brown during drying and you can just turn the temp down. a bit. It’s all good…just not as pretty as bright, vibrant green.
I blanched it in water with baking soda. I am getting my first homegrown celery going today, and am going to try a suggestion of cold-soaking in soda water then steam. I also will be conditioning them. This is my second season, and I did not know of that process, but I think it may make a difference.
Thanks for your help, and so quickly on a Saturday!
So glad I came upon this article….My problem, I don’t know when they are dry or to dry…can you please tell me how to know when to take stuff out….BTW, My food dehydrator was in storage, after burning the food. Got it out recently….Any help would be greatly appreciated…
in each of my tutorials, I give you a shot of how they should look, or a detailed description. You can also use this reference:
How do I Know When Fruit is Dry?
https://nchfp.uga.edu/how/dry/csu_dry_fruits.pdf
How do I Know When Vegetables are Dry?
https://nchfp.uga.edu/how/dry/csu_dry_vegetables.pdf
Do jar saver sealers. only work on canning jars?
Yes
There is a way to do commercial jars with a Foodsaver Canister, but you only get a use or two out of the jars, safely.
I dehydrate apple slices for apple wreaths. I also dehydrate peeled apples for doll heads. I rinse apples after peeled in vinegar water so they don’t get brown. Then I place on hydrate trays. I relocate the trays when I feel like it. When they have practically no weight and I believe they are dry, I place on a cookie sheet and freeze them. After a coupie of hours, I bag them in plastic and put back into freezer for 2 weeks. After that time passes, I put them in a plastic shoebox for making wreaths. Mine have never molded and have lasted 3 years in this manner for use. What happens after the wreaths are made don’t know, but have received no complaints. I read somewhere it pastuerizes the dried fruit.
I also freeze flour and hot cereals.
And that’s fine for crafting, Donna, but for proper food handling, they need to be completely dried for shelf-stable storage. Pasteurization is better for removing bug issues than for making sure you have no moisture to mold on a shelf.
Where do I purchase the moisture level strips u were using in your jars during the conditioning period? Thanks
Tracy – they can be purchased on Amazon here>> https://amzn.to/2ywQMq9
Amazon affiliate: I may receive a small commission on a purchase made through this link, at no cost to you. Prices subject to change.
Note: they are not approved for food use, so use at your own discretion, and know that proper drying and conditioning is your first step for proper preservation – not these strips.