Dehydrated Eggroll in a Jar Recipe
Eggroll in a bowl is a classic American staple – but let’s turn it on its head (get it?) by creating that classic in a dehydrated Eggroll in a Jar version to store in your pantry!
This post may contain affiliate links. As an Amazon Associate, I earn from qualifying purchases. Please read my disclosure policy.
While Eggroll in a Bowl is generally made from fresh vegetables and meat, this easy to do recipe is made from mostly dehydrated ingredients. You can add it to your selection of Meals in a Jar to create quick and easy meals for your family’s busy nights.
It also tastes really great, can be customized, and makes the perfect on-the-go meal for hiking and camping or just a quick meal at home.
Learning how to use your dehydrated foods can be daunting. This can be a great first meal in a jar recipe for the beginner as it is easy to dry, easy to put together, and easy to prepare.
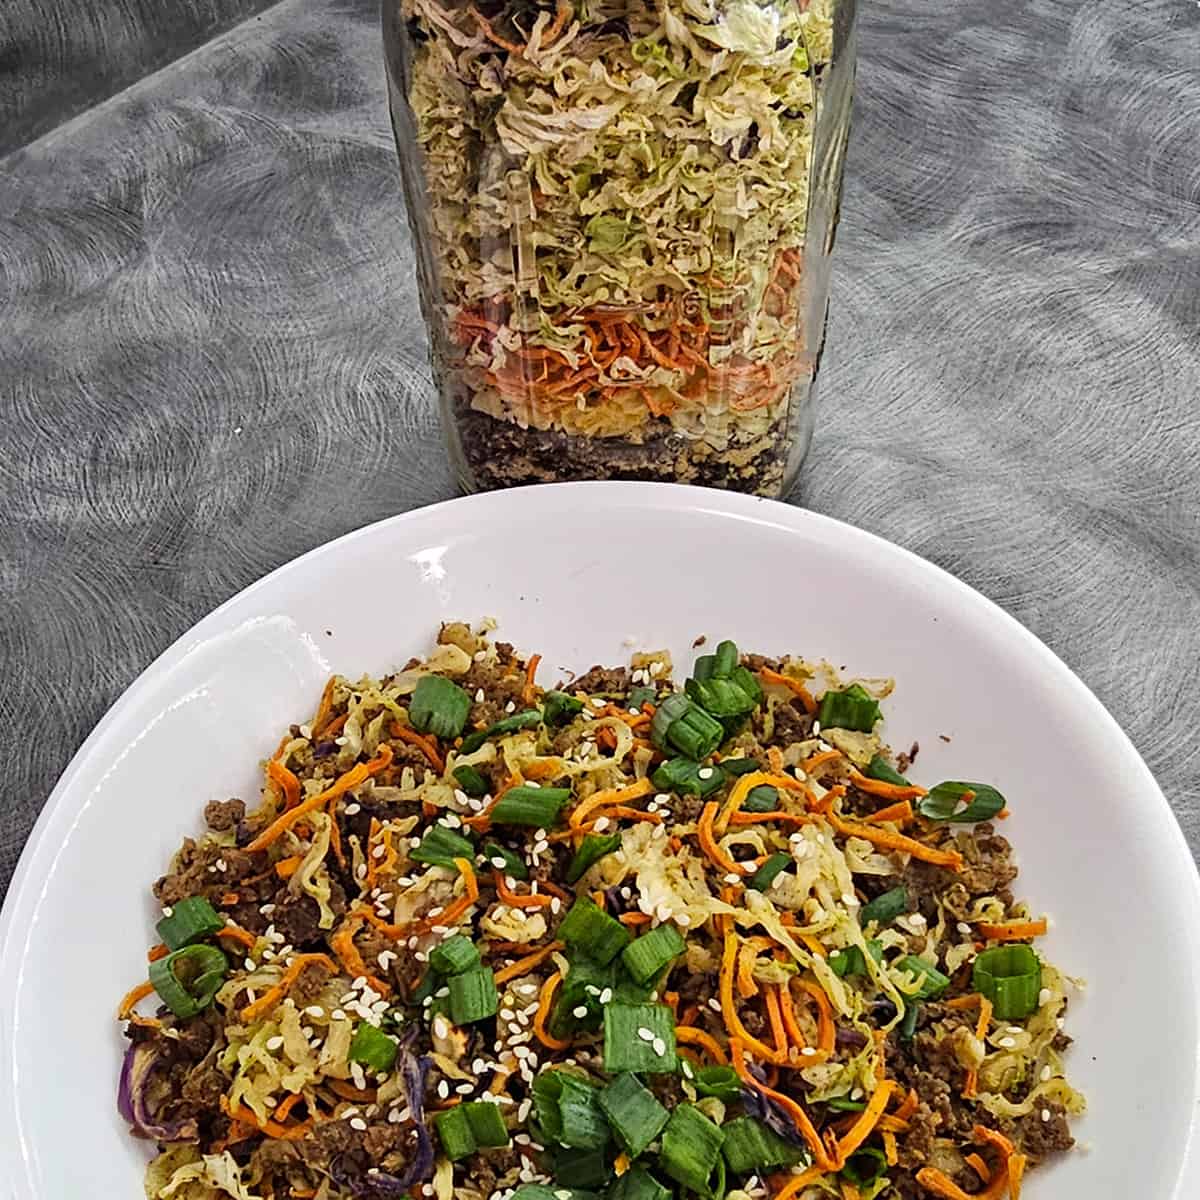
Eggroll in a Jar Dehydrated Recipe
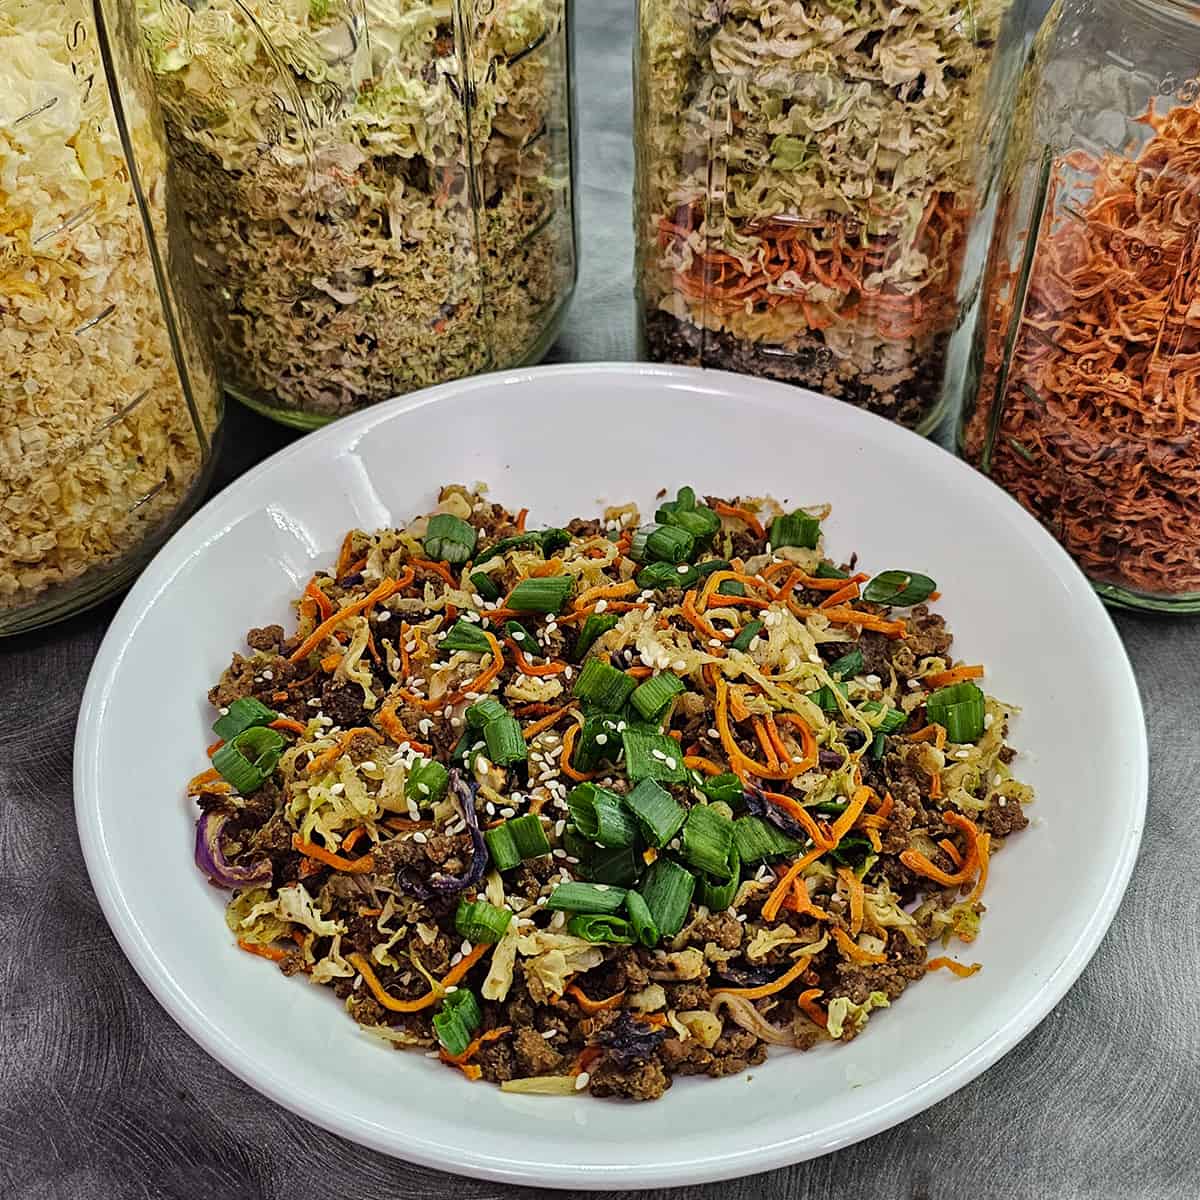
Each ingredient will be linked to a tutorial on how to dehydrate the fresh vegetable or meat.
Ingredient Tips
- Dried Cabbage – Can use packaged and dried cole slaw mix
- Dried Ground Beef – Can substitute with freeze-dried ground beef for the shelf stable recipe, or use fresh or frozen ground beef, chicken, sausage or tofu during cooking.
- Dried Carrots – you can substitute or just use other vegetables to add to the mix
- Dried Onions
- Soy Sauce – can use soy sauce powder or Liquid Coconut Aminos, Hoisin sauce, Oyster sauce, or any combination of them.
*Note – cabbage and carrots should be blanched before dehydrating (See instructions on each linked above), but for very short-term use, it’s fine to skip that step).
Storage Instructions
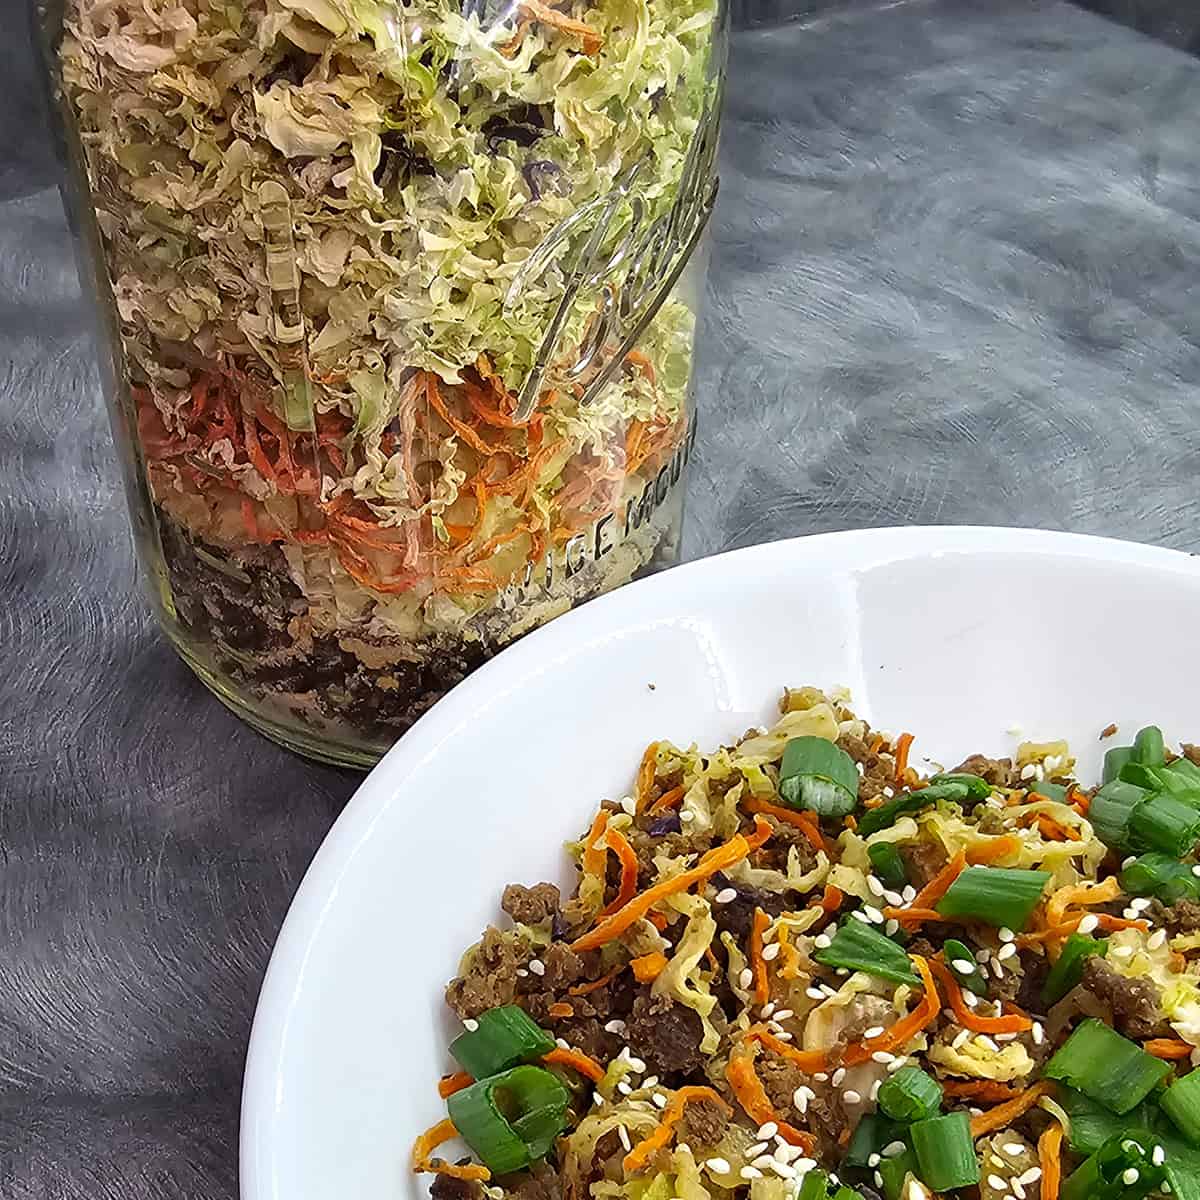
- Layer ground beef, dry seasonings, onions, carrots, and cabbage in a quart jar.
- Place lid on jar.
- Vacuum seal if desired. I use this handheld vacuum sealer.
- Place the ring on the lid and store it for up to six months.*
*Dehydrated ground beef is generally not a reliable shelf-stable ingredient. However, I’ve been able to store 90/10 ground beef on my shelf, dehydrated, for at least ten months without issue. If you choose to store the ground beef separately in the freezer, you can still pull out enough for the recipe, store in a bag, and use on your trip or in your meal for that night.
How I Make It Video
Cooking Instructions
These instructions are using dried ground beef. If you are using fresh meat, cook it thoroughly before starting with the rest of the steps.
- Add water to a 10- or 12-inch skillet.
- Add jar ingredients to the skillet.
- Add additional wet ingredients to the skillet.
- Stir to incorporate all the ingredients.
- Place a lid on the skillet and allow to steam for five minutes, then stir ingredients again, and cover again.
- Repeat the previous step until the consistency of your dried vegetable ingredients is achieved. You may prefer a bit crunchy or you may prefer softer.
- Serve in a bowl with your favorite garnishes.
Garnish Ideas
- Pickled ginger
- Sesame seeds
- Fresh green onion slices
- Sriracha sauce
More Meal in a Jar Ideas
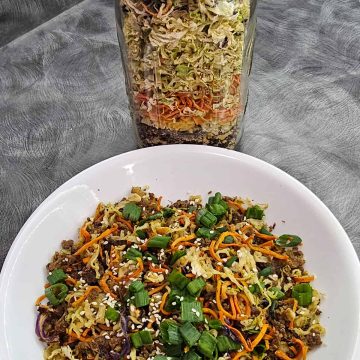
Egg Roll in a Jar (Dehydrated) Recipe
Equipment
- Jar
Ingredients
- 1.5 cups Dehydrated ground beef Alternatively, use fresh, frozen or freeze dried
- 1/4 teaspoon Black pepper
- 1/4 cup Dried onion
- 1/2 cup Dried carrot
- 3 cups Dried cabbage Pre-packed coleslaw mix also works
- 1 tablespoon Garlic powder
- 1 teaspoon Ground ginger
- 1 tablespoon Hoisin sauce Optional
- 1/4 cup Soy Sauce
- 2 teaspoons Sesame Seed Oil
- 2 cups Water
- 2 tablespoons Green Powder
Instructions
Storage Instructions
- Layer ground beef, dry seasonings, onions, carrots, and cabbage in a quart jar.
- Place lid on jar, vacuum seal if desired.
- Place ring on jar, tighten, and label jar.
Cooking Instructions
- Add water to a 10 or 12-inch skillet.
- Add jar ingredients to the skillet.
- Add additional wet ingredients to the skillet.
- Stir to incorporate all the ingredients.
- Place a lid on the skillet and allow to steam for five minutes, then stir ingredients again, and cover again.
- Repeat the previous step until the consistency of your dried vegetable ingredients is achieved.
- Serve in a bowl with your favorite garnishes.
Darcy’s Tips
Garnish Ideas
- Pickled ginger
- Sesame seeds
- Fresh green onion slices
- Sriracha sauce
Nutrition
Nutritional information is an estimation only. Nutrient information for dehydrated foods is based on fresh. Use 1/4 of the servicing size for the same nutrient information. Thus 1 Cup of fresh fruit has the same sugars as 1/4 dried.
©ThePurposefulPantry. Photographs and content are copyright protected. Sharing of this recipe’s link is both encouraged and appreciated. Copying and/or pasting full recipes to any social media is strictly prohibited.


Hi Darcy!
Great recipe as always! I do appreciate you! I did get the update. I did want to let you know that your emails are always a bright spot in my mailbox. My apologies for not actively communicating that to you. You do great work and now I have a skill that I would not otherwise have without your sounding the dehydration call to duty. I pray you take the time you need to take care of you. I pray that you will heal. Sending my thoughts and prayers your way!
Thanks so much, Melanie!
I am very interested in feeding my family whole foods. Does dehydrating change the nutritional aspect? What does this dish look like when you cook it? I guess I don’t fully understand the process. I’m sorry if this is a bad question. We are going through a major cancer process and my brain isn’t processing properly.
Here’s a discussion I had about it. https://youtu.be/ntZp2pUWt3U?si=p7mByKksGStVkuMI
Love this idea! Can’t wait to try it!
Really great recipe for the prepper and or gardener who wants to just preserve. Thank you so much for sharing your yrs of work rolled into simplicity for us. Stay blessed.