How to Blanch Vegetables for Dehydrating, Freezing or Freeze Drying
Learn to blanch vegetables for dehydrating or freezing with these easy step-by-step directions for three different ways to blanch vegetables.
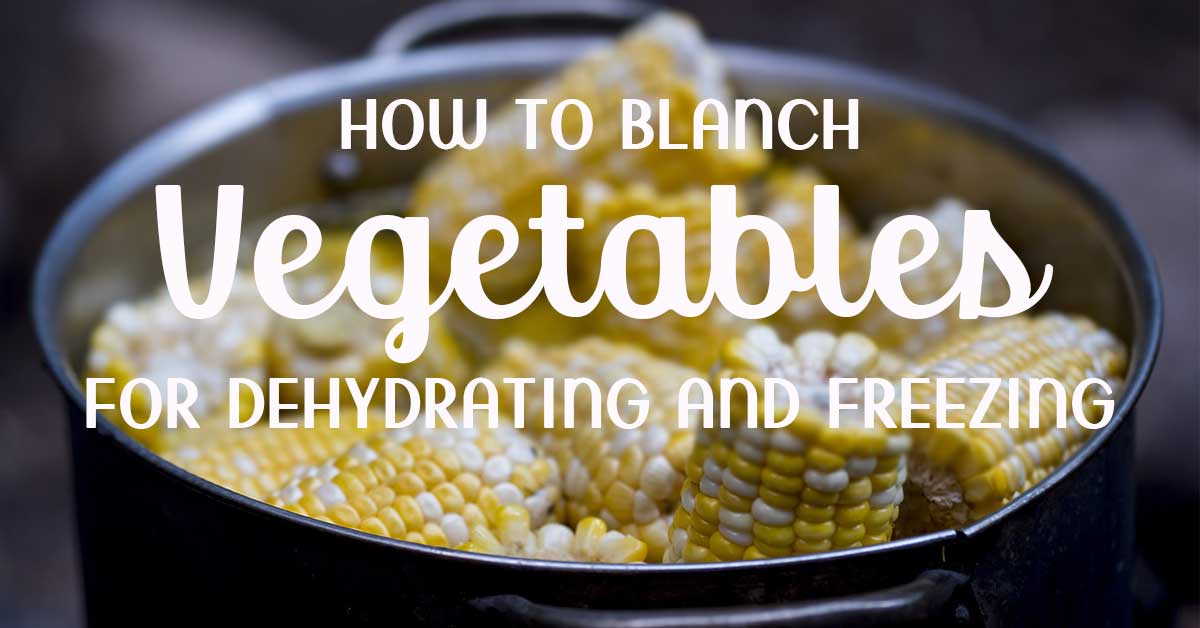
Blanching foods for dehydrating is confusing – but it doesn’t have to be.
My rule of thumb is this:
If you eat it raw, you probably don’t have to blanch it.
If you only ever eat it cooked – you likely need to blanch it.
–Darcy@ThePurposefulPantry
But there are times when choosing to blanch celery first is beneficial, even though we often eat celery raw. Or maybe you might want to blanch onions first to help reduce the strong bite they can have.
So let’s dive in to what needs to be blanched, what may need to be blanched, and why we do it!
Why Blanch Vegetables
The blanching process is used to scald vegetables in boiling water or steam for a specific amount of time. It stops enzyme actions which can cause a loss of flavor, color, and texture when the food is frozen or dehydrated.
It’s also known as parboiling.
Benefits of Blanching
Blanching helps to
- Rid the surface of food of dirt and organisms.
- Stops the enzymatic process that causes foods to lose color in storage (the reason your broccoli turns brown over time).
- Reduces oxalic acid in greens (such as kale, spinach, beet tops, etc.)to make their nutrients more readily available during digestion. For more information on dehydrating greens and blanching (if you even need to), check out this post on dehydrating greens and making green powder.
- Soften tough fibers to make dehydrating faster, dehydrating easier and the texture softer.
Blanching time is crucial and varies with the vegetable and size. Under-blanching vegetables can stimulate their enzymes and is worse than no blanching.
When water blanching, be careful and use the recommended times. Overdoing the blanching time will cause loss of flavor, color, vitamins, and minerals, so you will essentially transfer all the nutrients from the food to the boiling water.
However, blanching enough to fully cook the food is fine if that’s your intent. It makes drying and shortens rehydration times, and all the nutrients lost during the blanching phase are generally those that will be lost during cooking, anyway.
Blanching Vegetables for Dehydrating
Blanching time is crucial and varies with the vegetable and size. Under-blanching vegetables can stimulate their enzymes and is worse than no blanching.
When water blanching, be careful and use the recommended times. Overdoing the blanching time will cause loss of flavor, color, vitamins, and minerals, so you will essentially transfer all the nutrients from the food to the boiling water.
Following these steps for food preservation will give you a better result of dehydrated vegetables for using in your meals (or try these meal-in-a-jar ideas!)
Always Blanch These Vegetables
These vegetables will always require blanching. You should only use vegetables that are in excellent condition. With most larger vegetables, prepare to the size you want first, then blanch.
Once you’ve completed the blanching process (including the ice water bath), food can be stored in the freezer or processed in a dehydrator.
Tips: Blanching times are when the water begins to boil again after you’ve added vegetables. However, you can adjust that for smaller or more delicate things.
- Asparagus – 4-5 min.
- Beets (diced or sliced) – 4-5 min.
(Roasted or cook whole, then dice or slice does not need blanching time) - Broccoli – 3-4 min. **
- Brussell Sprouts (halved) – 5-6 min.
(leaves alone do not need to be blanched) - Carrots & Parsnips (rounds) – 4 min. (2 min for shredded)
- Cauliflower – 4-5 min. Even after blanching, you might want to use a little lemon juice spray to help them stay white. However, rehydrating and cooking may bring back the color.
- Celery – 4 min. **
- Corn – 4-6 min. This is for full cob. You can remove the kernels if it is easier for you, then blanch 2-3 min.
- Eggplant – (large pieces) 4 min. Though eggplant can brown from dehydrating, it’s recommended to do larger chunks rather than slices.
- Green peas – 2-3 min.
- Green beans – 4 min.
- Potatoes – 5 min.
- Rhubarb – 2 min.
- Rutabaga – 4 min
- Sweet Potatoes and Yams – 7 min.
- Turnips – 4 min.
- Winter Squash — 4 min.
** These items fall under my guideline: “if you eat them raw, you do not have to blanch them.” However, texture can be affected, as well as an eventual loss of color.
Oven Option
Root vegetables (except radishes or onions or garlic) should be cooked or blanched first. You can cook/roast sweet potatoes, beets, rutabagas, and turnips, put them in the fridge for a few hours, then slice or dice them.
Sometimes Blanch These Vegetables for Dehydrating
Blanching many vegetables before dehydrating is a good idea, but for some, you can choose to do it or not.
Typically these are the kinds of foods you might already eat raw anyway. They can include
- Cabbage – blanching will help retain color.
- Celery – makes the celery softer when rehydrating.
- Greens – see the oxalic note above. This can also be used on the thicker woody stalks to make them easier to dry and rehydrate. Simply slice stalks into rounds before blanching.
- Mushrooms – This is NOT necessary, but some feel it might give a better texture to the rehydrated mushrooms, which can sometimes be rubbery. It’s why I use mushroom powder so much!
- Okra – try it both ways to see which you prefer for whole okra. Sliced doesn’t need blanching at all.
- Onions – some opt to blanch to help reduce the harsh smell of onions. It doesn’t eliminate it but can reduce it.
So while these vegetables do not have to be blanched for short-term use, you still may expect some color change over time.
For instance, celery. You may see that celery begins to turn white, and the resulting rehydrated celery has more of a toothy bite to it than the blanched celery, so that is a personal choice for you.
Don’t Blanch These Vegetables
These vegetables don’t require blanching to dehydrate and store well.
- BokChoy
- Chard
- Cucumbers
- Garlic
- Leeks
- Peppers
- Summer Squash / Yellow squash
- Tomatoes
- Zucchini
A note about frozen vegetables: If you use commercially frozen vegetables to dehydrate, you do not need to blanch them first, as all that work has been done for you already.
A note about vegetable powders: If your eventual goal is a powder, except for root vegetables, blanching is not always necessary, though for fibrous vegetables, blanching is helpful.
Boiling Water Blanching
To make blanching easy, consider creating a blanching station to make the process go a bit faster. Begin by making an assembly line from your stovetop to your sink.
Supplies Needed:
- A large stockpot, deep enough to submerge the food
- A clean sink, large bowl, or plastic tub
- Several clean towels
- Cold water
- Ice (as many pounds of ice as you have vegetables)
- A slotted spoon for removing the vegetables from the pot. I love using a small spider as it removes so much water!
Directions:
- Bring a stockpot filled with water to a rolling boil.
- Fill your kitchen sink, a large bowl, or a tub insert with cold water and ice.
- Place a small batch of peeled vegetables in the boiling water for the recommended time – don’t start time until the water has come back to a boil.
- After the allotted time, promptly submerge the vegetable pieces in a cold water bath using the slotted spoon or colander. Change water frequently or use cold running water or ice water. If ice is used, about one pound of ice for each pound of vegetable is needed. Cooling vegetables should take the same amount of time as blanching.
- Once the blanched vegetables are cooled, remove them from the ice water and place them on a clean kitchen towel to pat dry. Remove as much water as possible if you plan to dehydrate the food. Leaving extra water on the food will extend the drying time. If you plan on freezing, place in single layers on trays, flash freeze, then store in airtight containment for the freezer.
- Process the food for drying on dehydrator trays.
Darcy’s Tips:
- Remember that blanching times start when the water begins to boil again after putting vegetables into the pot.
- I love placing a colander in my stockpot, placing the vegetables inside to blanch, lifting the colander, and plunging it straight into the ice bath. It’s just quicker to move the food.
Steam Blanching
Heating in steam is an alternative to water bath blanching and is even recommended for a few vegetables. Try this method for broccoli, pumpkin, sweet potatoes, and winter squash to help them keep their texture better. Steam blanching is not quicker than boiling water blanching takes about 1½ times longer to get the vegetables to the proper state.
To steam blanch, use any pot with a tight lid with a basket that will hold the food at least one inch above the boiling water. It only takes an inch or two of water in the pot to make steam. Bring the water to a boil and monitor it after each batch to ensure your pot does not dry.
Put the vegetables in the basket in a single layer so that steam reaches all parts quickly. Cover the pot and keep the heat high. Start counting steaming time as soon as the lid is on. Try one of these kitchen hack alternatives if you do not have a steamer basket.
See this article from NCHFP for recommended blanching times for many common vegetables.
Microwave Blanching
Microwave blanching may not be effective since research shows that some enzymes may not be inactivated. This could result in off-flavors and loss of texture and color with the finished product. [source] On the other hand, there seems to be some vitamin retention when using this method [source], since microwaving does not completely submerge the food into boiling water which can remove part of the nutrients.
If you want to try the microwave blanching method, be sure to work in small batches and use the directions for your specific microwave oven. Microwave blanching will not save your time or use less energy.
Use these blanching directions from GE Appliances to get started with microwave blanching.
Don’t Waste That Water!
Darcy’s Tips:
- Remember that blanching times start when the water begins to boil again after putting vegetables into the pot.
- I love placing a colander in my stockpot, placing the vegetables inside to blanch, lifting the colander, and plunging it straight into the ice bath. It’s just quicker to move the food.
How to Use Blanching Water
- While blanching, a few nutrients are lost into the water. But don’t waste it! You can still use that water in other ways!
- Cook rice, couscous, or quinoa;
- Use as the beginning of a stock or soup base;
- Use as the water in any recipe;
- Water plants or garden after it has cooled.
Do You Need to Blanch Fruit?
In some cases, blanching can actually help with thick-skinned berries by breaking the skins to make dehydrating a little faster. While you can also freeze or cut, blanching is a great way to do it for a large quantity.
Try blanching on these fruits:
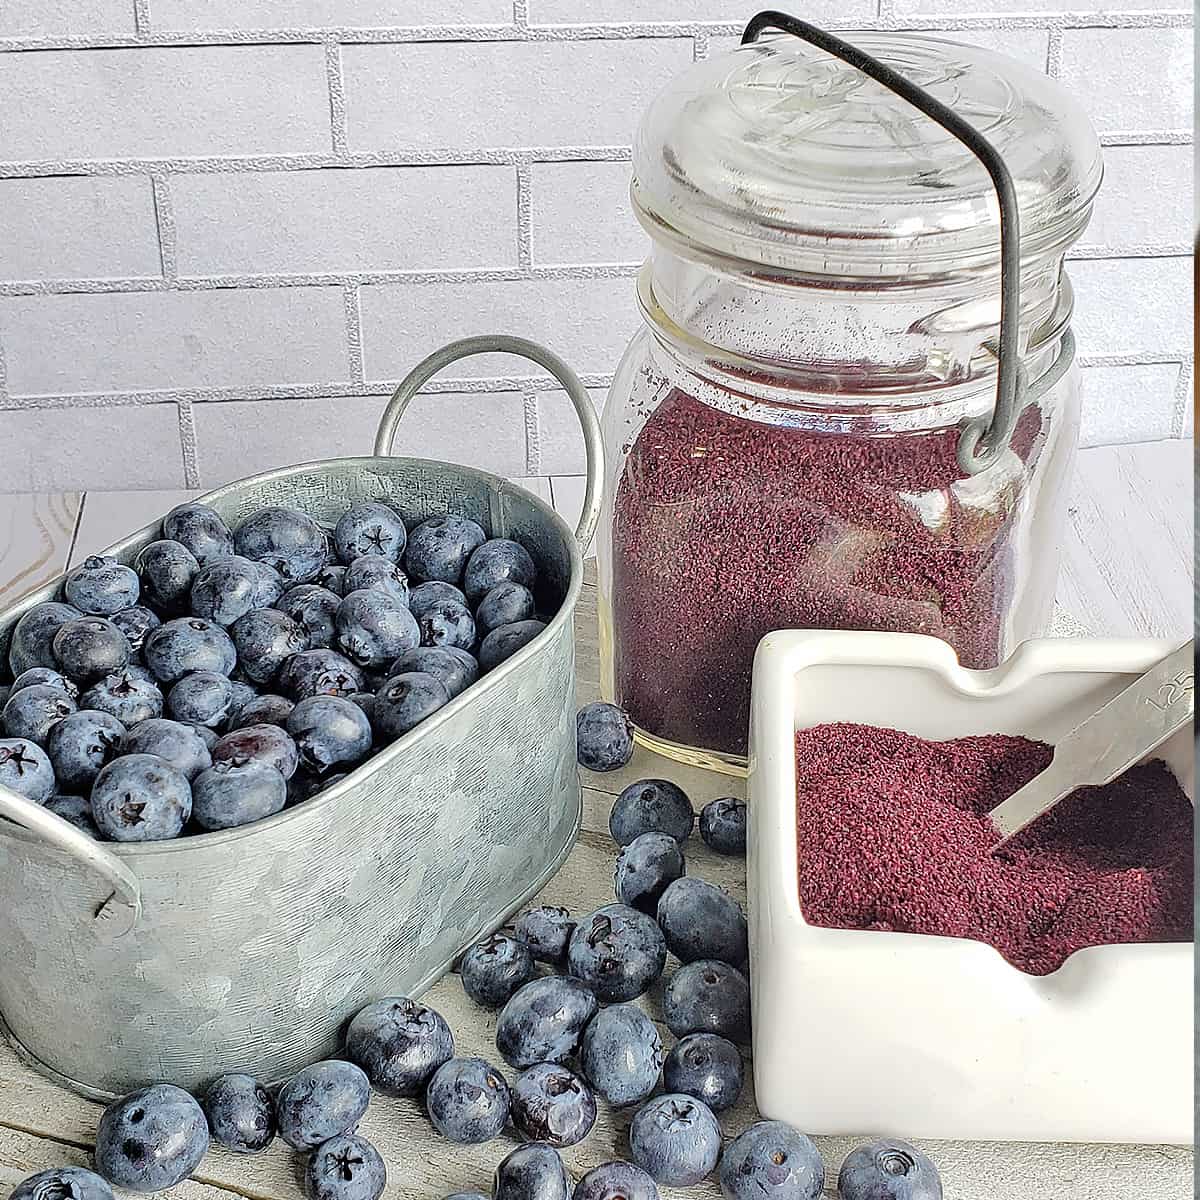
- Blueberries
- Cranberries
- Grapes
- Tomatoes (if you want to do whole, small grape or cherry tomatoes)


Where have you been my whole life? I stumbled on your website while looking for any info on substituting/equivalents for going from fresh to dehydrated powders. I have been reading, learning and inspired! Thank you so much for sharing your knowledge!
Hello Darcy, when dehydrating green beans (in my case, they are Kentucky Wonders) how does the seasoning adhere to the beans once they have been blanched, cooled then patted dry? Unlike a sliced vegetable, there will be no flat surface and my imagination is running a reel of lovely spices just rolling off the pods onto the catch-all tray below the racks when they are moved into the dehydrator.
You can use a little oil if you’re doing this for snacking since you won’t be storing. Use a very light spray of oil.
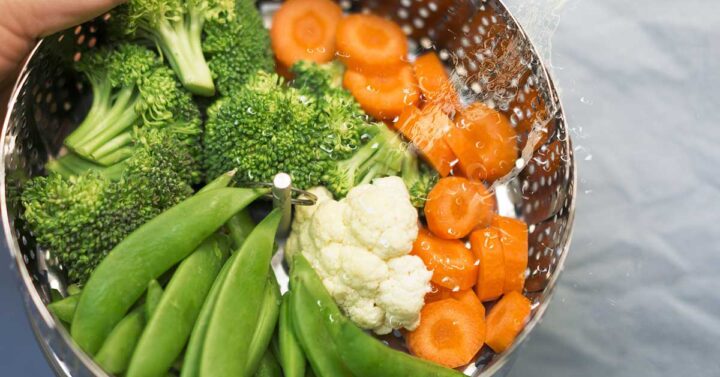
The photo in this tutorial shows a lovely mix of veggies. Do you have
that recipe? Can it be frozen in that state?
Thank you so much for all your help. I learn so much from your site.
It’s just a bunch of vegetables – no recipe. And yes you can freeze.
Good morning Darcy,
According to this article, blanching sweet potatoes takes 7 minutes.
For that 7 minutes am I going to leave the potatoes boiling on fire or should I just turn off the fire and allow the potatoes inside boiled water for 7 minutes?
Blanching while water is boiling – start the clock when the water comes back to a boil
Hi Darcy,
I followed instructions I found elsewhere to blanch my green beans. They said to start the time immediately, not to wait until the water comes back to a boil. I’ve done MULTIPLE pounds of green beans this way. Are they ruined? It’s so hard to know what advice to follow.
They are fine. Just dry them 😉
Hi Darcy. Can I still eat dehydrated potatoes if I forgot to blanch them?
Sure – they’ll just be oxidized – turning brown – but it doesn’t affect the nutrition at all.