200 Best Dehydrating Recipes for Fruits and Vegetables
This post may contain affiliate links. We may earn a commission if you purchase via our links. See the disclosure page for more info.

The best dehydrating recipes for drying fruits, vegetables, meats, and more! Learn the basics of dehydrating for any beginner or pro!
Dehydrating is a great way to harvest your garden bounty, to take advantage of in-season produce sales, or to build a pantry full of shelf-stable fruits and vegetables to feed your family.
Save this post to your favorite dehydrating board on Pinterest to have ready access to reference any food you want to dehydrate!
Tools You’ll Need to Dehydrate
There are a lot of great tools to help you get started dehydrating. From a machine that fits your budget to a mandoline and specialty cutters, etc. But the only thing you really need is a good knife, a good cutting board, and a dehydrator.
While air drying or oven drying is an option, a dehydrator just makes the task easier.
If you need a suggestion about what kind of dehydrator to get that fits your space, your needs, and your budget, check out this information.
- Knife
- Dehydrator – Any dehydrator will do, but there are a few that are better options if you are in the market for investing in one. Here are some tips for the best dehydrators for any budget.
- Oven – many foods can be dehydrated with an oven set at its lowest setting with the door propped open. Be careful to watch for burning, and follow the tips in this post on how to dehydrate in your oven, and you should be able to do most recipes and techniques listed here.
- A quiet place to hang- many herbs don’t need anything more than being gathered and hung to dry in a dark, low humidity, clean space.
Additional Tools that will be helpful
- A food processor or mandoline to help cut food
- Fruit leather sheets to fit your machine
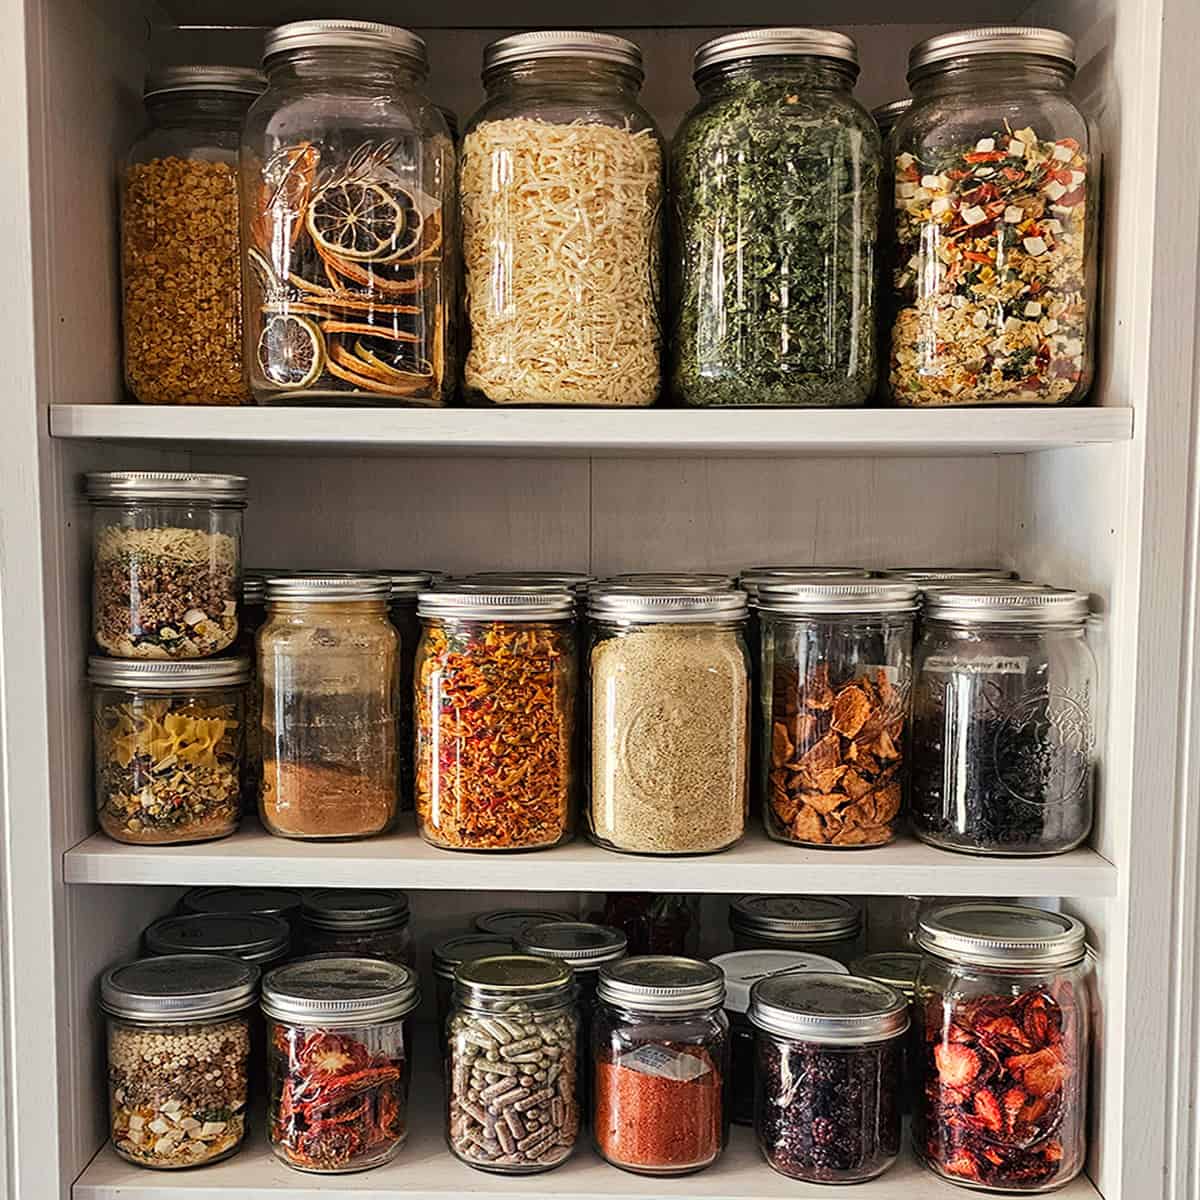
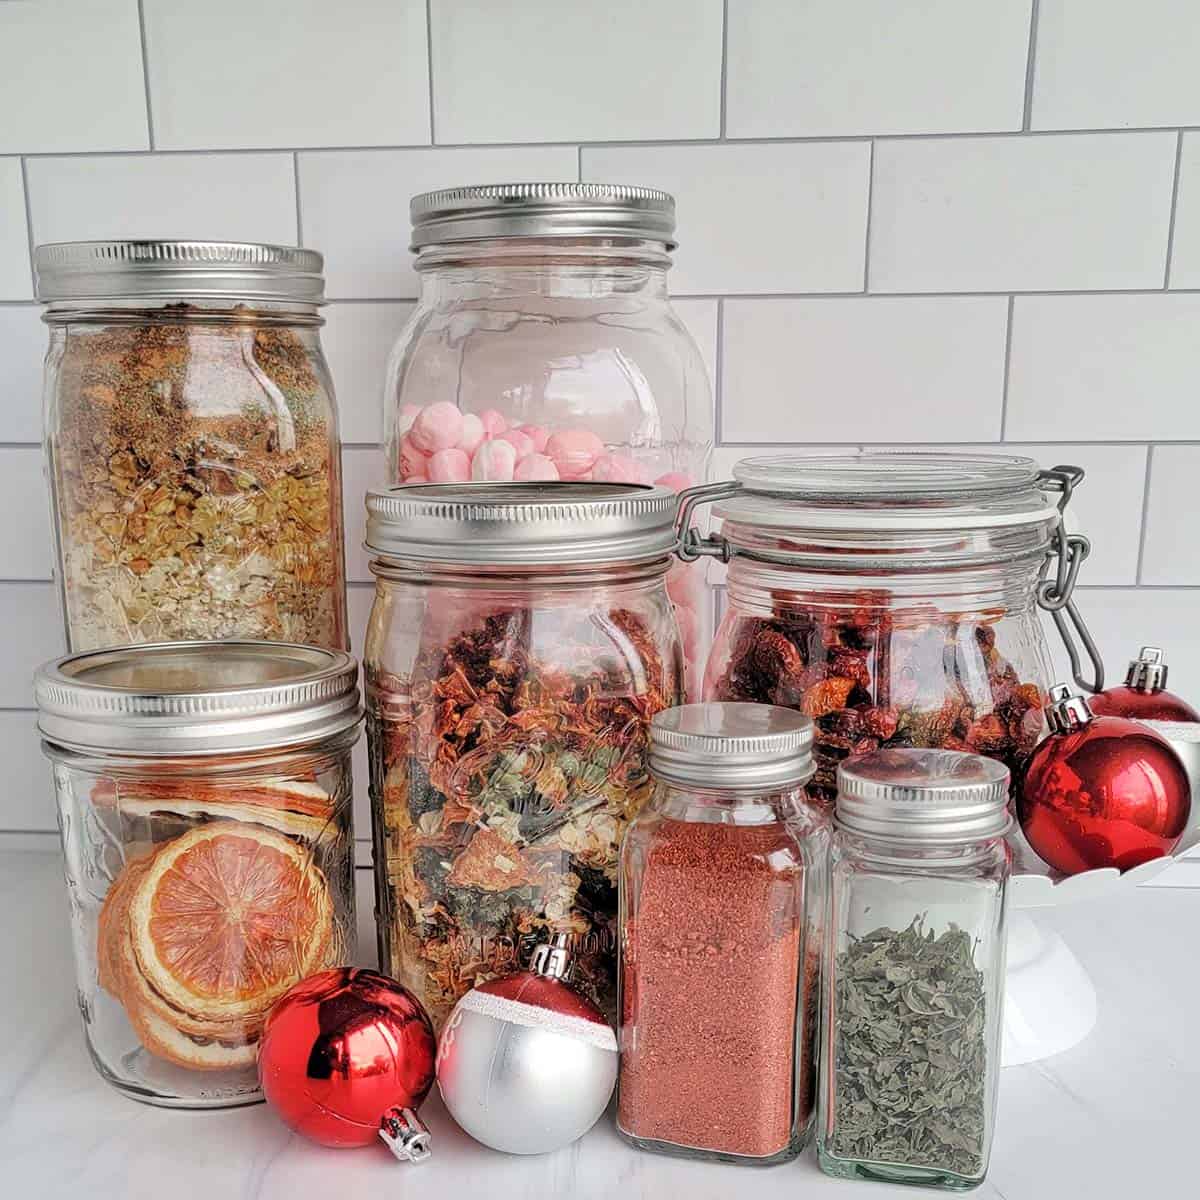
- Mason jars for storage
- A vacuum sealer and jar attachments for vacuum sealing
You can find a list of dehydrating tools that I recommend but aren’t necessary to get started. They just make the job easier as you go.
A good reference
- A good dehydrating site like this one or my Youtube channel
- The National Center for Home Food Preservation
- A good physical book like the Beginner’s Guide to Dehydrating (check out a few more of my favorite dehydrating books,
- A good dehydrating group of other like-minded folks!
If this list looks daunting to you, here are 10 easy dehydrating projects that will help you feel confident in your dehydrating abilities and give you a great start.

How to Dehydrate Fruit
Tips for drying fruit:
- Dry fruits at 135°F / 57°C
- Pretreat fruits that react to oxidation (apples, bananas, peaches, pears)
- Fruits that are prone to turning brown from sugars such as citrus and strawberries, can be dried at 125°F / 52°C or lower to help prevent browning, but be prepared to extend your time
- Most fruits can take between 8-24+ hours to dry depending on your fruit’s water content, the thickness of the fruit, etc.
- Berries can take 24-48 hrs. and should be pretreated by blanching, hard freezing, or breaking the skin ( see full process with blueberry example)
How to Dry Fruit:
- Apples
- Apricot
- Bananas
- Blackberries
- Blueberries
- Breadfruit
- Cantaloupe or muskmelon
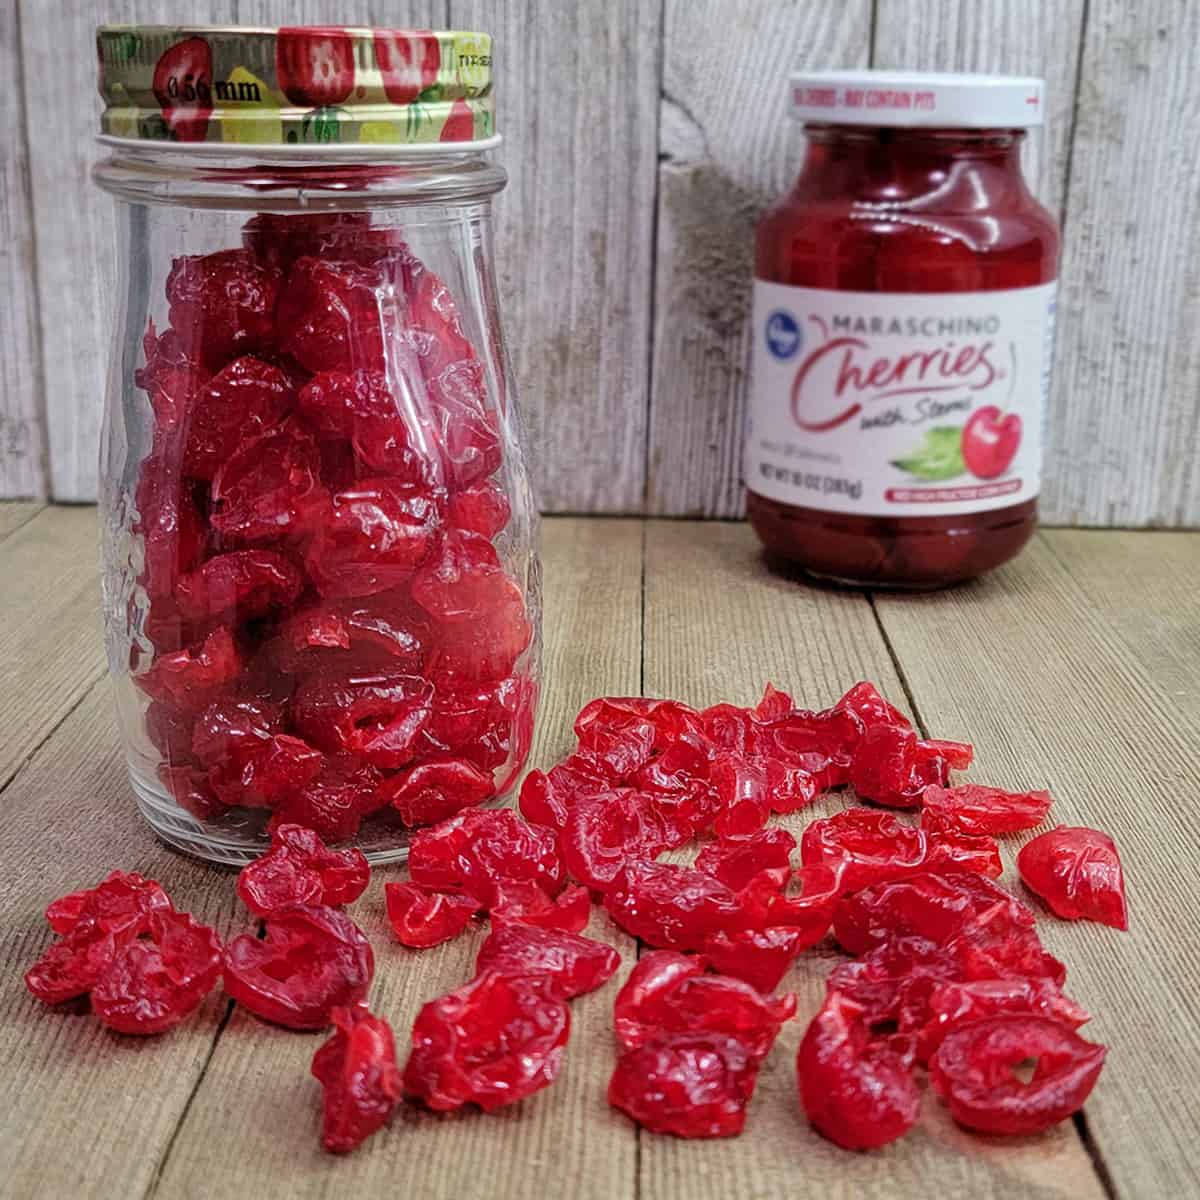
- Cherries
- Citrus
- Coconut
- Cranberries
- Dates
- Dragonfruit
- Elderberry
- Figs
- Gooseberries
- Grapefruit
- Grapes
- Honeydew Melon
- Kiwi
- Kumquat
- Lemon
- Limes
- Mandarin Oranges (Cutie or Clementine)
- Mango
- Melons
- Mulberries
- Nectarine
- Olives
- Oranges
- Papaya
- Peaches
- Pears
- Persimmon
- Pineapple
- Plantain
- Plums
- Pomegranate
- Prickly Pear
- Quince
- Raspberries
- Rhubarb
- Starfruit / Carambola
- Strawberries
- Tangerine
- Watermelon

Vegetables
Tips for drying vegetables:
- Vegetables should be dried at 125°F / 52° C. Time is usually 6-15 hours.
- Dry until vegetables are crisp, have a hollow plink sound when dropped on a hard surface, and have no moisture visible.
- Blanching: General rule of thumb, blanching is necessary to preserve texture, color, and vitamins. However, if you generally eat it raw, it doesn’t have to be blanched – your experience may vary Learn to blanch vegetables for dehydrating here.
Use these best dehydrating recipes for drying vegetables for short and long-term storage.
How to dry vegetables:
- Artichoke
- Asparagus
- Avocado
- Beans
- Beets
- Bell Pepper
- Bok Choy
- Broccoli
- Brussels Sprouts
- Butternut Squash
- Cabbage
- Carrots
- Cauliflower
- Celeriac (Celery Root)
- Celery
- Chives
- Corn
- Cucumber
- Daikon
- Edamame
- Eggplant | Eggplant Bacon
- Fennel
- Fiddleheads
- Frozen Vegetables
- Green beans
- Green Onions
- Greens
- Holy Trinity (pepper, onion, celery)
- Jalapeno
- Leek
- Mirepoix (carrots, onions, celery)
- Mushroom
- Okra
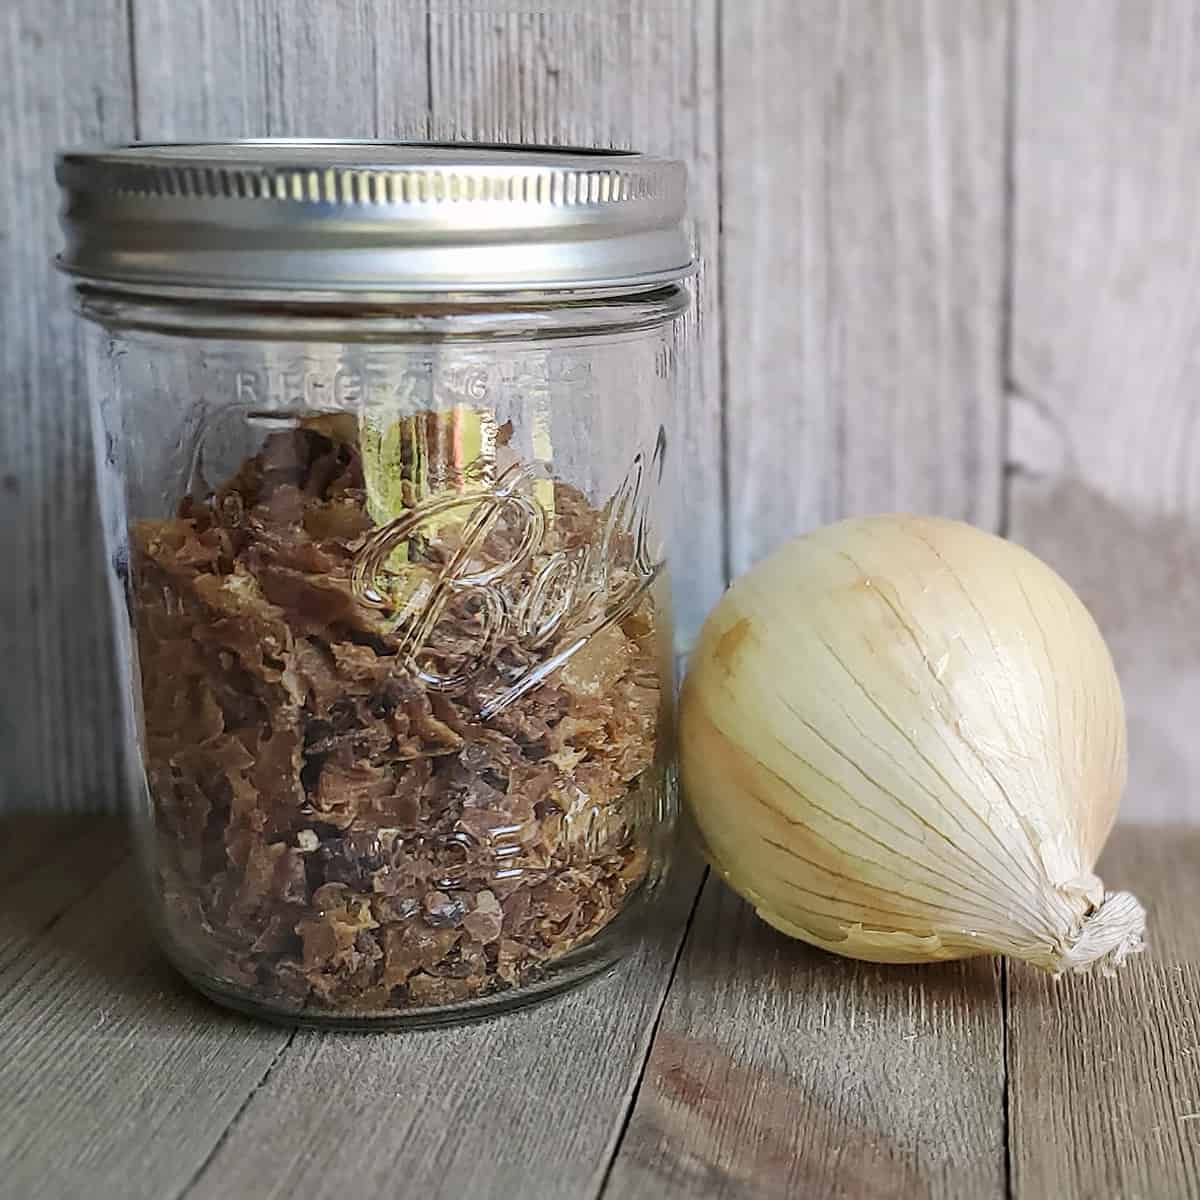
- Onion
- Parsnip
- Peas
- Peppers
- Potato
- Pumpkin
- Radish
- Ramps
- Rutabaga
- Scallions / Green onions
- Shallots
- Spaghetti Squash
- Sweet Potato
- Swiss Chard
- Tomatillo
- Tomato
- Turnips (she recommends not blanching, but you should)
- Zucchini
Extras:

Herbs & Spices
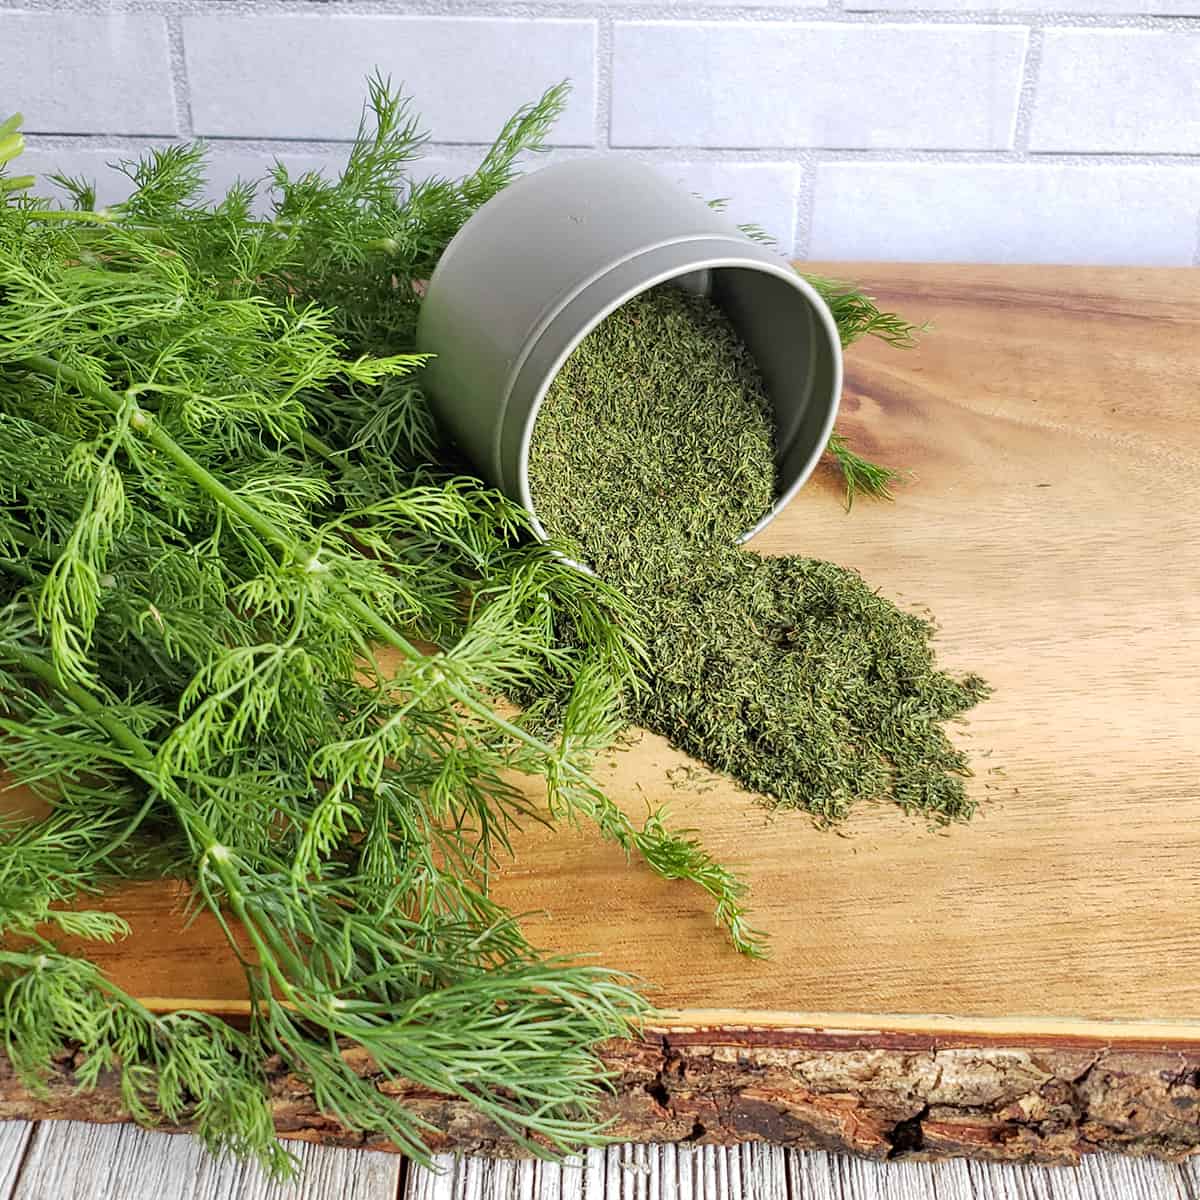
Most leafy green herbs and flowers do best by air drying than by mechanical means.
- Most are best dried at 95°F / 35°C whenever possible to keep their flavor
- Dry until brittle, store whole, and grind or crush when ready to use for best results.
- Store in airtight containment.
How to dry herbs:
- Arrowroot
- Basil
- Bay
- Cilantro
- Dill
- Fennel
- Garlic
- Ginger
- Horseradish
- Herbs (general)
- Lavender
- Lemongrass
- Marjoram
- Mints
- Onion (Powder)
- Oregano
- Parsley
- Purslane
- Rose hips
- Rosemary
- Thyme
- Stevia
- Tarragon
- Tumeric

Jerky and Meats
Making jerky or dehydrated meat is a great way to create a tasty protein that is perfect for hiking and backpacking.
But remember, unless you are using safe curing methods for meat, the best and safest storage is in the freezer for more than a month. I cannot control the storage information on these posts, so keep that in mind.
Please read the NCHFP guidelines for safe jerky making and an excellent source for safe jerky making at Jerkyholic.
How to dry meats
Beef
Ground Beef
Chicken / Poultry
A note: For safest results, chicken and poultry should be cooked to a safe 165°F before drying for human consumption.
Chicken
Fish
Other
Game
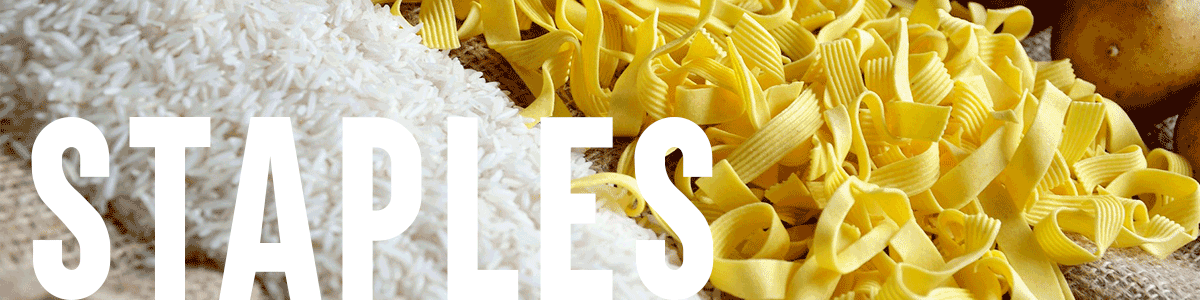
Staples
- Bean Bark
- Boullion Soup Cubes
- Bread Crumbs
- Broth
- Full meals (Perfect for backpacking/hiking meals and stored in the freezer)
- Kimchi
- Mushroom Bouillon cubes
- Nuts
- Pasta
- Pumpkin Seeds
- Rice
- Risotto
- Sourdough Starter
- Tofu
- Whole Grains

Dairy Dehydrating Recipes
There are currently no safe, tested techniques for dehydrating dairy products per The National Center for Home Food Preservation.
“Dairy and eggs are not recommended for home drying because of the high risk of food poisoning. Commercially dried milk and egg products are processed rapidly at temperatures high enough to prevent bacterial contamination. Home dryers cannot duplicate this process, and the safety of home-dried milk and egg products cannot be guaranteed.”
National Center for Home Food Preservation
However, many people opt to go ahead and do so. To the best of my ability, I have found sites that have the best way of doing so by following the best practices available if you choose to do this in your own kitchen.
Want to learn more about what items are safe to dehydrate and what might not be? Check out the Ultimate Do Not Dehydrate List here.
The best way to preserve dairy products is with a freezer dryer for safe, long-term, shelf-stable storage.
- Cottage Cheese
- Eggs (safe alternative)
- Milk
- Cheese (safe alternative – yellow) (safe alternative – white)
- Parmesan cheese
- Yogurt (safe alternative)
The optimum method for all of these products is in your freezer.
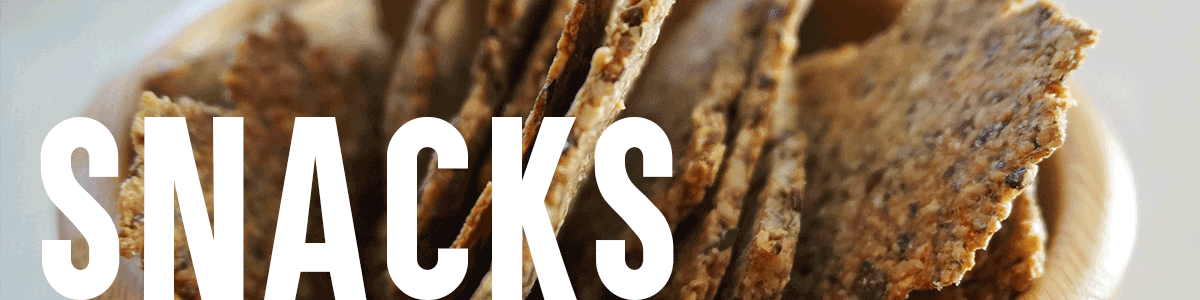
Snack Dehydrating Recipes
Crackers
- Banana Bread Flax Cheese Crackers
- Carrot Crackers
- Flax Seed Crackers
- Green Juice Pulp Crackers
- Multiseed Quinoa Crackers
- Parmesan Cheese Chips (can easily be done in the dehydrator at 150°F/ 65°C
- Raw Juice Pulp Crackers
- Tomato Basil & Flax Crackers
Fruit Leathers
Vegetable Chips
- Butternut squash chips
- Cheesy Kale Chips
- Daikon Chips
- Eggplant Jerky
- Eggplant Parmesan Chips
- Pickle Chips
- Sour Cabbage Crisps
- Spicy Green beans
- Herby Tomato Chips
- Sun-Dried Tomato & Cheezy Kale Chips
- Zucchini chips
- 16 Chip Alternatives

Other Dehydrating Recipes
There are some things you may never have thought of dehydrating before. Here are a few of the things you can dehydrate that you might find useful!
Recipes from Dehydrated Powders
- Garlicky Tomato & Herb Sandwich Spread
- Pumpkin Spice Coffee Mix
- Mushroom Powder Seasoning Blend –Think Trader Joe’s Umami mix, but better!
See even MORE recipes using dehydrated foods.
Frequently Asked Questions

What’s the best dehydrator to use?
The best one is the one you have in your home that fits your budget and needs. Don’t give in to the idea that you have to have the most expensive dehydrator or that you can’t dry with a simple, inexpensive dehydrator.
I happen to use both an Excalibur Dehydrator and a Cosori Dehydrator. They both work well and I can use them interchangeably.
Properly dried, conditioned, and stored, dehydrated products can last for at least a year safely. Your mileage will likely get you much further than that for foods other than tomatoes and fruit.
Storage is best when in an airtight container in a cool, dark place.
You sure can. It is a great starter tool, but you’ll eventually want to graduate to a dedicated dehydrator if you plan on storing in your pantry.
Here are some good tips to help you get started dehydrating in your oven.
► You may also like: Best Meals in a Jar Recipe Ideas!
Get the new Dehydrating Basics & Journal Book!


My issue isn’t dehydrating it rehydrating the food. Can you give me tips on how to rehydrate the food. Fruits get really mushy. I’ve tried water, different temp. of the water and milk for like eggs. I’ve tried putting it in the fridge, not in the fridge. My strawberries always come out mushy.
Curious why you are rehydrating strawberries? Are you baking/cooking with them or trying to eat them as a snack? I don’t recommend rehydrating simply for snacking on alone. https://www.thepurposefulpantry.com/ways-to-rehydrate-dehydrated-food/
I don’t do eggs, ever, so I can’t direct you there.
Hi Darcy!
I can’t find how to dehydrate almond paste (from home made almond milk residue) into flour. Wish to know temperature and time. Thank you very much for your passion and time.
I’ll never give you times (they are done when they are done), but 125-135F will work. If you see it browning, turn the temp down.
I believe I recall your mentioning on a recent School of Traditional Skills Dehydrating Course that frozen foods can be dehydrated. If my memory is correct and you can, do the foods need to be fully thawed and ‘mopped’ up if you will of excess water? Thank you
Most vegetables do not need to be thawed first. Some might do tomatoes because they can release a lot of liquid if done whole.
https://www.thepurposefulpantry.com/dehydrate-frozen-vegetables/
Can I use vaccu-seal bags to store dehydrated food? And if so, is “conditioning” or re-dehydrating still possibly required?
Conditioning is recommended no matter how you store. While they can be used, there is a possibility of some sharp foods poking small holes in the plastic. https://www.thepurposefulpantry.com/how-to-store-dehydrated-foods/
Hi, I love all of your well organized information! One small question I have is about traveling with dehydrated foods. I’m wondering if adding silica packs could help protect my fruites especially. Or are they unnecesssaery? I do understand conditioning first is most important!
Thanks.
It’s fine. If I recommend anything, it’s silica packs